
 Pin to Favorites
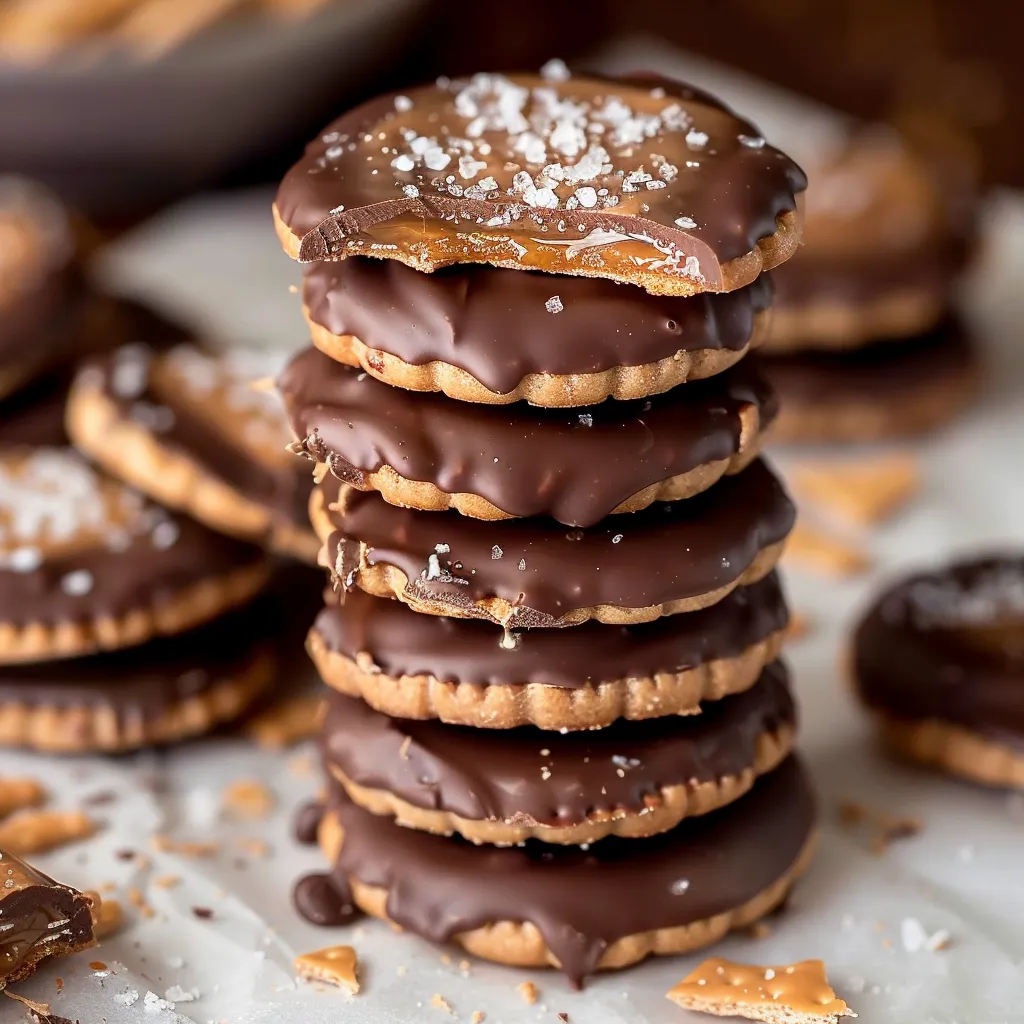
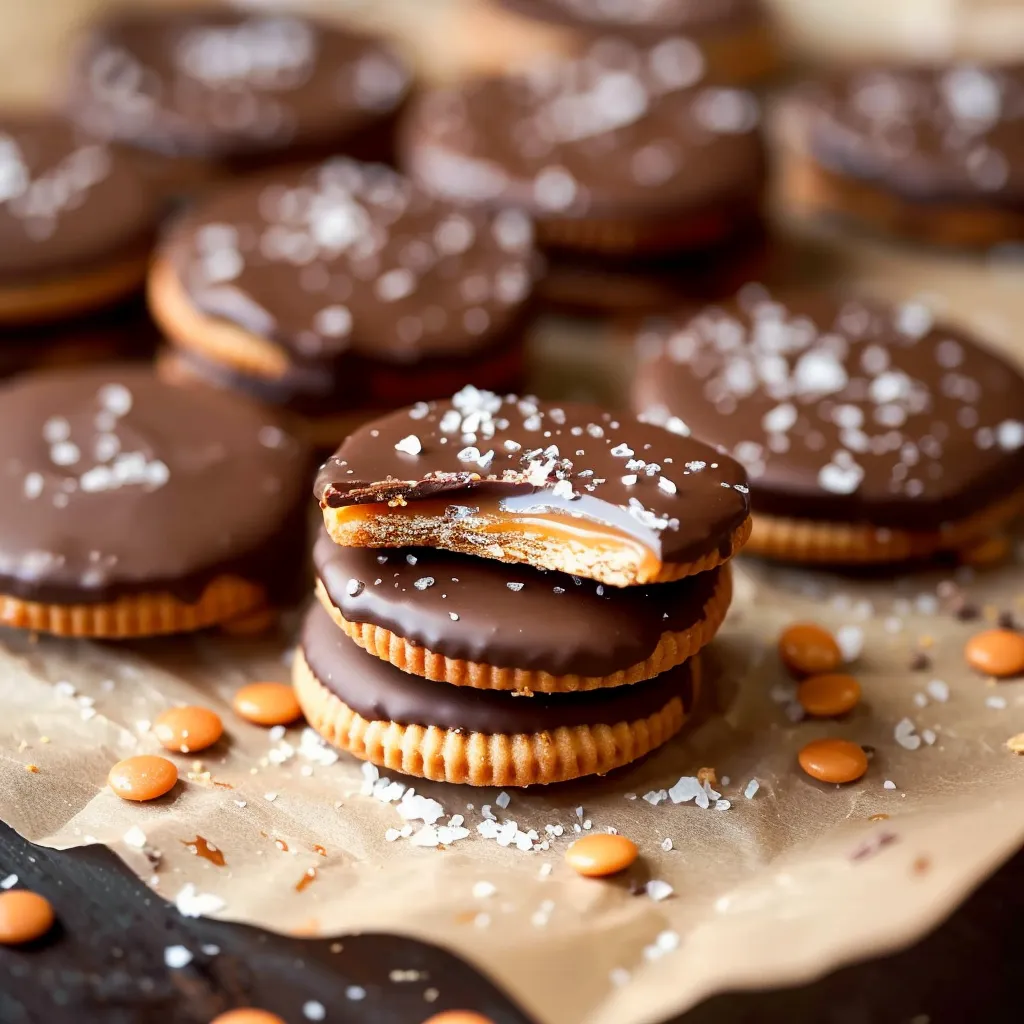
Ritz Cracker Cookies combine simple ingredients into an irresistible sweet-salty treat that will have everyone reaching for seconds. These no-bake wonders feature a luscious caramel filling sandwiched between buttery Ritz crackers, all enrobed in smooth chocolate and finished with a sprinkle of sea salt. The contrast between the rich chocolate exterior, gooey caramel middle, and salty, crisp crackers creates an addictive flavor experience that's far greater than the sum of its parts.
Last Christmas I included these on cookie platters for neighbors and received more compliments on these simple treats than the elaborate cookies that took hours to prepare. There's something magical about that sweet-salty combination that keeps people coming back for "just one more." My brother-in-law, who typically avoids sweets, ate five in one sitting!
Essential Ingredients and Selection Tips
- Ritz Crackers: Their buttery flavor and distinctive texture are irreplaceable in this recipe. Make sure they're fresh for the best crunch
- Soft Caramels: Look for high-quality, individually wrapped caramels like Werther's Original or Kraft for the smoothest melting
- Heavy Cream: Don't substitute with half-and-half or milk; the fat content in heavy cream is crucial for the perfect caramel consistency
- Chocolate Almond Bark: This coating melts smoothly without requiring tempering. You can find it in the baking aisle, typically in a block or wafers
 Pin to Favorites
I've experimented with various caramels and found that the soft, chewy ones designed for eating (not the harder caramel candy) produce the best filling. The first time I tried this recipe with caramel candy meant for melting, the filling set up too firm and the crackers shattered when bitten.
Detailed Cooking Instructions
- Create the Perfect Caramel Filling:
- Begin by unwrapping 20 soft caramels and placing them in a medium microwave-safe bowl along with 2 tablespoons of heavy cream. The cream is essential for creating a soft, spreadable consistency that won't become too firm when chilled. Microwave on high for 1 minute, then remove and stir thoroughly. The caramels won't be completely melted at this point. Continue microwaving in 20-second intervals, stirring well after each interval, until the mixture becomes smooth and homogeneous with no lumps. This typically takes 2-3 additional 20-second intervals. Be careful not to overheat, which can cause the caramel to become too hard once cooled. Allow the melted caramel to cool for about 5 minutes – it should still be warm and pourable but not hot enough to soften the crackers.
- Assemble the Cracker Sandwiches:
- While the caramel cools slightly, line a baking sheet with parchment paper or wax paper to prevent sticking. Arrange half of your Ritz crackers on the prepared sheet, flat side up. Using a teaspoon measure or small spoon, place 1-2 teaspoons of the caramel mixture in the center of each cracker. The caramel should cover most of the cracker but stop short of the edges to prevent overflow. If the caramel reaches the very edge, it will likely squeeze out when you add the top cracker. Working efficiently while the caramel is still warm and pliable, top each caramel-covered cracker with another Ritz, flat side down, pressing gently to create a sandwich. The slight pressure should spread the caramel to the edges without forcing it out.
- Allow Proper Setting Time:
- Once all sandwiches are assembled, place the entire baking sheet in the refrigerator for at least 30 minutes. This chilling step is crucial – it allows the caramel to set firmly enough that it won't ooze out during the chocolate dipping process. If you're short on time, you can place the sheet in the freezer for 10-15 minutes instead, but don't freeze them solid or the crackers may become soggy when they thaw. While waiting, line another baking sheet with parchment or wax paper for the dipped cookies and gather your sea salt or other toppings.
- Master the Chocolate Dipping Technique:
- Once the sandwiches are properly chilled, prepare your chocolate coating. Break 24 ounces of chocolate almond bark into smaller pieces and place in a medium microwave-safe bowl. Follow the package directions for melting, which typically involves microwaving at 50% power in 30-second intervals, stirring between each interval until smooth. The chocolate should be fully melted but not hot – if it's too hot, it can melt the caramel filling. Working with one sandwich at a time, drop it into the melted chocolate. Using two forks, flip it to coat completely, then lift it out, allowing excess chocolate to drip back into the bowl. A thin, even coating is preferable to a thick layer that takes longer to set and can overwhelm the other flavors.
- Apply Toppings with Perfect Timing:
- Place each chocolate-coated sandwich back on the prepared baking sheet, spacing them to prevent them from touching each other. While the chocolate is still wet, immediately sprinkle a small amount of sea salt on top. The timing here is critical – the salt needs to adhere to the still-soft chocolate. If you wait too long, the chocolate will begin to set and the salt won't stick. For a holiday variation, you can use festive sprinkles instead of or alongside the sea salt. Work in small batches of 3-4 cookies at a time to ensure the chocolate is still wet when you add the toppings.
- Perfect the Final Setting:
- Return the tray to the refrigerator and chill until the chocolate coating is completely set, typically 15-20 minutes. Once set, the chocolate will lose its glossy appearance and feel firm to the touch. For the best texture and flavor, let the cookies come to room temperature before serving. The contrast between the slightly softened caramel, crisp cracker, and firm chocolate coating creates the perfect bite. Store any leftover cookies in an airtight container in the refrigerator, where they'll keep well for up to a week.
My first attempt at these taught me the importance of portion control with the caramel. I was too generous, and when I added the top cracker, the filling squeezed out the sides, creating a messy sandwich that was difficult to dip. Now I use a teaspoon measure to ensure consistent, appropriate amounts.
The Art of the Perfect Dip
Achieving a smooth, even chocolate coating takes a bit of practice but makes all the difference in the final presentation. I've found that using two forks works best – one to submerge the sandwich into the chocolate and the other to lift it out. Tap the fork gently against the side of the bowl to encourage excess chocolate to drip off. Too thick a coating can overwhelm the delicate balance of flavors and make the cookies too difficult to bite through.
For an extra-professional finish, you can run a fork gently across the top of each dipped cookie to create subtle lines in the chocolate before it sets. This not only creates a beautiful appearance but provides more surface area for the sea salt to adhere to.
Creative Variation Ideas
While the classic version is divine, this recipe lends itself beautifully to experimentation. One of my favorite variations uses peanut butter as the filling instead of caramel – simply spread about a teaspoon of creamy peanut butter between the crackers and proceed with the chocolate dipping. For the ultimate indulgence, try using both – a small amount of peanut butter topped with a small amount of caramel creates an unforgettable filling.
Another successful variation uses white chocolate almond bark for the coating, which creates a beautiful contrast if you're using holiday sprinkles. For a sophisticated adult version, add a tiny pinch of flaky smoked sea salt instead of regular sea salt to introduce an intriguing dimension of flavor.
Make-Ahead and Gifting Strategies
These cookies are perfect for make-ahead holiday preparations. They actually improve after a day or two in the refrigerator, as the crackers absorb a bit of moisture from the filling, creating a softer bite while still maintaining some crunch. They'll keep beautifully for a full week if stored properly.
For gifting, arrange the cookies in a single layer in a decorative tin lined with parchment paper. If you need to stack them, place a sheet of parchment between layers to prevent sticking. Tie with a festive ribbon and attach a small note with storage instructions – recipients will appreciate knowing these should be kept refrigerated.
I discovered these refinements through both happy accidents and curious experimentation, like the time I ran out of chocolate almond bark and substituted dark chocolate chips melted with a teaspoon of coconut oil. The resulting slightly bitter coating created a beautiful contrast with the sweet caramel filling.
These Ritz Cracker Cookies have become one of my signature holiday treats, beloved by friends and family alike. Their simplicity belies their complex flavor profile – a perfect study in contrasts between sweet and salty, crunchy and chewy, rich and bright. Perhaps their greatest virtue is how they transform humble pantry staples into something that tastes decidedly special, proving that sometimes the most memorable treats don't require advanced baking skills or specialty ingredients – just a little creativity and an appreciation for perfect flavor balance.
 Pin to Favorites
Frequently Asked Questions
- → Can I use store-bought caramel sauce instead of melting caramels?
- While melted caramels with cream create the perfect consistency, you can use thick store-bought caramel sauce in a pinch. Look for a premium, thick caramel sauce and you may need to refrigerate it before spreading to get the right consistency.
- → What can I use instead of almond bark for coating?
- If you don't have almond bark, you can substitute with melting wafers, candy melts, or good quality chocolate chips with a teaspoon of coconut oil added to help with smooth melting and setting.
- → How far in advance can I make these cookies?
- These cookies can be made up to a week in advance when stored in an airtight container in the refrigerator. They actually develop even better flavor after a day or two.
- → Can I freeze Salted Caramel Ritz Cracker Cookies?
- Yes, these cookies freeze well for up to 3 months. Place them in a single layer on a baking sheet until frozen, then transfer to an airtight container with parchment paper between layers.
- → What other toppings can I use besides sea salt?
- While sea salt highlights the sweet-salty contrast, you can also use holiday sprinkles, crushed nuts, toffee bits, or a drizzle of white chocolate for decoration and added flavor.