
 Pin to Favorites
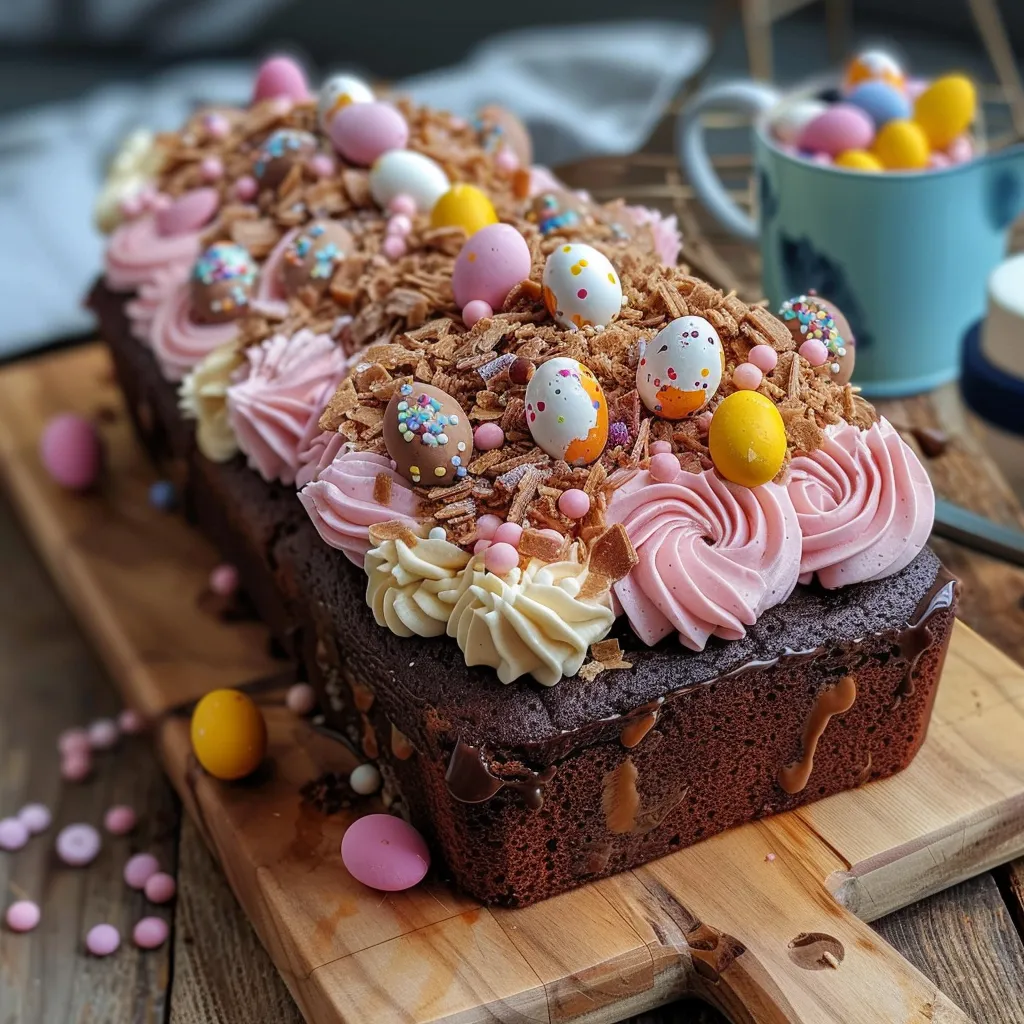
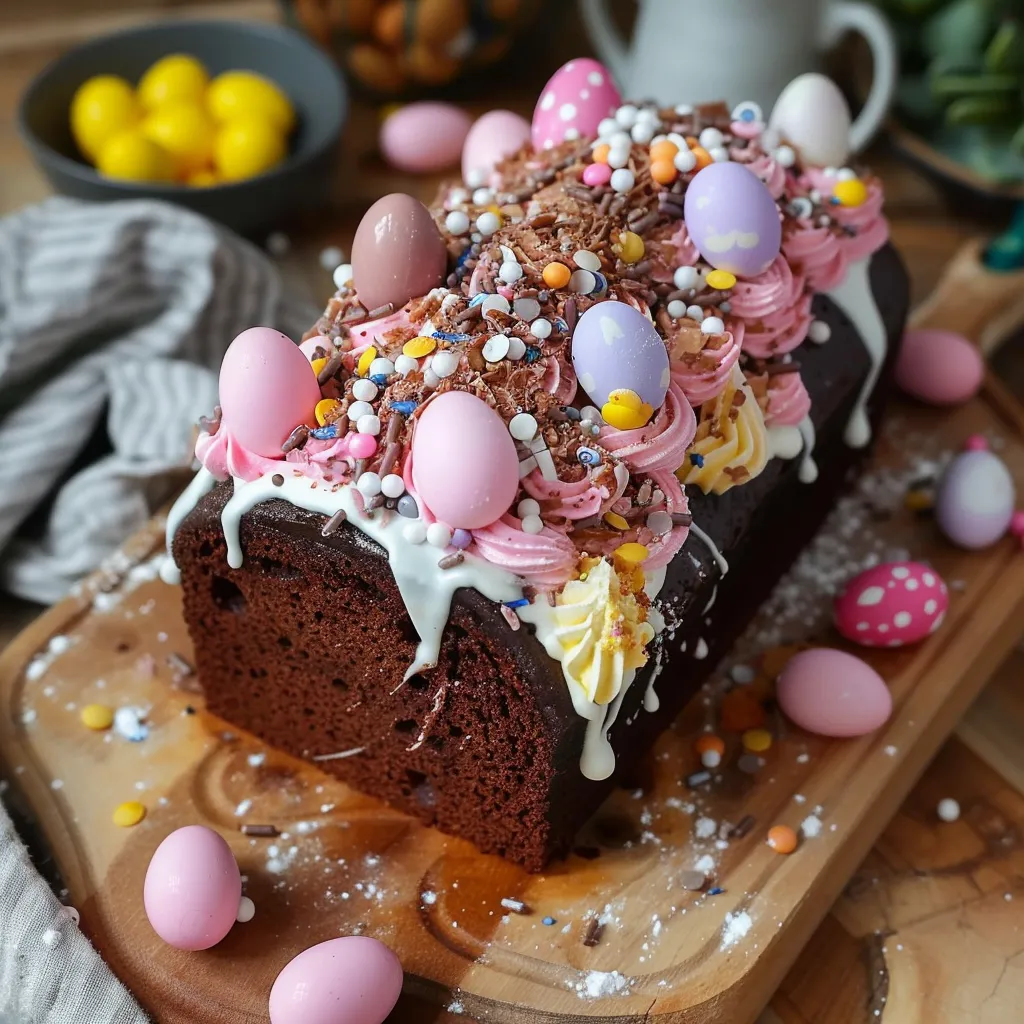
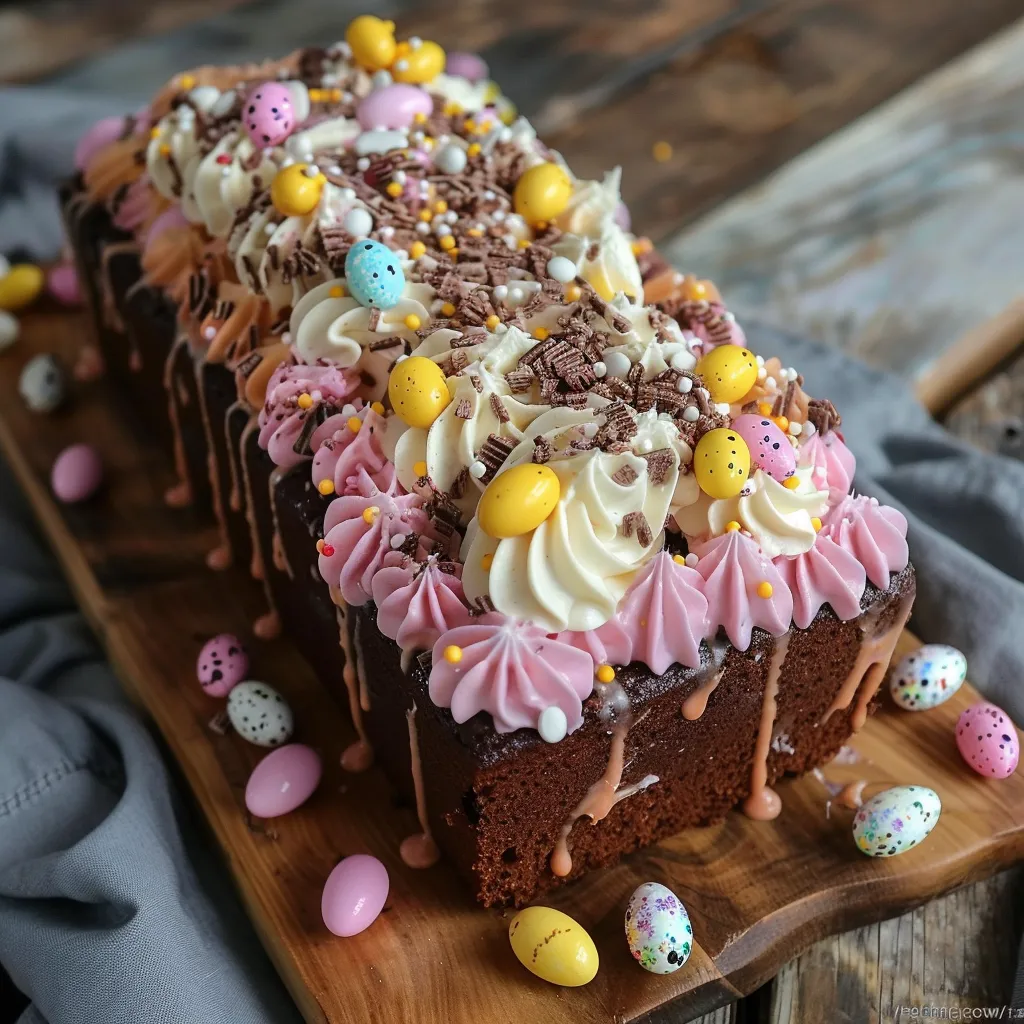
Mini Egg Loaf Cake transforms the beloved Easter chocolate into a showstopping dessert that's as delicious as it is festive. This oil-based chocolate cake delivers exceptional moisture and tenderness while the tri-colored buttercream frosting perfectly captures the pastel palette of Mini Eggs. Topped with a generous handful of the chocolate treats themselves, this loaf cake creates that perfect balance between rich chocolate cake and sweet, creamy frosting that makes it impossible to resist just one slice.
Last Easter I served this at a family gathering and watched as everyone, from my chocolate-obsessed nephew to my dessert-skeptical father-in-law, went back for seconds. There's something about the combination of that soft chocolate cake and creamy pastel frosting that appeals to everyone. The cake disappeared within minutes, with several requests for the recipe before the meal was even over.
Essential Ingredients and Selection Tips
- Vegetable Oil: Creates a moister, more tender crumb than butter. Its neutral flavor lets the chocolate shine
- Light Brown Soft Sugar: Adds depth and moisture that granulated sugar alone can't match
- Full-Fat Milk: The fat content is crucial for proper texture; lower-fat substitutes will alter the cake structure
- Good Quality Cocoa Powder: The chocolate flavor comes primarily from cocoa, so choose a rich, deep-colored variety
 Pin to Favorites
I've found that using vegetable oil instead of butter makes this cake nearly foolproof. The first time I made an oil-based chocolate cake, I was amazed at how much more forgiving the recipe was – no worrying about butter temperature or creaming technique, yet the result was consistently soft and moist.
Detailed Cooking Instructions
- Perfect Your Dry Ingredient Mix:
- Begin by preheating your oven to 350°F/180°C and line a 2lb loaf tin with parchment paper. In a large mixing bowl, combine 1¾ cups self-raising flour, ⅓ cup cocoa powder, and 1 cup light brown soft sugar. Whisk these ingredients together thoroughly to ensure even distribution and break up any lumps in the sugar or cocoa. This step is crucial for a smooth, evenly flavored cake. The cocoa powder tends to form clumps, so be particularly thorough when incorporating it. Taking time with this initial mixing ensures you won't find pockets of unmixed ingredients in your finished cake.
- Add Wet Ingredients with Care:
- Once your dry ingredients are well combined, add 3 large eggs, ¾ cup vegetable oil, and ½ cup full-fat milk directly to the same bowl. Using a whisk or silicone spatula, gently fold and stir the mixture just until combined. This is where restraint is important – unlike butter-based cakes that benefit from creaming and aeration, this oil-based mixture develops the best texture when mixed minimally. Stop mixing as soon as you no longer see streaks of flour or cocoa. Overmixing can develop gluten, resulting in a tougher cake. The final batter should be smooth, glossy, and relatively thick – not runny.
- Bake with Precision:
- Pour the cake batter into your prepared loaf tin, using a spatula to level the surface. Tap the tin gently on the counter a few times to release any large air bubbles that might be trapped in the batter. Place in the preheated oven and bake for approximately 45-50 minutes. The exact timing will depend on your specific oven, so begin checking at the 40-minute mark. Insert a skewer or toothpick into the center of the cake – it should come out clean or with a few moist crumbs, but no wet batter. The cake will have risen with a slight dome and will have pulled away slightly from the sides of the tin. Once baked, allow it to cool in the tin for 10 minutes before transferring to a wire rack to cool completely.
- Create Tri-Color Buttercream:
- While the cake cools, prepare your buttercream frosting. Beat 1 cup of softened unsalted butter until pale and fluffy – this usually takes 3-4 minutes with an electric mixer. Gradually add 2½ cups of sifted confectioners' sugar, beating well after each addition. Mix in 1 teaspoon of vanilla extract and a splash of milk if needed for a smooth, pipeable consistency. Divide the frosting into three equal portions and color them to match the Mini Eggs' pastel palette – typically light purple, pink, and blue/green. Use gel food colorings for the most vibrant results without thinning the frosting.
- Master the Tri-Color Piping Technique:
- Lay a piece of plastic wrap flat on your work surface and spoon the three colors of frosting in parallel lines along the length of the wrap. Try to keep them approximately the same thickness and length. Carefully roll the plastic wrap into a sausage shape, twisting the ends to secure. Snip off one end of the plastic wrap and place the entire package into a piping bag fitted with your chosen tip. This technique ensures all three colors will come out simultaneously when piped, creating a beautiful marbled effect without mixing the colors together completely.
- Decorate with Eye-Catching Style:
- Ensure your cake is completely cool before decorating. Pipe swirls or rosettes of the tri-colored buttercream along the top of the loaf, working in whatever pattern pleases you. While the frosting is still soft, press Mini Eggs into the buttercream, varying the colors for visual interest. For an additional touch of indulgence, drizzle melted chocolate over the top, allowing it to cascade slightly down the sides. The contrast between the smooth drizzle, colorful frosting, and candy-coated eggs creates an impressive visual impact that belies how simple it was to create.
My first attempt at this recipe taught me the importance of proper cooling. I was eager to frost the cake while it was still slightly warm, and watched in dismay as my beautiful buttercream began to slide off the edges. Now I make sure to allow at least two hours for the cake to cool completely, ensuring perfect frosting application.
The Science of Oil-Based Cakes
The magic of this cake lies in its use of oil instead of butter. While butter-based cakes get their lift and structure from creaming butter and sugar to incorporate air, oil-based cakes work differently. The liquid oil coats the flour particles, inhibiting gluten development and creating a more tender crumb. Additionally, while butter contains water that evaporates during baking, oil is 100% fat, which leads to a moister finished cake that stays fresh longer.
I've found that vegetable oil produces the most neutral flavor, allowing the chocolate to shine. Canola oil works equally well, but avoid strongly flavored oils like olive or coconut unless you want their distinctive taste to come through in the finished cake.
Perfecting Your Buttercream
The tri-color buttercream is what transforms this from a simple chocolate loaf to a showstopping Easter dessert. For the smoothest, most pipeable frosting, ensure your butter is properly softened (but not melting) before beginning. Beat it alone until it lightens in color before adding any sugar – this creates the perfect base for incorporating the other ingredients.
When coloring, start with a tiny amount of gel food coloring and build up gradually. The colors of Mini Eggs are pastel rather than bold, so restraint with coloring creates the most authentic look. For the most vibrant colors that won't fade with time, use gel rather than liquid food coloring, which can thin your frosting and affect its stability.
Make-Ahead and Storage Strategies
This cake actually improves with a day of rest, making it perfect for preparing ahead of Easter celebrations. The oil keeps the cake moist for several days, while the buttercream forms a protective layer that helps seal in that moisture.
For storage, keep at room temperature in an airtight container for up to three days. Avoid refrigeration if possible, as it can dry out the cake. If you need to make it further in advance, you can freeze the unfrosted cake wrapped tightly in plastic wrap and aluminum foil for up to a month. Thaw completely at room temperature before decorating.
I discovered these refinements through both mistakes and experimentation, like the time I accidentally used all dark brown sugar instead of light brown. The cake had an even deeper, almost toffee-like undertone that paired beautifully with the chocolate – now I sometimes use a combination of both sugars for an extra dimension of flavor.
This Mini Egg Loaf Cake captures the essence of spring celebrations in every slice. The combination of moist chocolate cake, festive pastel frosting, and the nostalgic crunch of Mini Eggs creates a dessert that's both visually impressive and irresistibly delicious. Whether served as the centerpiece of an Easter dessert table or enjoyed with afternoon tea throughout the spring season, it's a recipe that's sure to become a cherished tradition.
 Pin to Favorites
Frequently Asked Questions
- → Can I make this Mini Egg Loaf Cake in advance?
- Yes, you can bake the chocolate loaf 1-2 days ahead and store it in an airtight container. Add the buttercream and decorations closer to serving time for the freshest appearance.
- → What can I substitute for the Mini Eggs?
- If Mini Eggs aren't available, you can use any Easter-themed chocolate candies like chocolate eggs, M&Ms in spring colors, or even small chocolate bunnies for decoration.
- → How should I store this decorated loaf cake?
- Store the decorated cake in an airtight container at room temperature for up to 3 days. If your kitchen is warm, you can refrigerate it, but bring to room temperature before serving for the best texture.
- → Can I freeze this Mini Egg Loaf Cake?
- You can freeze the undecorated chocolate loaf wrapped tightly in plastic wrap for up to 3 months. Thaw completely before decorating with fresh buttercream and Mini Eggs.
- → Do I need a stand mixer for the buttercream?
- While a stand mixer makes buttercream preparation easier, you can use a hand mixer with good results. Just be sure your butter is properly softened to room temperature for a smooth frosting.