
 Pin to Favorites
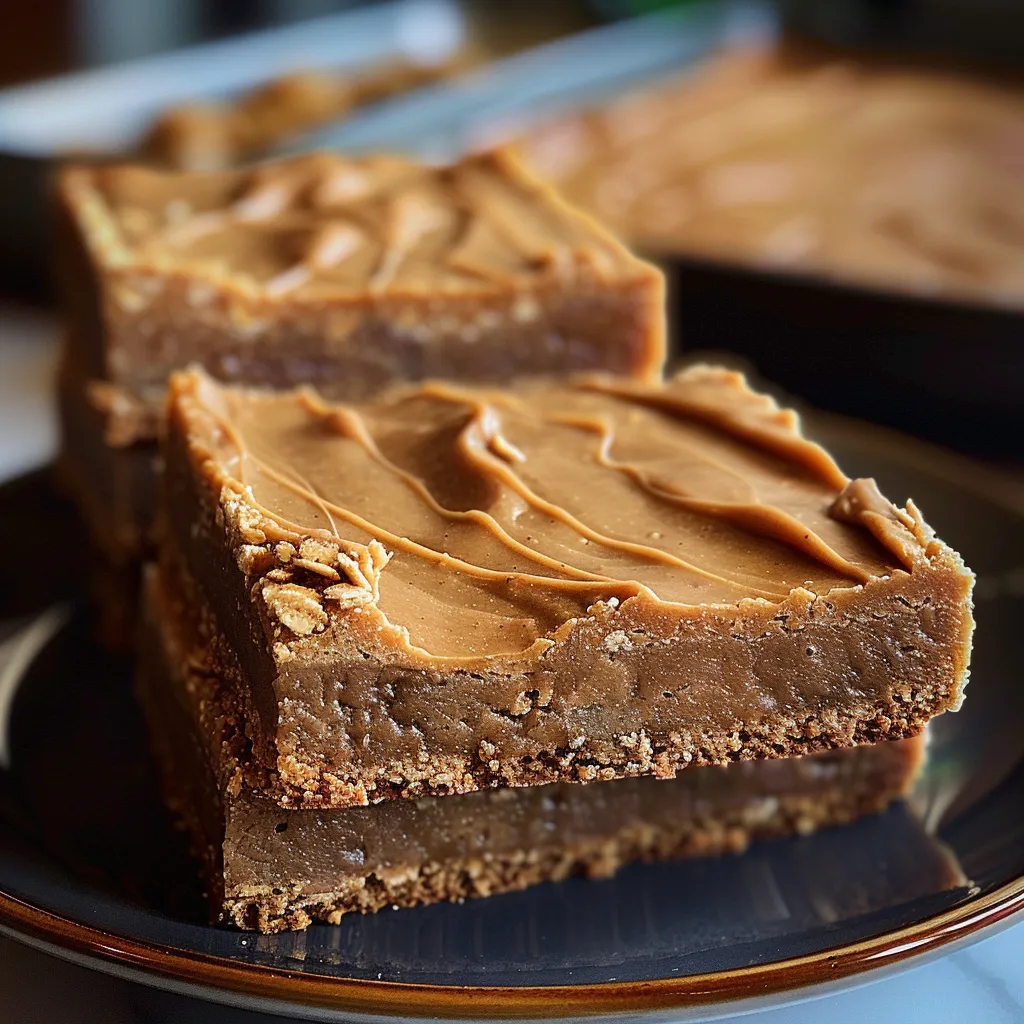
This nostalgic peanut butter cookie bar recipe takes me right back to elementary school cafeteria days, but with a homemade twist that makes them even better than the originals. Perfectly chewy, sweet, and packed with peanut butter flavor, these bars are guaranteed to disappear fast.
I first made these for my daughter's school bake sale, and they sold out faster than anything else on the table. Now they're my go-to when I need a foolproof crowd-pleaser that brings a smile to everyone's face.
Ingredients
- Unsalted butter: Softened to room temperature for the best creaming results and to ensure even incorporation
- Granulated sugar: Provides sweetness and helps create that classic crisp edge
- Brown sugar: Adds moisture and a deeper caramel flavor that makes these bars irresistibly chewy
- Creamy peanut butter: Use commercial brands like Jif or Skippy for consistent results
- Large eggs: At room temperature for better binding and texture
- Vanilla extract: Adds warmth and depth to the overall flavor
- All-purpose flour: Provides structure to the bars
- Baking soda: Gives just the right amount of lift without making them too cakey
- Salt: Balances the sweetness and enhances the peanut butter flavor
- Quick oats: Add wonderful texture and nostalgic charm
 Pin to Favorites
Step-by-Step Instructions
- Prep Your Equipment:
- Preheat your oven to 350°F and thoroughly grease your 9×13 baking dish, making sure to get into the corners. I like to line mine with parchment paper with overhanging edges for easy removal.
- Cream The Base:
- Beat the softened butter with both sugars for a full 3-4 minutes until genuinely light and fluffy. This incorporates air into the mixture and creates the perfect texture. The mixture should look almost whipped and significantly lighter in color than when you started.
- Add Wet Ingredients:
- Incorporate the peanut butter, eggs, and vanilla, beating until completely smooth and uniform. Make sure to scrape down the sides of the bowl to ensure everything is well combined. The mixture should look glossy and cohesive.
- Combine Dry Ingredients:
- Whisk the flour, baking soda, and salt in a separate bowl to ensure even distribution of leaveners. This prevents any unexpected pockets of salt or baking soda in your finished bars.
- Incorporate Dry Into Wet:
- Add the dry ingredients to your peanut butter mixture gradually, mixing on low speed just until combined. Overmixing at this stage can develop too much gluten, making your bars tough rather than tender.
- Add The Oats:
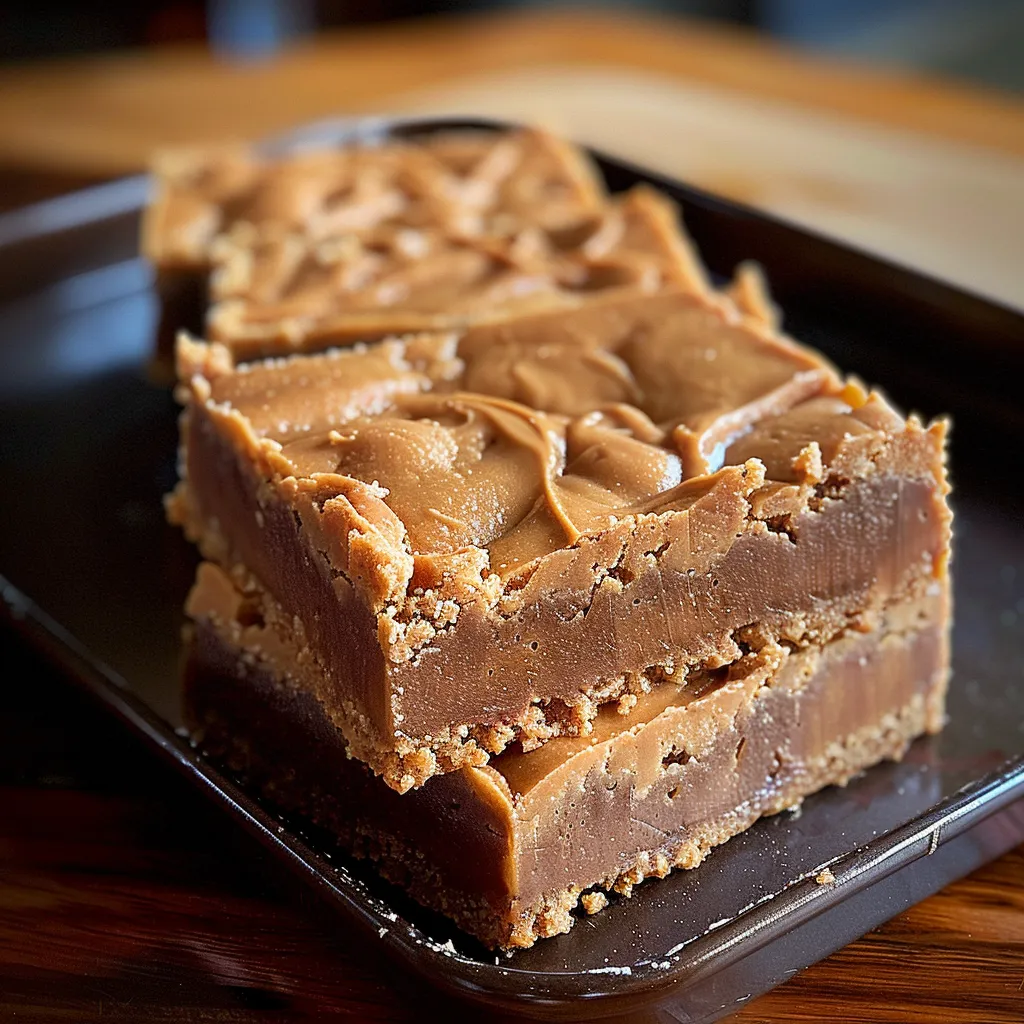
- Fold in the quick oats by hand using a sturdy spatula, making sure they're evenly distributed throughout the dough. The oats give these bars their distinctive lunch lady texture that everyone loves.
- Press And Bake:
- Spread the thick dough evenly in your prepared pan, pressing it into the corners and smoothing the top. The dough will be sticky, so slightly dampening your hands or using a greased spatula helps prevent sticking.
- Cool Completely:
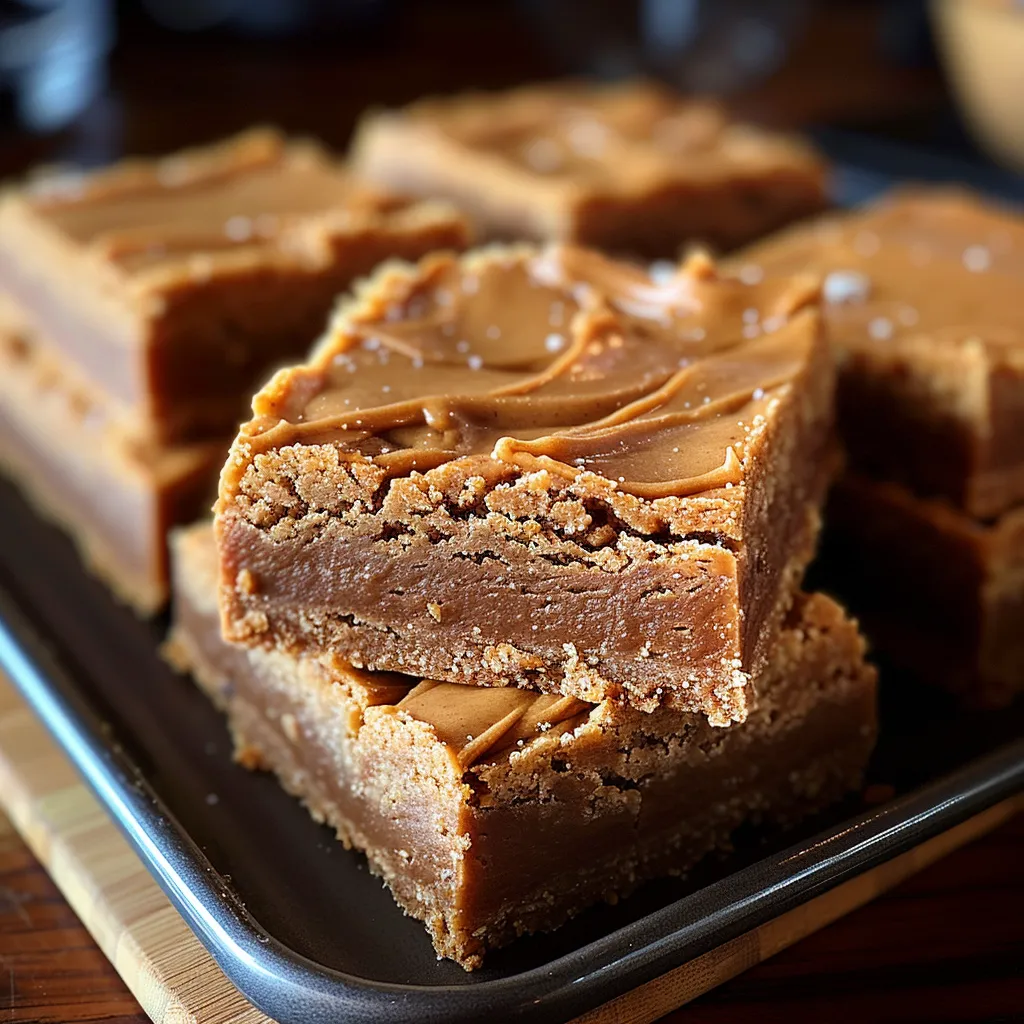
- Allow the bars to cool fully in the pan before cutting. This might take up to an hour, but patience yields neater squares and allows the flavors to fully develop.
The quick oats are truly the secret ingredient that makes these bars authentic. When I was testing this recipe, I tried using old-fashioned rolled oats, but the texture wasn't quite right. Quick oats give that perfect chewy-yet-tender bite that defines a true lunch lady cookie bar.
Storage Solutions
These bars maintain their perfect texture for about 5 days when stored in an airtight container at room temperature. For longer storage, wrap individual bars in plastic wrap and place in a freezer bag where they'll keep for up to 3 months. Thaw at room temperature for about an hour before enjoying.
Customization Options
While the classic recipe is perfect as is, you can easily make these bars your own. Try adding 1 cup of chocolate chips for a peanut butter cup flavor profile, or swap in crunchy peanut butter for added texture. For a special occasion, drizzle cooled bars with a simple powdered sugar glaze or melted chocolate.
Serving Suggestions
These bars make an excellent lunchbox treat, but for a truly decadent dessert, warm slightly and top with a scoop of vanilla ice cream. For brunch gatherings, cut them into smaller squares and serve alongside fresh fruit for a sweet counterpoint. During the holidays, they're perfect for cookie exchanges since they're easy to make in large batches.
The Nostalgia Factor
There's something universally comforting about school cafeteria desserts, and these bars capture that essence perfectly. The combination of peanut butter and oats creates that distinctive texture that generations of schoolchildren have enjoyed. Unlike some commercial versions, these homemade bars use quality ingredients without artificial preservatives.
 Pin to Favorites
Frequently Asked Questions
- → What makes these peanut butter cookie bars soft and chewy?
The combination of creamy peanut butter, quick oats, and softened butter contributes to the soft and chewy texture of these bars.
- → Can I use chunky peanut butter instead of creamy?
Yes, chunky peanut butter will add a delightful texture to the bars, but it may alter the smoothness of the dough slightly.
- → How can I store the leftover cookie bars?
Store the bars in an airtight container at room temperature for up to 5 days, or refrigerate to extend freshness up to a week.
- → Are these bars suitable for freezing?
Yes, you can freeze the bars for up to 3 months. Wrap them tightly in plastic wrap or store in an airtight container before placing them in the freezer.
- → Can these bars be customized with add-ins?
Absolutely! You can mix in chocolate chips, chopped nuts, or dried fruits to create your own variation of these bars.