
 Pin to Favorites
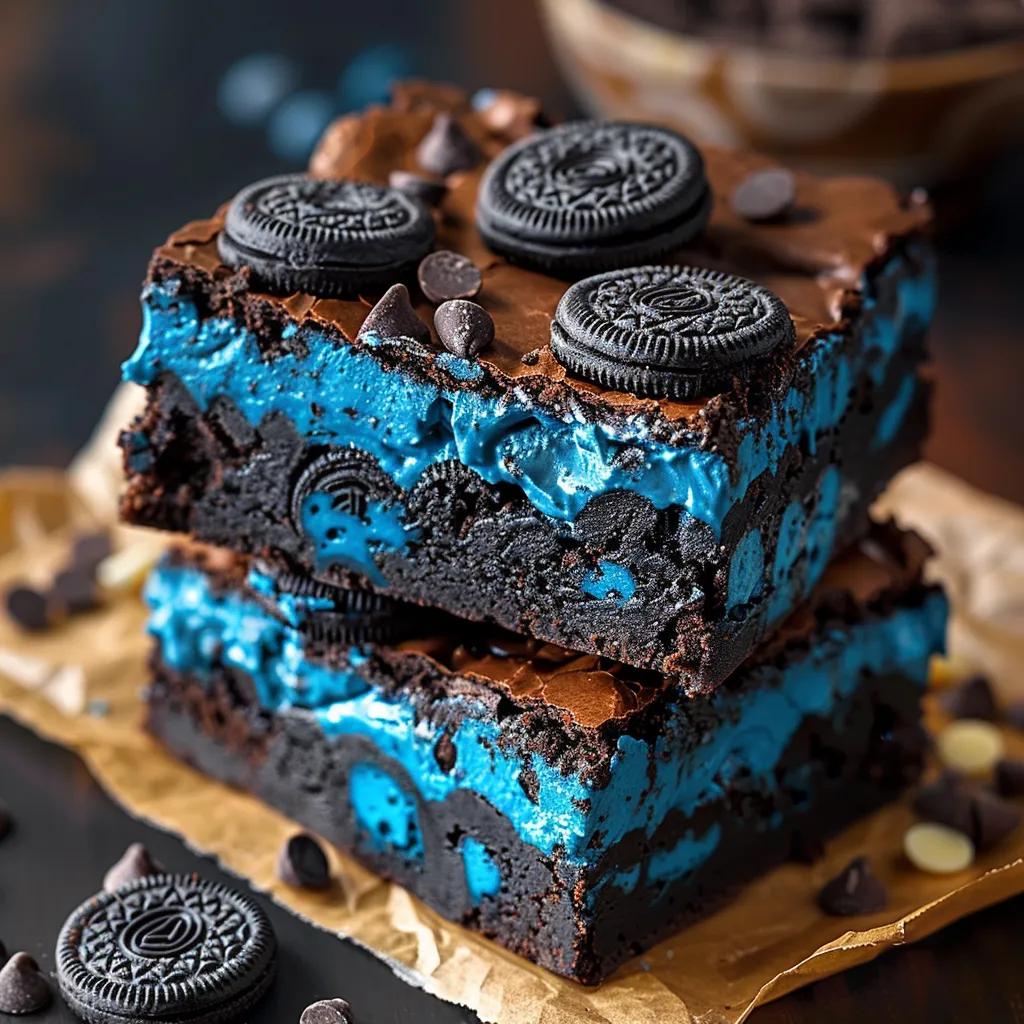
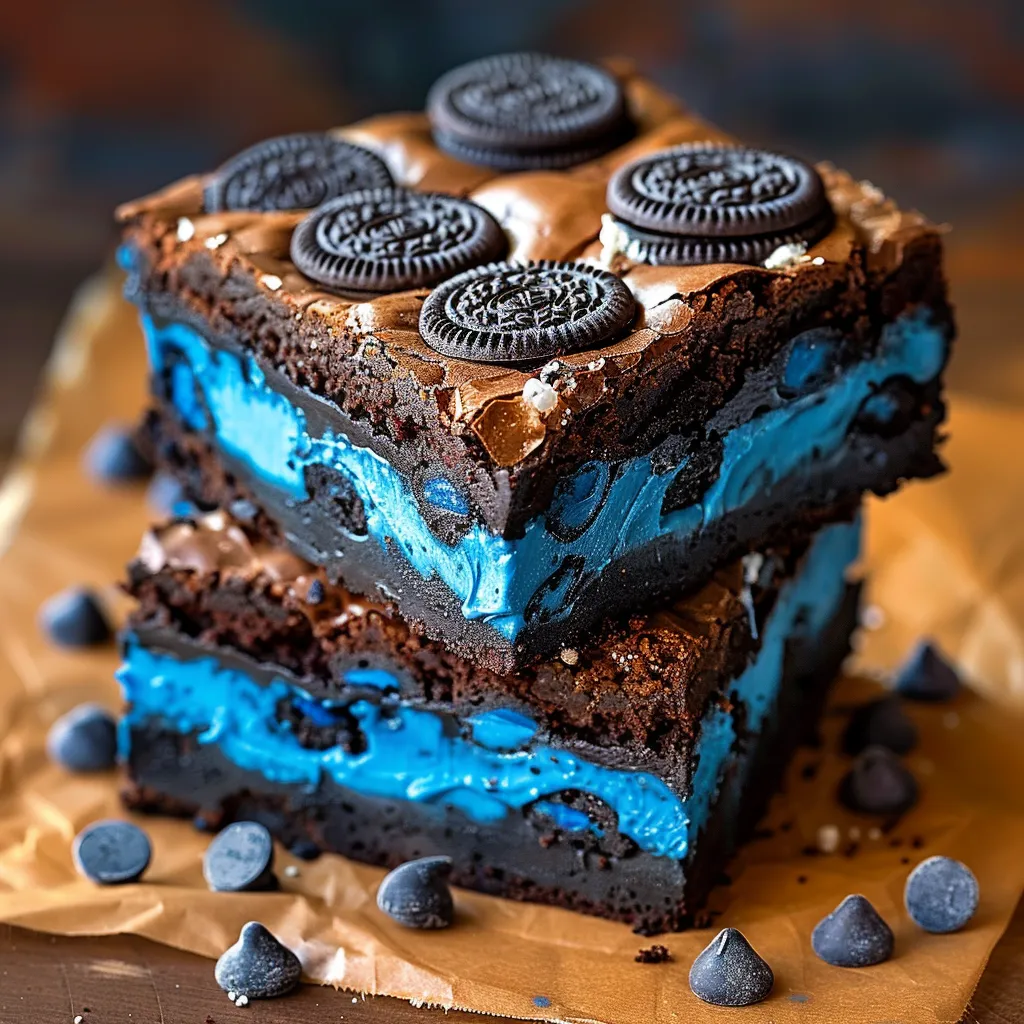
Blue Velvet Oreo Brownies create an unforgettable dessert experience with their striking blue color and irresistible layered composition. What makes these brownies truly special is the perfect balance between the fudgy blue velvet base, creamy Oreo truffle middle, and smooth white chocolate topping. Each component contributes something essential – richness from the brownies, cookie texture from the Oreos, and sweet creaminess from the white chocolate – creating a dessert that's as beautiful to look at as it is delicious to eat.
My niece requested 'something blue' for her birthday celebration last month, and these brownies were an absolute showstopper. Even the adults who initially questioned blue dessert were quickly converted after the first bite. The secret is in allowing each layer to properly set before adding the next – patience is rewarded with perfectly defined layers and that beautiful slice reveal.
Essential Ingredients and Selection Tips
- Bittersweet Chocolate: Choose a high-quality bar with at least 60% cacao content. The slight bitterness balances the sweetness of the other layers and creates a more complex flavor profile.
- Gel Food Coloring: Liquid food coloring can alter the consistency of your batter, while gel provides intense color without adding excess moisture. I find the combination of royal blue with just a touch of violet creates that perfect deep blue shade.
- Cream Cheese: Always use full-fat, brick-style cream cheese for the truffle layer. Low-fat versions contain more moisture and won't set properly.
- White Chocolate: Look for real white chocolate containing cocoa butter rather than 'white baking chips,' which often use palm oil instead. The authentic version melts more smoothly and has a superior flavor.
 Pin to Favorites
Detailed Cooking Instructions
- Step 1: Prepare the Blue Velvet Brownies
- Preheat oven to 350°F and line a 9x9-inch pan with parchment paper. Melt bittersweet chocolate and butter using a double boiler. Stir in royal blue and violet gel food coloring until the desired shade is achieved.
- Step 2: Make the Batter
- Whisk sugar into the melted chocolate mixture until fully combined. Let cool slightly before adding eggs one at a time. Gently fold in flour, baking powder, and salt, stirring until just combined.
- Step 3: Bake
- Pour batter into the prepared pan, smoothing the top. Bake for 44-48 minutes or until a toothpick inserted comes out with a few moist crumbs. Allow to cool completely before adding the next layer.
- Step 4: Make the Oreo Truffle Layer
- Crush Oreos into fine crumbs and mix with softened cream cheese until fully incorporated. Spread evenly over the cooled brownie layer and refrigerate for 30 minutes to set.
- Step 5: Prepare the White Chocolate Topping
- Melt white chocolate gently using a double boiler or microwave. Let cool slightly before pouring over the Oreo truffle layer. Spread evenly and sprinkle with mini chocolate chips if desired. Refrigerate for at least 1 hour until set.
- Step 6: Slice and Serve
- Lift the brownies from the pan using the parchment overhang. Let sit at room temperature for 10-15 minutes before slicing with a hot knife for clean layers.
The first time I made these for a baby shower, I rushed the cooling process and ended up with the layers blending together. Now I understand that taking the time to properly cool and set each layer is what creates that stunning visual effect that makes people say 'wow' before they even take a bite.
Through multiple test runs, I learned that the key to achieving the perfect deep blue velvet color is using royal blue gel with just a touch of violet. My first attempt resulted in a teal shade because I didn’t balance the colors properly. Now, I always test a small batch before mixing it into the full batter.
The journey to perfecting these Blue Velvet Oreo Brownies has been as rewarding as enjoying the final product. What began as an experiment for a color-themed party has become one of my signature desserts, requested for birthdays, baby showers, and holidays. There's something magical about presenting a dessert with such visual impact that also delivers on flavor. The combination of rich chocolate, creamy Oreo filling, and sweet white chocolate creates a harmony of flavors that makes these brownies truly unforgettable.
 Pin to Favorites
Frequently Asked Questions
- → Can I use regular food coloring instead of gel food coloring?
- Gel food coloring is recommended for achieving the vibrant blue color without adding too much liquid to the batter. If using regular food coloring, you'll need more, which might affect the texture.
- → How should I store these Blue Velvet Oreo Brownies?
- Store these brownies in an airtight container in the refrigerator for up to 5 days. The layers hold together better when chilled.
- → Can I freeze these brownies for later?
- Yes, you can freeze them for up to 3 months. Cut into portions, wrap individually in plastic wrap, then place in a freezer bag. Thaw in the refrigerator overnight before serving.
- → What's the best way to cut these layered brownies neatly?
- For clean cuts, refrigerate the brownies for at least 2 hours before cutting. Use a sharp knife dipped in hot water and wiped dry between cuts.
- → Can I make these brownies without food coloring?
- Absolutely! The food coloring is purely for visual appeal. Without it, you'll have delicious chocolate Oreo brownies instead of blue velvet ones.