
 Pin to Favorites
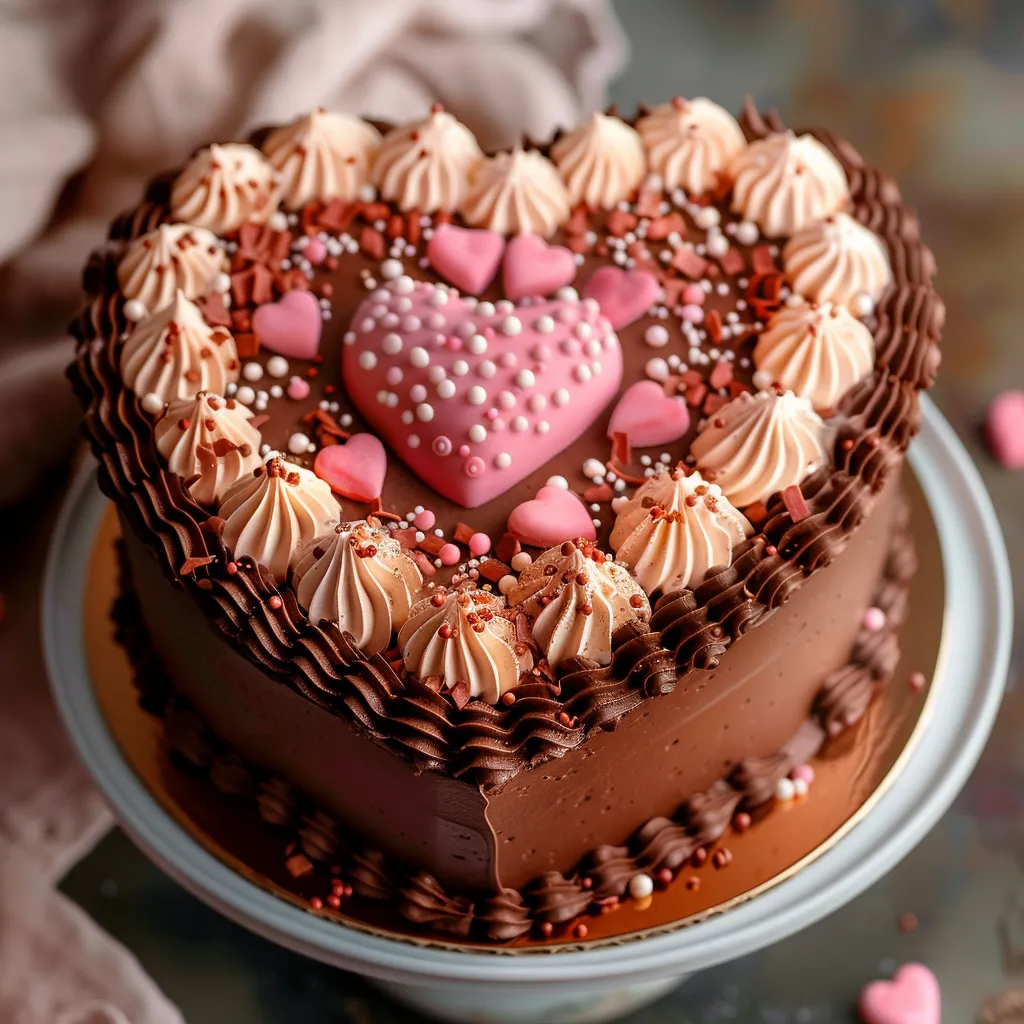
A heart-shaped cake with vintage piping creates pure magic for any special celebration. After perfecting this technique through countless birthday cakes and bridal showers, I've discovered that transforming simple round layers into an elegant heart design is easier than you might think - no special pan required! This romantic creation combines classic piping techniques with a modern twist, perfect for everything from Valentine's Day to wedding celebrations.
Just last month, I made this cake for my sister's engagement party. The moment we brought it out, everyone gasped at the delicate piping details. Even better was watching my sister's face light up when she saw her favorite pink shade swirled into those perfect vintage patterns.
Essential Tools and Ingredients
- Two 8-inch Round Cake Layers: Any flavor works, but chocolate provides beautiful contrast
- Vanilla Buttercream: You'll need about 9 cups total
- Food Coloring: Gel colors give the best results without thinning the frosting
- Basic Piping Tips: Wilton tips 4B, 32, and 102 create the vintage details
- Sharp Serrated Knife: Essential for clean cuts when shaping
- Turntable: Makes smooth frosting so much easier
- Cardboard Round: For support while decorating
- Angled Spatula: Helps achieve those crisp edges
 Pin to Favorites
Let's create this showstopper step by step
- Shape Your Heart:
- Place first round cake on cutting board. Make two angled cuts to form a point at the bottom. Save cut pieces for top curves of heart. Repeat with second layer using the first as a template. Cut cardboard base to match shape.
- Build Your Base:
- Center cake on prepared board. Position curved pieces at top. Secure with buttercream "glue." Fill between layers generously. Align top layer carefully.
- Crumb Coat and Chill:
- Apply a thin layer of buttercream all over. Define heart shape with careful smoothing. Carve slight 'V' at top if needed. Chill at least 30 minutes until firm. Don't rush this step - it's crucial for clean piping.
- Final Coat Application:
- Start with a chilled cake. Apply a generous layer of buttercream. Smooth sides while rotating on turntable. Create sharp edges by sweeping inward. Chill again until completely firm.
Over years of making celebration cakes, I've learned that patience is key. My first attempt at vintage piping looked more like a preschooler's art project, but each cake taught me something new about technique and timing.
Buttercream Basics
Medium consistency is essential for those crisp vintage designs. I once tried piping with too-soft buttercream and watched in horror as my beautiful shells slowly melted into sad puddles. Now I always do a test pipe on the back of my hand first.
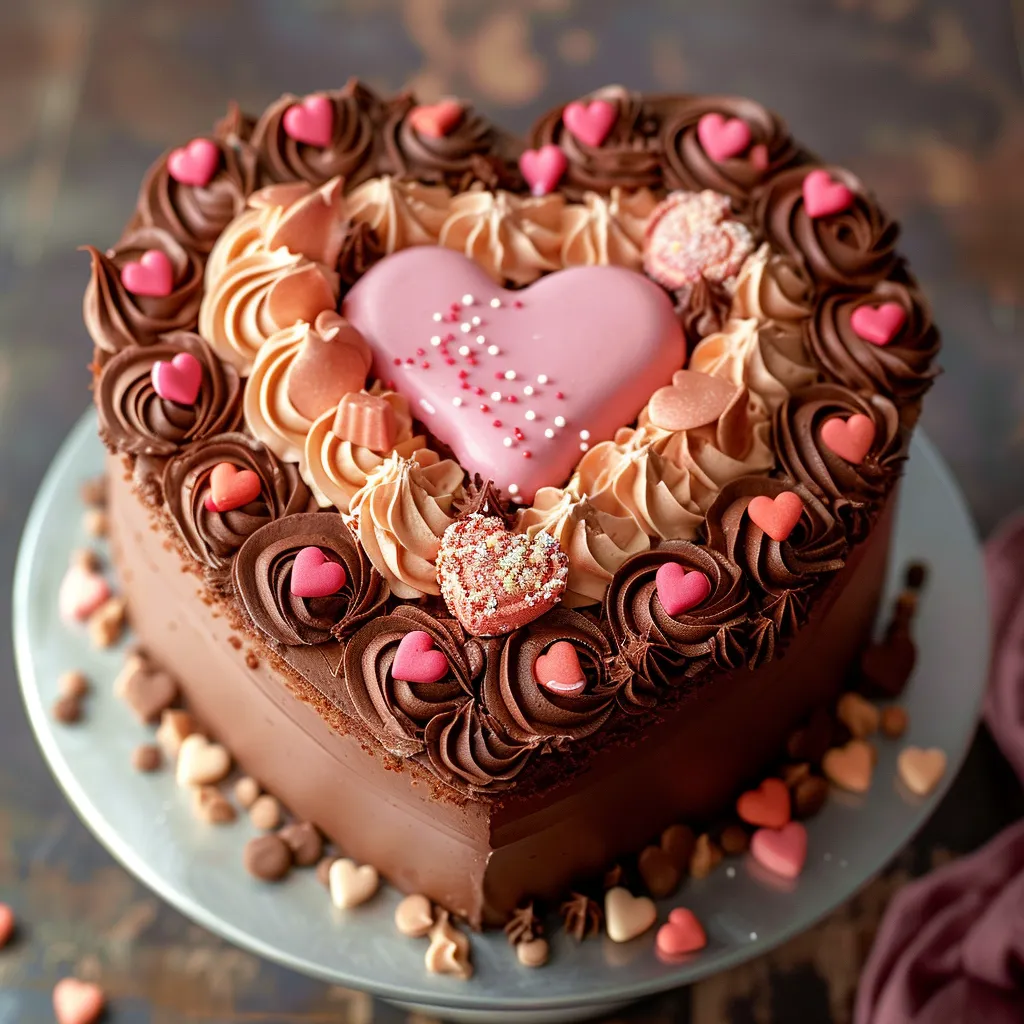
Color Magic
Dividing your buttercream and creating varying shades adds depth to the design. Start with your lightest color and gradually add more gel coloring for darker shades. This creates a beautiful ombré effect in your piping patterns.
Temperature Control
Working in a cool kitchen makes all the difference. During summer, I often chill my piping bags between uses to maintain the perfect consistency. Nothing ruins vintage piping faster than warm, soft buttercream.
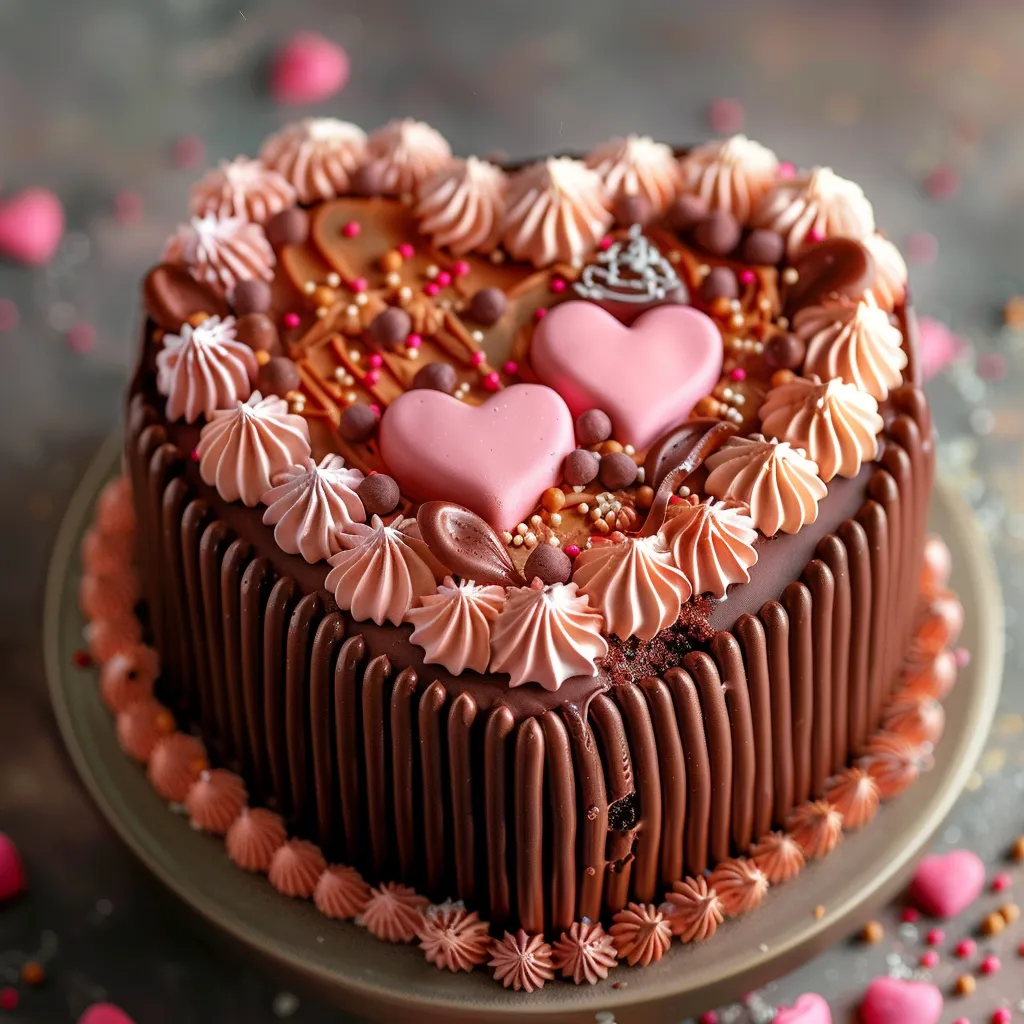
Piping Practice
If you're new to vintage piping, practice each pattern on parchment paper first. You can scrape off the buttercream and reuse it, making this a stress-free way to perfect your technique.
This vintage heart cake has become my signature celebration design. Whether it's decorated in romantic pinks for Valentine's Day or elegant whites for a wedding, it never fails to create that magical moment when guests first see it. The combination of classic technique and modern styling makes it timeless, while the heart shape adds that perfect touch of whimsy that makes any celebration more special.
 Pin to Favorites
Frequently Asked Questions
- → How long does it take to complete this cake?
- Plan for 3-4 hours total, including chilling times and detailed piping work.
- → Can I make the cake layers ahead of time?
- Yes, you can bake and freeze the cake layers up to a month in advance.
- → What consistency should the buttercream be?
- Use medium-stiff consistency buttercream for both filling and piping decorations.
- → How do I transport this cake safely?
- Use a sturdy cake box and keep the cake chilled until delivery. Transport in an air-conditioned vehicle.
- → Can I use different colors for this design?
- Yes, while pink is traditional, the same techniques work with any color scheme you choose.