
 Pin to Favorites
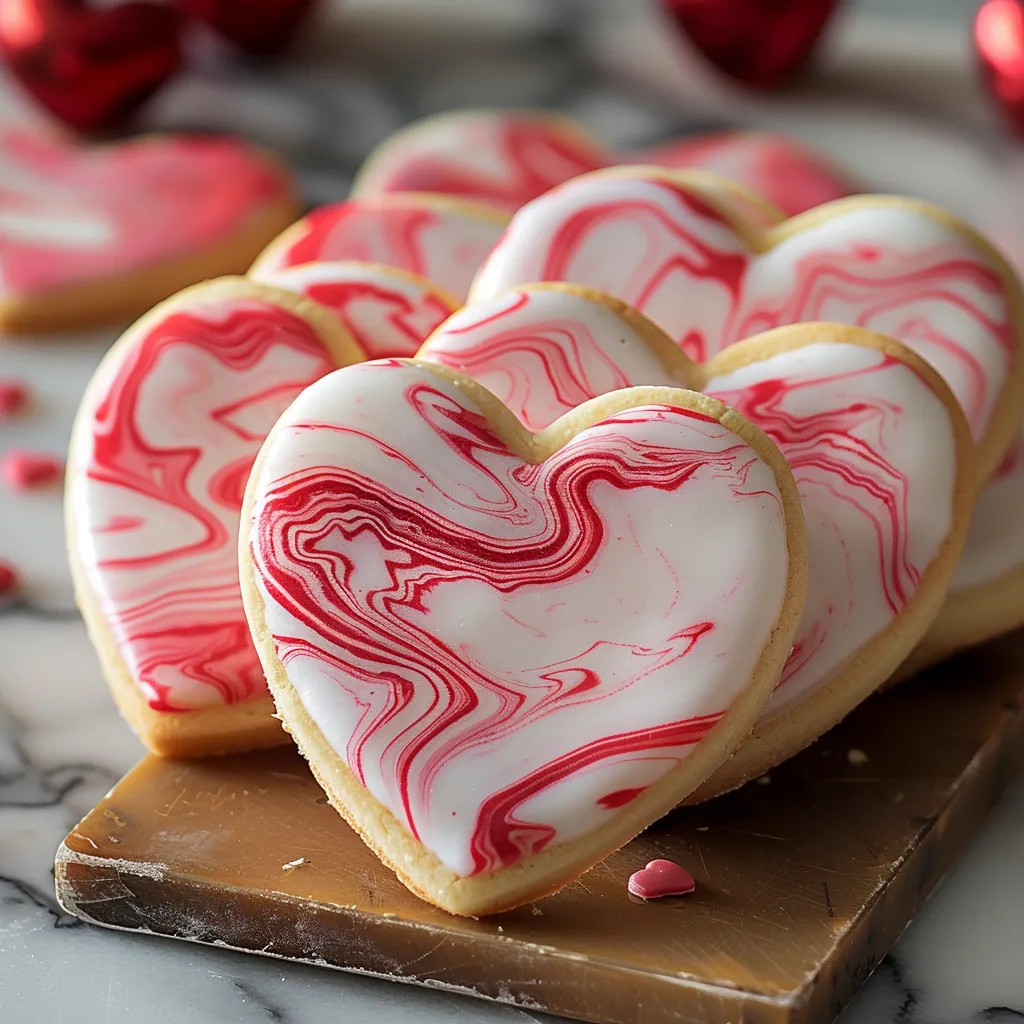
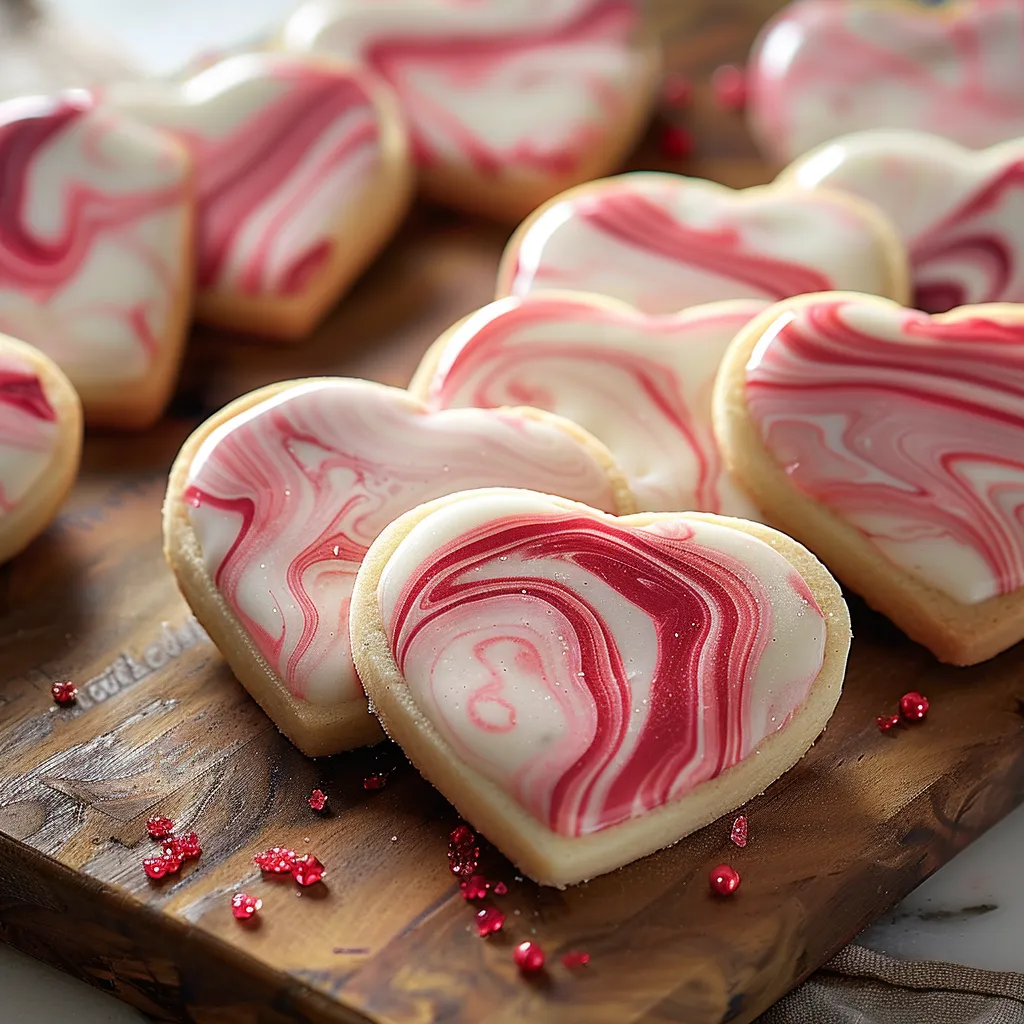
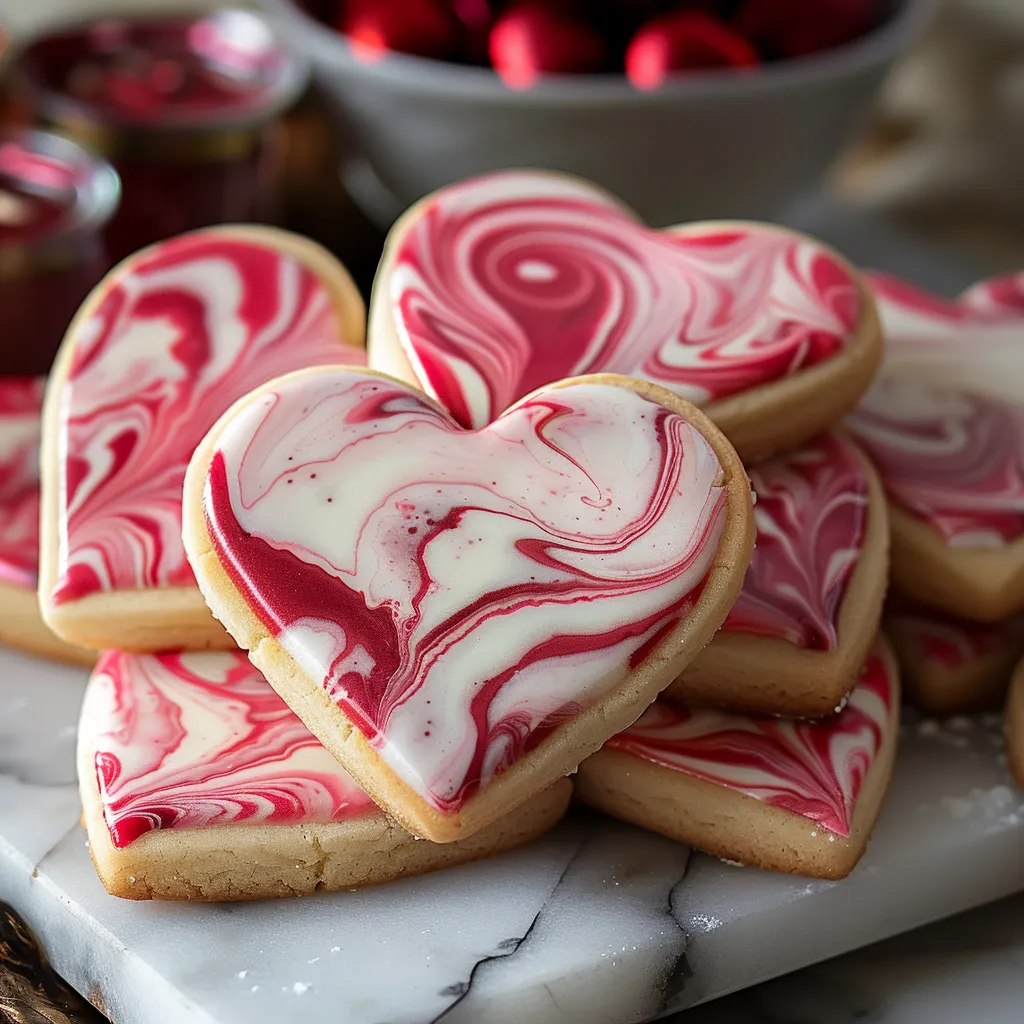
These marbled Valentine sugar cookies create pure magic with their stunning swirls of color and buttery-soft texture. After perfecting this recipe through countless batches, I've discovered that creating these eye-catching treats is easier than you might think. Each cookie becomes a unique work of art, perfect for sharing love on Valentine's Day or any special celebration.
Last Valentine's Day, I made these with my niece, and watching her face light up as she swirled the colors together made the whole kitchen mess worthwhile. She declared herself a 'cookie artist' and couldn't wait to share her creations with her classmates.
Essential Ingredients
- All-Purpose Flour: Creates the perfect tender structure
- Unsalted Butter: Must be room temperature for best results
- Granulated Sugar: Provides sweetness and helps with texture
- Large Egg: Binds everything together
- Pure Vanilla Extract: Enhances all the flavors
- Baking Powder: Gives just the right amount of lift
- Gel Food Coloring: Creates vibrant marbling without thinning the dough
 Pin to Favorites
Let me guide you through making these beautiful cookies
- Prepare Your Base:
- Cream butter and sugar until light and fluffy. Beat in egg and vanilla until well combined. Whisk dry ingredients separately. Mix together just until incorporated. Divide dough for coloring.
- Create the Marble Effect:
- Add gel coloring to divided portions. Roll small amounts of each color. Gently press colors together. Avoid overworking to keep patterns distinct. Form into uniform balls.
- Shaping Success:
- Place marbled balls on lined sheets. Space them 2 inches apart. Press gently with fork or stamp. Keep patterns visible on top. Chill if dough becomes too soft.
- Baking Perfect Cookies:
- Maintain a steady 350°F oven. Watch for light golden edges. Don't overbake to keep them soft. Cool completely before handling. Transfer carefully to avoid breaking.
My first attempt at marbling turned into a muddy mess because I overworked the colors. Now I know that less mixing creates those beautiful, distinct swirls that make these cookies so special.
Perfect Presentation
Display these cookies on a white platter to showcase their beautiful patterns. I've found that arranging them in a spiral pattern creates an impressive presentation for parties or gift boxes.
Color Combinations
While pink and white are perfect for Valentine's Day, I've experimented with different holidays - orange and black for Halloween, red and green for Christmas. Each combination creates its own magical effect.
Make-Ahead Magic
The dough can be prepared and chilled overnight, making holiday baking more manageable. I often make double batches and freeze half the shaped cookies for last-minute treats.
These marbled Valentine cookies have become more than just a recipe in our family - they're a beloved tradition. Whether shared at school parties, packaged as gifts, or enjoyed at home with a glass of milk, they never fail to bring smiles and amazement. The combination of buttery sweetness and beautiful swirls creates something truly special that keeps everyone coming back for more.
 Pin to Favorites
Frequently Asked Questions
- → How do I achieve the best marbled effect?
- Gently twist different colored dough portions together without overmixing to maintain distinct swirls.
- → Can I make the dough ahead of time?
- Yes, you can refrigerate the dough for up to 2 days or freeze for up to 3 months.
- → Why use gel food coloring instead of liquid?
- Gel colors provide more vibrant results without affecting the dough's consistency.
- → How do I know when the cookies are done?
- The edges should be just lightly golden while the centers remain soft.
- → Can I use different color combinations?
- Yes, you can use any gel food coloring combinations to match different holidays or themes.