
 Pin to Favorites
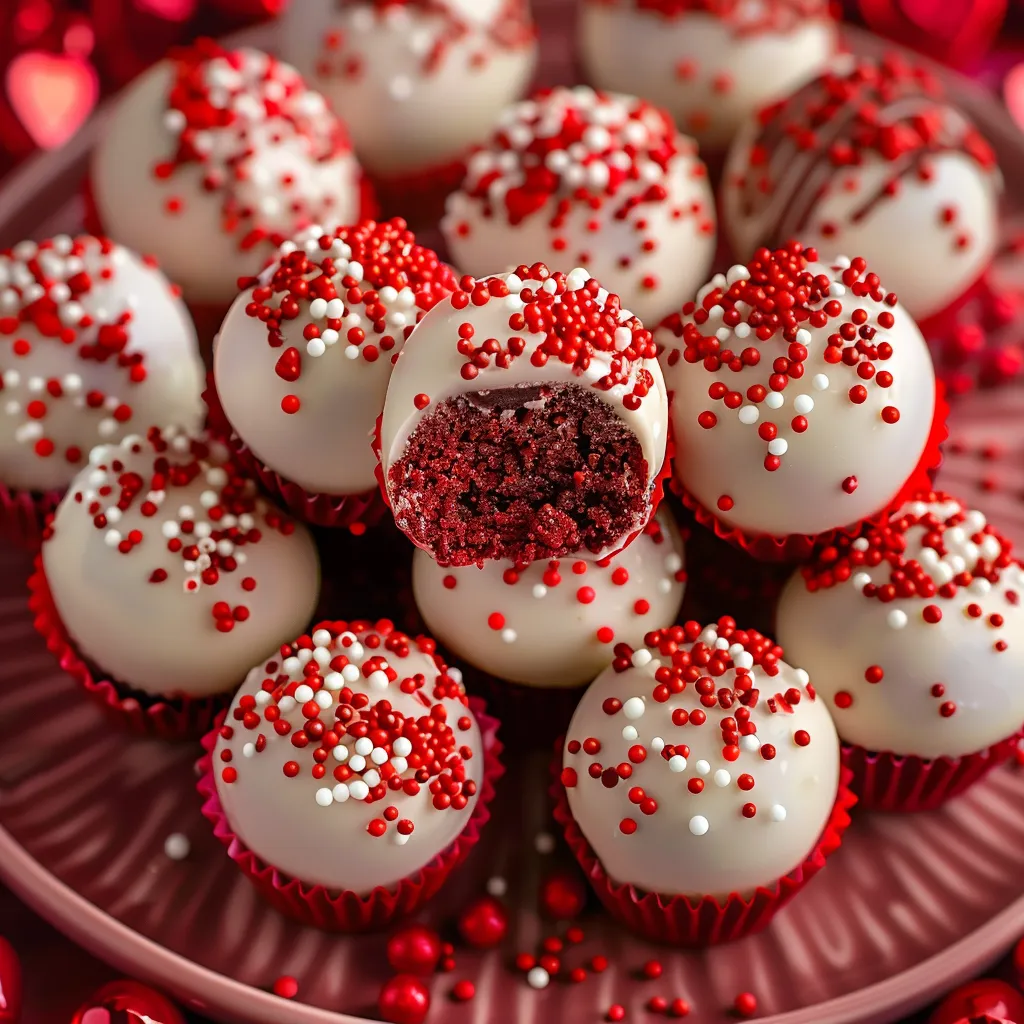
These red velvet cake balls transform simple ingredients into irresistible Valentine's Day treats. Each bite-sized sphere combines rich red velvet cake with creamy cream cheese, all wrapped in a smooth chocolate coating and festive sprinkles. After perfecting this recipe for countless holiday parties, I can promise these little treats disappear faster than you can make them.
Last Valentine's Day, I made these for my daughter's class party. The look of pure joy on the children's faces as they bit into these festive treats made all the rolling and dipping worthwhile. Even the teachers couldn't resist coming back for seconds!
Essential Ingredients
- Red Velvet Cake Mix: Creates that classic flavor and stunning color
- Cream Cheese: Must be completely softened for smooth mixing
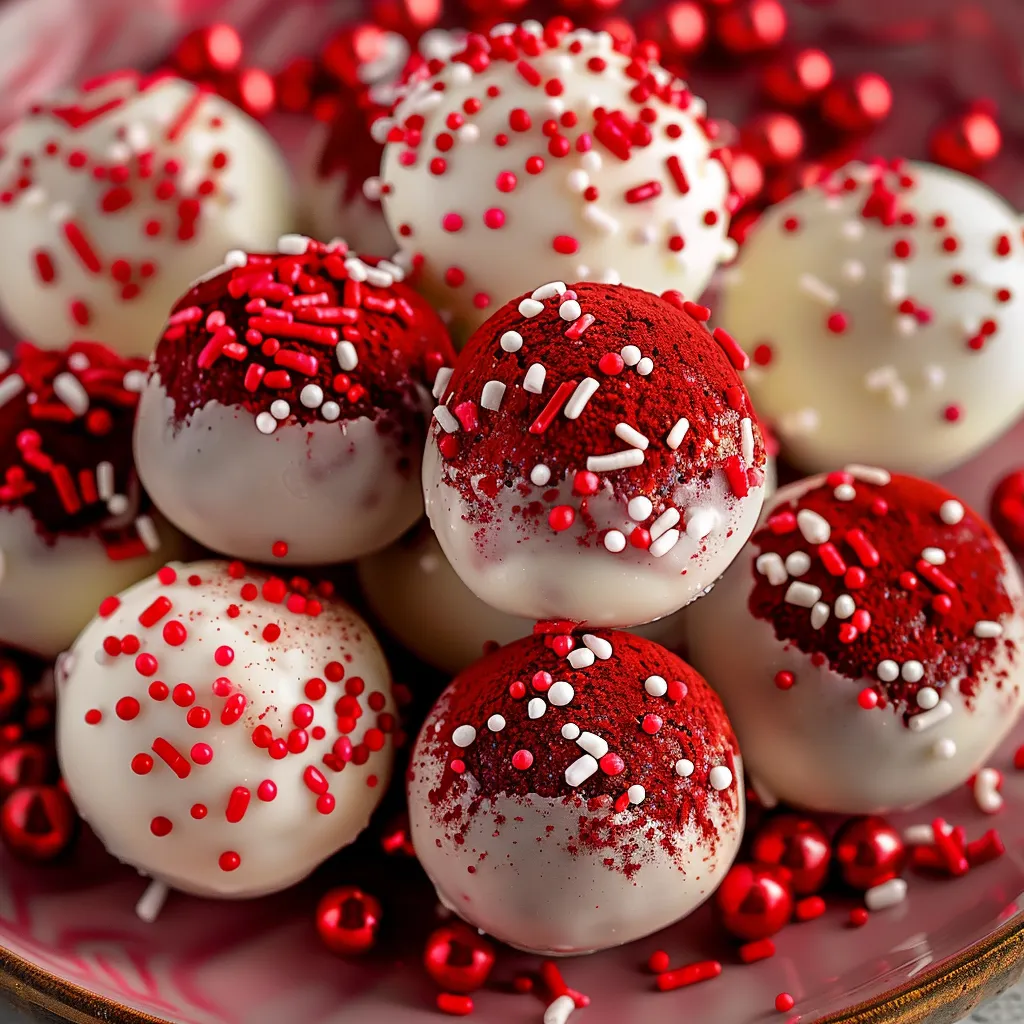
- Melting Chocolate: Both white and dark for variety
- Valentine's Sprinkles: Adds festive flair
- Ghirardelli Wafers: Melts smoothly for perfect coating
- Parchment Paper: Essential for easy cleanup
 Pin to Favorites
Let me walk you through creating these little bites of joy
- Prepare Your Mix:
- Spread cake mix on a baking sheet. Heat treat in the oven at 350°F for safety. Let cool completely before using. This step eliminates any bacteria concerns.
- Create Your Base:
- Beat softened cream cheese until smooth. Gradually mix in cooled cake mix. Continue mixing until you have a dough-like consistency. Chill mixture for two hours.
- Roll and Shape:
- Use a cookie scoop for uniform size. Roll each portion between palms until smooth. Place on parchment-lined sheets. Let rest 15 minutes to prevent coating cracks.
- Dipping Process:
- Melt chocolate using the double boiler method. Dip balls one at a time using a fork. Tap gently to remove excess chocolate. Add sprinkles before the coating sets.
My first attempt at these treats taught me a valuable lesson about patience. I rushed the chilling time and ended up with misshapen balls that were impossible to dip. Now I know that taking time with each step makes all the difference.
Storage Success
Keep these little gems in an airtight container in the fridge for up to a week. They also freeze beautifully for up to 3 months - perfect for last-minute treats or late-night cravings.
Flavor Adventures
While red velvet is perfect for Valentine's Day, don't be afraid to experiment! I've made these with chocolate cake for birthdays, funfetti for celebrations, and even lemon cake for spring parties.
Time-Saving Tips
Spread the work over two days - make and chill the mixture one day, then shape and dip the next. This makes the process much more manageable, especially when making large batches.
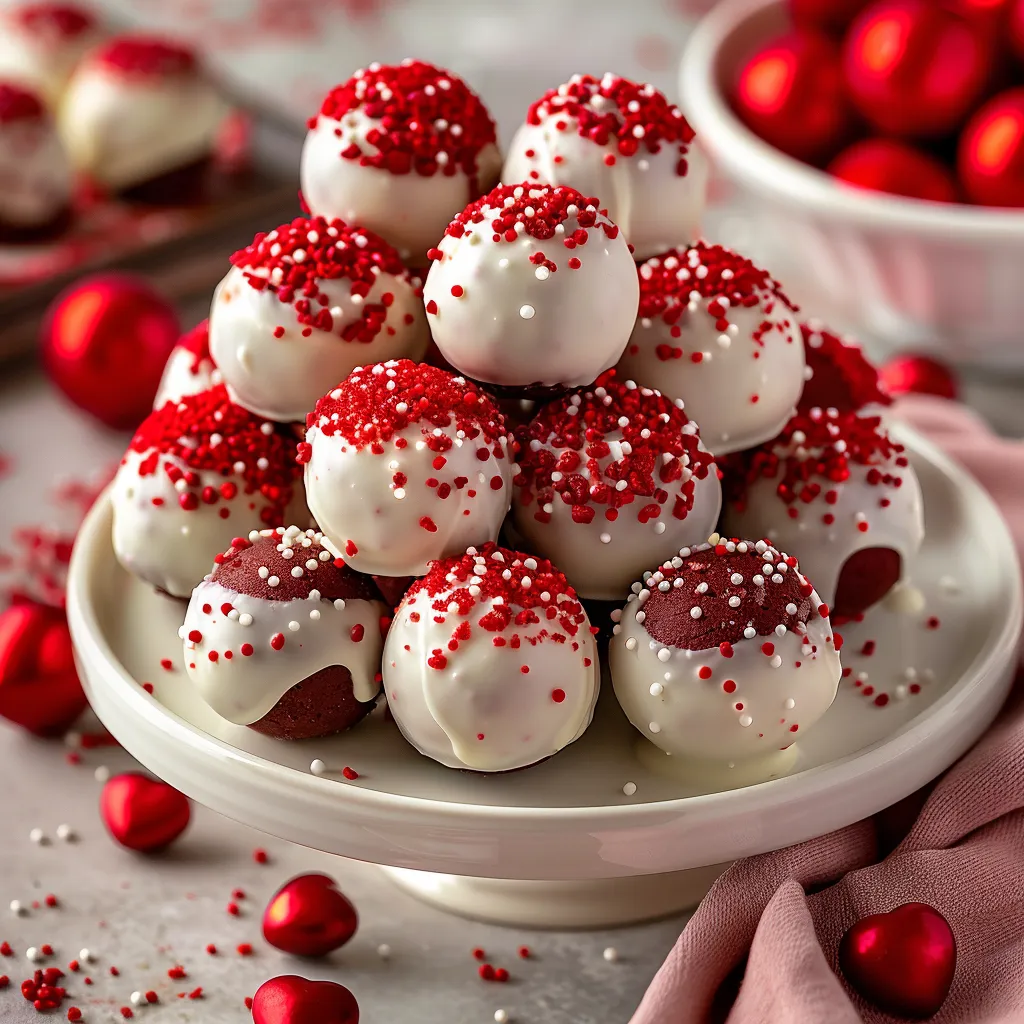
These red velvet cake balls have become my go-to treat for spreading love and joy. Whether shared at a Valentine's party, packaged as gifts, or enjoyed at home with family, they never fail to bring smiles. The combination of tender cake, creamy filling, and smooth chocolate creates pure magic in every bite.
 Pin to Favorites
Frequently Asked Questions
- → Why do I need to heat treat the cake mix?
- Heat treating eliminates any potential bacteria in the raw cake mix, making it safe to consume without baking.
- → How long do these cake balls last?
- They can be stored in an airtight container in the refrigerator for up to 7 days.
- → Why do the balls need to expand before coating?
- Letting them sit for 15 minutes after rolling prevents the chocolate coating from cracking.
- → Can I use different flavors of cake mix?
- Yes, you can use any cake mix flavor and different types of melting wafers for coating.
- → Why use a double boiler for melting chocolate?
- A double boiler helps maintain the right temperature and prevents the chocolate from overheating or seizing.