 Pin to Favorites
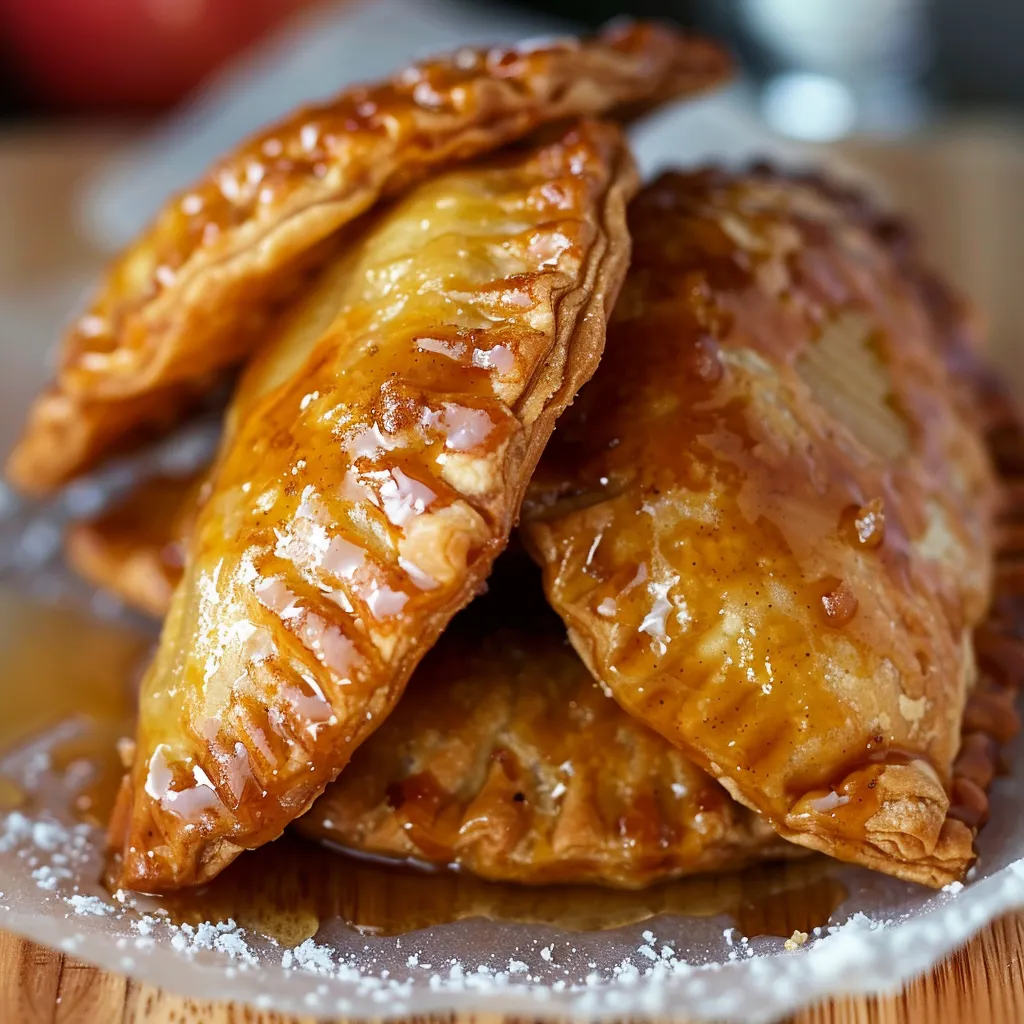
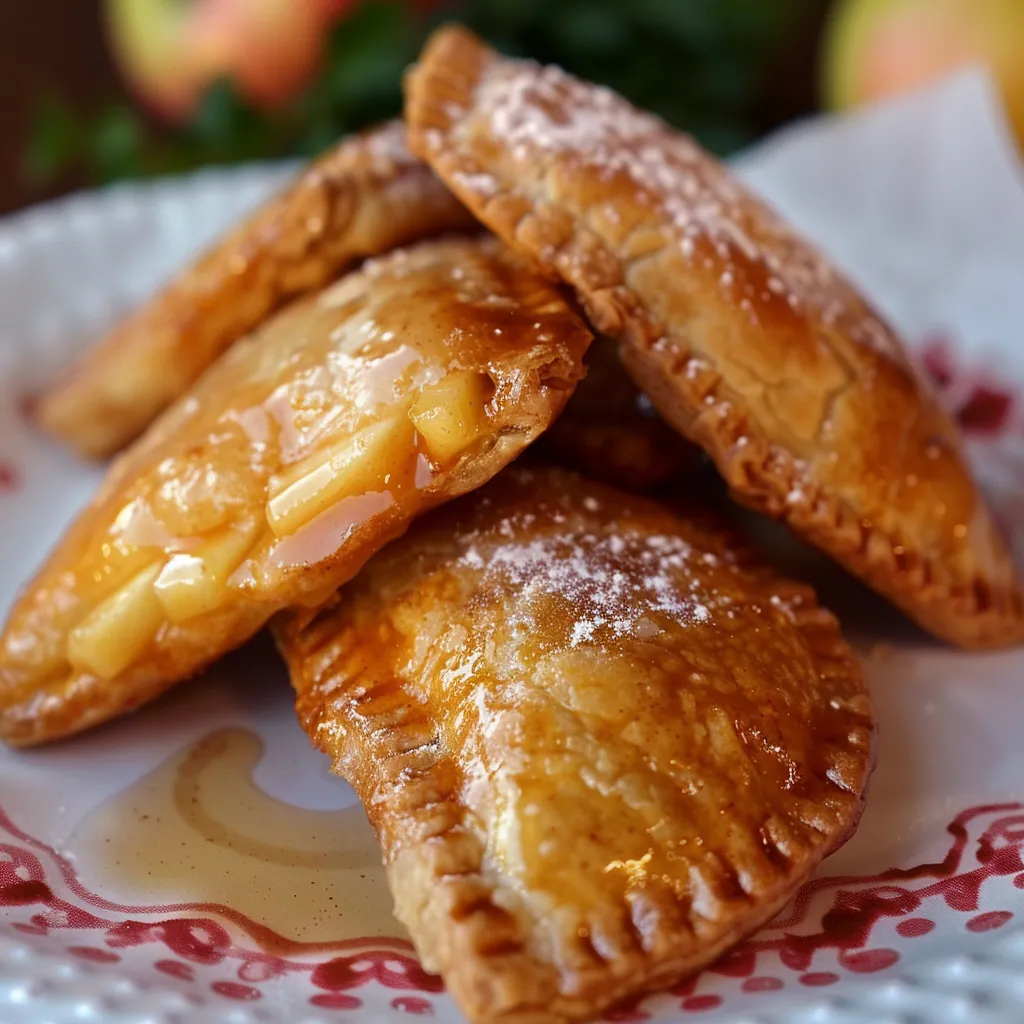
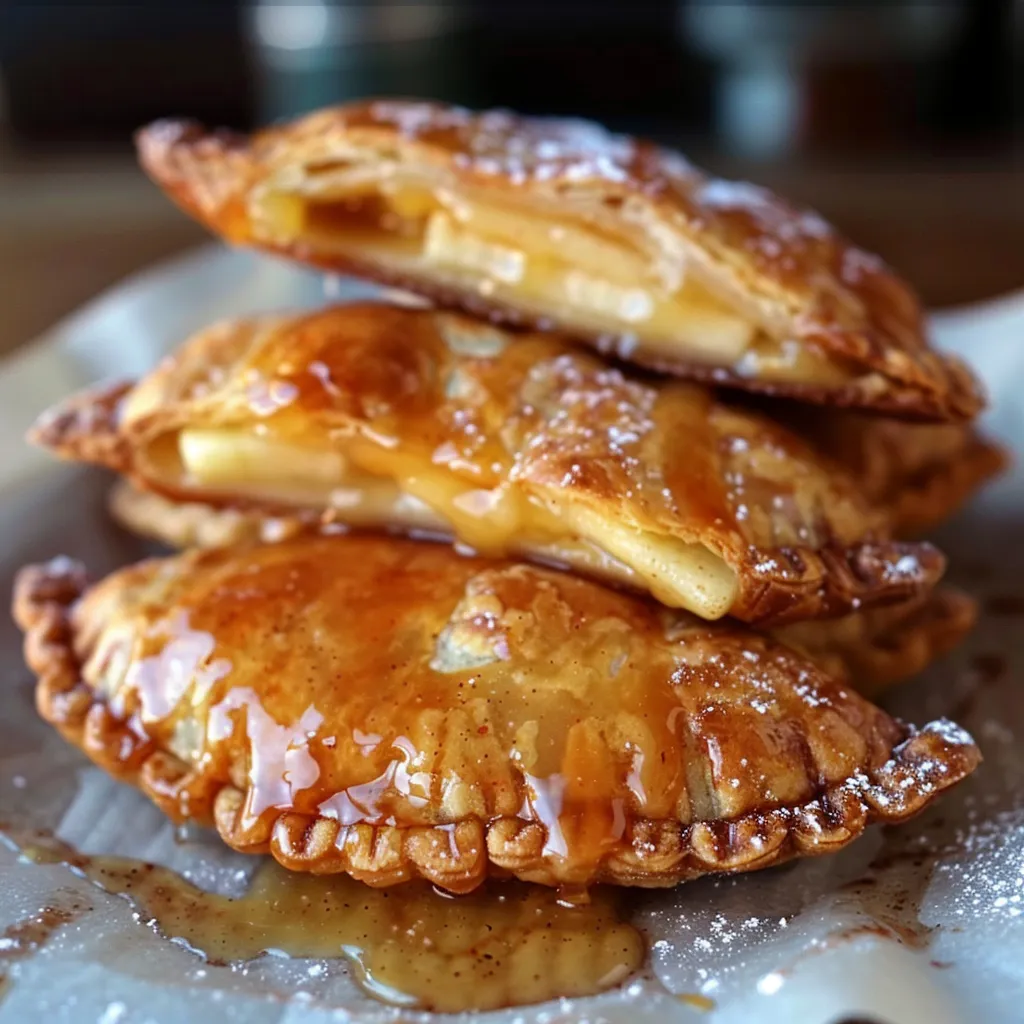
This perfect marriage of two classic desserts brings together the comforting warmth of apple pie with the luxurious creaminess of cheesecake in one irresistible handheld treat. The contrast between the crispy fried exterior and the soft, flavorful filling creates a dessert experience that will leave everyone asking for seconds.
I first made these for my daughter's birthday when she couldn't decide between apple pie and cheesecake. The combination was such a hit that they've become our signature dessert for special occasions and holiday gatherings.
Ingredients
- Granny Smith or Honeycrisp apples: Provide the perfect balance of tartness and sweetness while maintaining their structure during cooking
- Unsalted butter: Creates a rich base for the apple filling without adding extra saltiness
- Brown sugar: Offers deep caramel notes that complement the apples perfectly
- Ground cinnamon and nutmeg: Bring essential warmth and spice to the filling
- Cornstarch: Acts as a thickening agent ensuring your filling stays inside the pie
- Vanilla extract: Adds aromatic depth to the apple mixture
- Cream cheese: Forms the base of the cheesecake filling; choose full fat for the best flavor and texture
- Powdered sugar: Sweetens the cheesecake filling while keeping it smooth and lump free
- Refrigerated pie dough: Saves time but you can use homemade for extra credit
- Egg wash: Helps seal the edges and creates a golden exterior
- Frying oil: Gives these pies their irresistible crispy exterior
Step-by-Step Instructions
- Prepare the Apple Filling:
- Heat your skillet over medium heat and melt the butter completely. Add your diced apples, which should be cut into small uniform pieces about ¼ inch in size for even cooking. Sprinkle in the brown sugar, cinnamon, and nutmeg, stirring to coat the apples thoroughly. Allow the mixture to cook for 5 to 7 minutes, stirring occasionally, until the apples have softened but still retain some texture. When the apples have released their juices, add the cornstarch slurry and stir constantly for about 30 seconds until the mixture thickens noticeably. Remove from heat and stir in the vanilla extract, making sure to scrape all the flavorful bits from the bottom of the pan. Transfer to a bowl and allow to cool completely before assembling your pies.
- Create the Cheesecake Filling:
- Ensure your cream cheese is fully softened to room temperature to avoid lumps. In a medium bowl, beat the cream cheese and powdered sugar together using an electric mixer on medium speed for about 2 minutes until perfectly smooth and fluffy. Take a taste and adjust sweetness if needed. Cover and refrigerate until ready to use, but bring back to room temperature before assembling for easier spreading.
- Assemble Your Pies:
- On a lightly floured surface, roll out your pie dough to about 1/8 inch thickness. Using a 4 to 5 inch round cutter or a small bowl as a guide, cut as many circles as possible. Place one teaspoon of the cheesecake filling slightly off center on each circle, followed by one to two teaspoons of the cooled apple filling, taking care not to overfill. Brush the edges of the dough with egg wash, then fold the dough over to create a half moon shape. Press firmly around the edges with your fingers to seal, then crimp with a fork for extra security and a decorative touch. Transfer to a parchment-lined baking sheet and chill for 15 minutes to firm up the dough.
- Fry to Golden Perfection:
- In a heavy-bottomed skillet or dutch oven, heat about 2 inches of oil to 350°F using a thermometer for accuracy. Working in small batches of 2 to 3 pies, carefully lower them into the hot oil using a slotted spoon. Fry for 2 to 3 minutes per side, watching closely as they can brown quickly. Look for a deep golden color that indicates doneness. Transfer to a paper towel-lined plate to drain excess oil. While still warm, dust generously with cinnamon sugar or powdered sugar for a sweet finishing touch.
 Pin to Favorites
My grandmother always insisted on adding a tiny pinch of salt to the apple filling, claiming it was her secret for enhancing the flavor. Years later, I discovered she was right; that small addition makes all the difference in bringing out the sweetness and complexity of the apples.
Storage and Reheating
These handheld pies are best enjoyed freshly fried while the contrast between the crisp exterior and warm filling is at its peak. However, they can be stored in an airtight container at room temperature for up to 2 days. For longer storage, refrigerate for up to 5 days. To recrisp, reheat in a 350°F oven for about 10 minutes until warmed through. Avoid microwaving as this will make the crust soggy and compromise the texture that makes these pies special.
Delicious Variations
The basic formula for these stuffed pies opens up endless possibilities for creative variations. Try using pears with a hint of ginger instead of apples, or swap in seasonal berries during summer. For a tropical twist, combine diced mango with a touch of lime zest. The cheesecake filling can also be flavored with citrus zest, almond extract, or even a splash of bourbon for adult gatherings. Experiment with different spice blends like cardamom or Chinese five spice to give your pies a unique flavor profile that will surprise and delight your guests.
Serving Suggestions
These pies are spectacular on their own but can be elevated further with thoughtful accompaniments. Serve warm with a scoop of vanilla bean ice cream for a delightful temperature contrast. Drizzle with caramel or maple sauce for extra indulgence. For brunch gatherings, pair with fresh fruit and strong coffee to balance the sweetness. During fall and winter, they make a cozy ending to family meals, especially when served with warm apple cider or hot chocolate topped with whipped cream.
 Pin to Favorites
These handheld pies strike the perfect balance between comfort and indulgence, making them a must-try dessert for any occasion.
Frequently Asked Questions
- → What type of apples work best for these pies?
Granny Smith or Honeycrisp apples are ideal for their flavor and firmness, complementing the sweetness of the cheesecake filling.
- → Can I bake instead of frying?
Yes, you can bake the pies at 375°F (190°C) for 20–25 minutes until golden brown for a lighter version.
- → How do I prevent the filling from leaking out?
Make sure the edges are sealed tightly with a fork and use an egg wash to keep the dough secure during frying.
- → Can I make these ahead of time?
You can assemble the pies and refrigerate them for up to 24 hours before frying or freezing for up to a month.
- → What is the best oil for frying?
Vegetable or canola oil works best for frying due to their high smoke points and neutral flavors.
- → How should I store leftovers?
Store leftover pies in an airtight container in the fridge for up to 3 days. Reheat in an oven or air fryer for crispness.
