
 Pin to Favorites
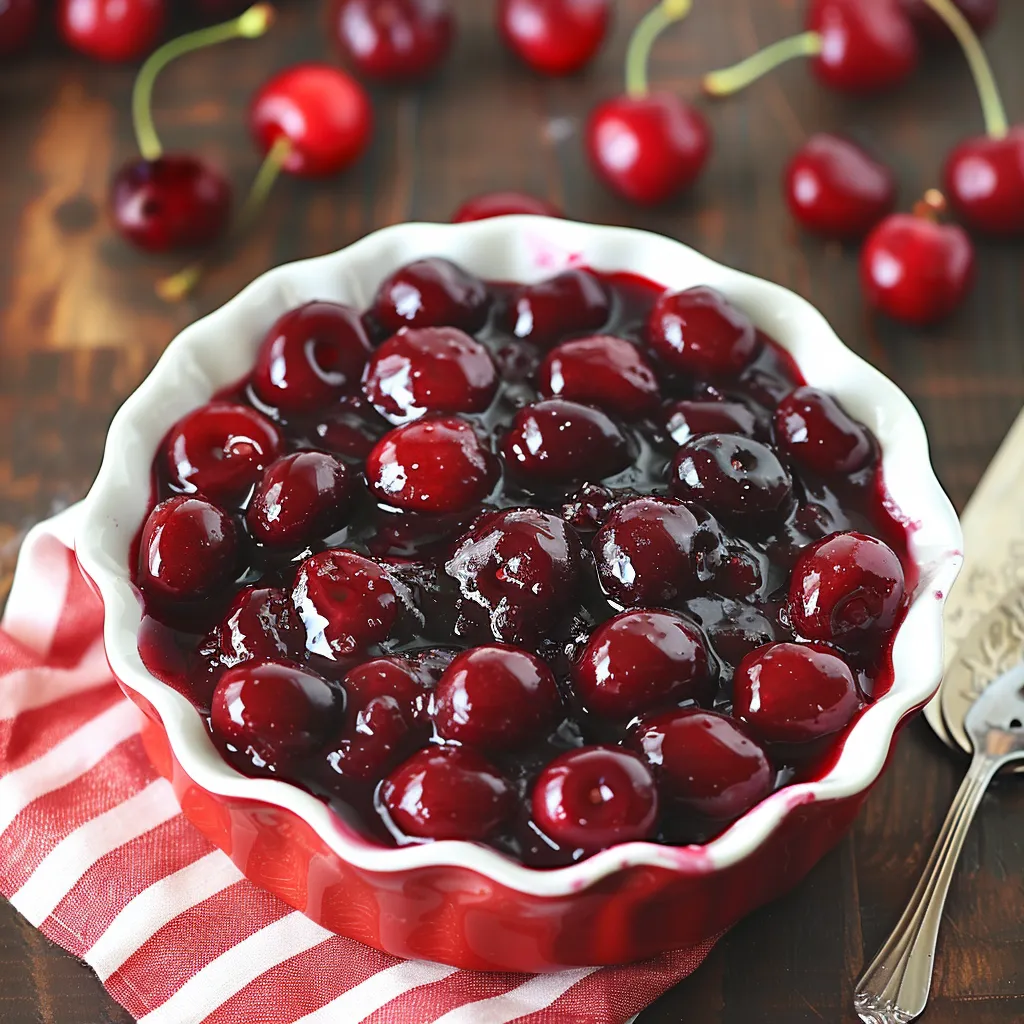
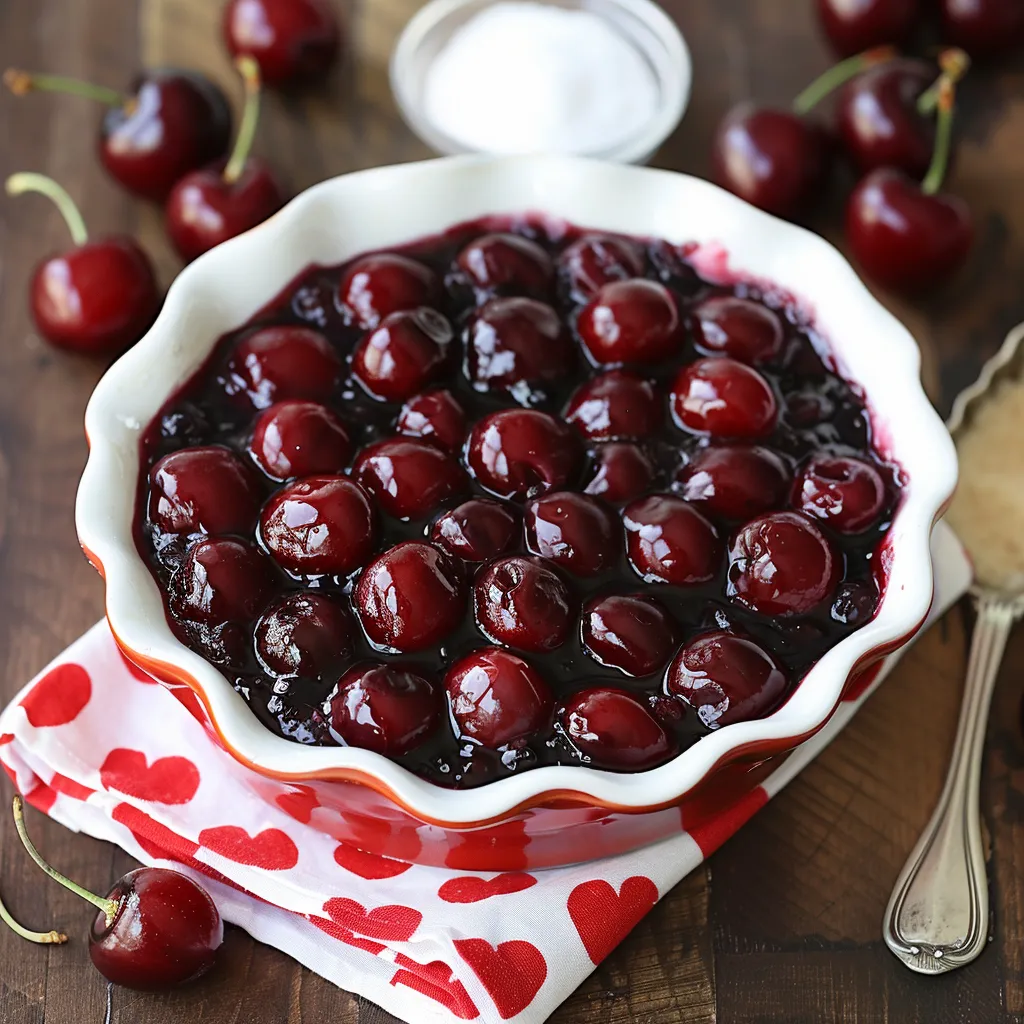
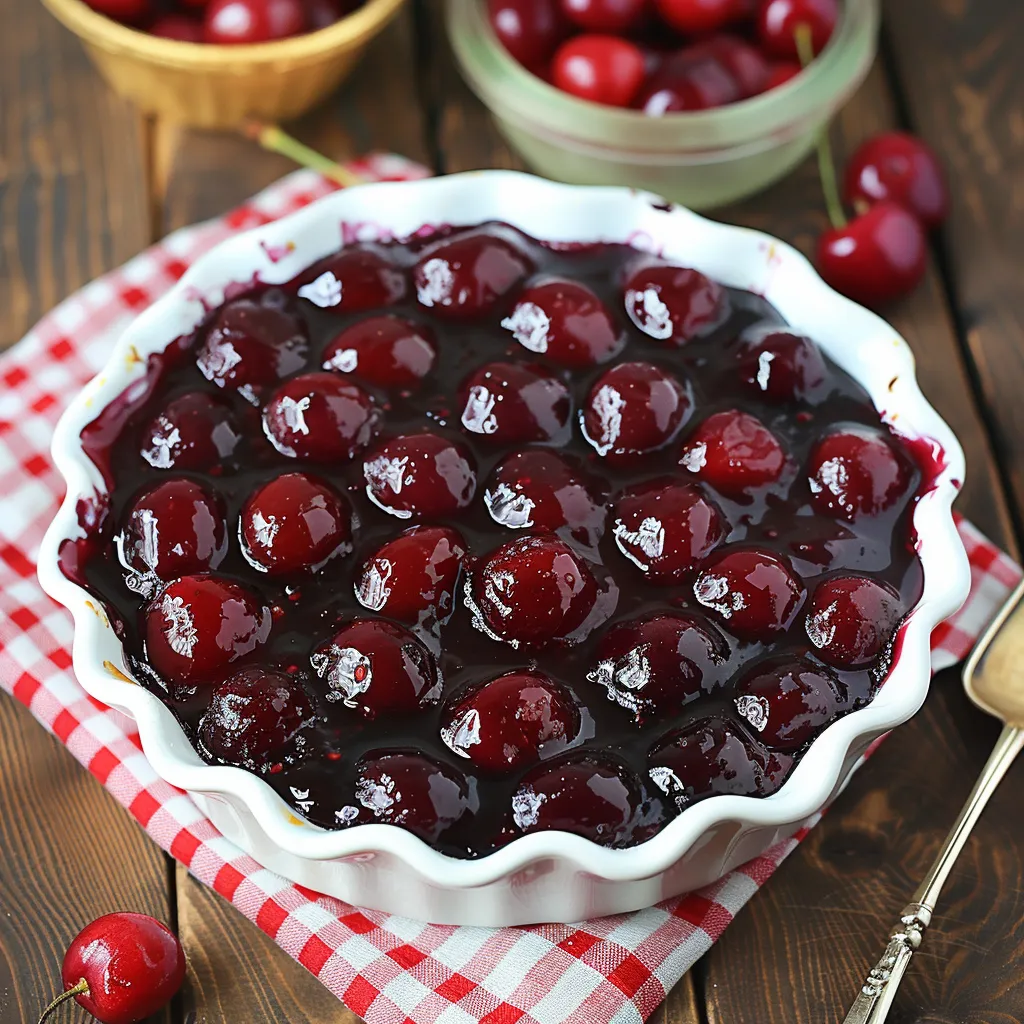
This homemade cherry pie filling transforms ordinary tart cherries into a luscious, ruby-red treasure that's miles beyond anything you'll find in a can. The perfect balance of sweet and tart flavors makes this versatile filling ideal for pies, tarts, cheesecake toppings, or simply spooned over vanilla ice cream.
I first made this cherry filling during cherry season when my neighbor gifted me more cherries than we could eat fresh. The recipe quickly became our favorite summer dessert tradition, with my kids now requesting "mom's cherry pie" for every birthday celebration.
Ingredients
- Pitted cherries: Fresh provide the best flavor, but frozen work beautifully when cherries aren't in season. Look for plump, firm cherries with bright color.
- Granulated sugar: Regular white sugar balances the tartness perfectly. The amount can be adjusted based on your cherries' natural sweetness.
- Lemon juice: Fresh is best here. It brightens the flavor and helps the pectin set properly.
- Cornstarch: The key thickening agent. Always mix thoroughly with the fruit before heating to prevent lumps.
- Salt: Just a pinch enhances all the flavors without making the filling taste salty.
- Cinnamon: Optional but recommended. It adds subtle warmth that complements the cherries beautifully.
- Pie crusts: Use homemade or store-bought. A butter-based crust pairs wonderfully with the tart filling.
Step-by-Step Instructions
- Combine Ingredients:
- Place your pitted cherries, granulated sugar, fresh lemon juice, cornstarch, salt, and cinnamon in a medium saucepan. Stir everything together thoroughly until the cornstarch is completely distributed with no white patches remaining. This initial mixing is crucial to prevent lumps from forming as the mixture heats.
- Add Liquid If Needed:
- Assess your cherry mixture. If using particularly dry cherries or if the mixture seems too thick before cooking, add water gradually. Start with just a few tablespoons and work up to 1/2 cup if necessary. The cherries will release juice as they cook, but some varieties need a little help getting started.
- Simmer Until Thickened:
- Turn the heat to medium and bring the mixture to a gentle simmer, stirring frequently to prevent sticking. Once simmering, reduce the heat to medium-low and continue cooking for 8-10 minutes. Watch carefully as the mixture transforms from thin and watery to glossy and thick enough to coat the back of a spoon. The color will deepen to a beautiful rich red.
- Cool Before Using:
- Remove from heat once thickened and allow to cool slightly before using. The filling will continue to thicken as it cools. For pie filling, you can use it while still warm but not hot. For other applications like topping cheesecake, cool completely.
- Prepare Pie:
- If making a pie, preheat your oven to 375°F. Line a pie dish with your bottom crust, pour in the slightly cooled filling, then top with your second crust. Crimp the edges to seal, cut vents in the top, and optionally sprinkle with sugar for extra sparkle and crunch.
- Bake To Golden Perfection:
- Bake your assembled pie for 45-50 minutes until the crust is golden brown and the filling is bubbling through the vents. Let cool substantially before slicing to allow the filling to set properly.
 Pin to Favorites
The cinnamon might seem unusual, but it's my secret ingredient that adds depth without being detectable as cinnamon. I discovered this trick from my grandmother who would add just a whisper of warming spices to fruit fillings. She always said it was the difference between a good pie and a memorable one.
Perfect Cherry Selection
The type of cherry you choose dramatically impacts your final result. For traditional cherry pie, tart cherries like Montmorency provide that classic balance of sweet and sour. Sweet cherries like Bing work beautifully too, but you might want to reduce the sugar by 1/4 cup and increase the lemon juice slightly. Frozen cherries are excellent year-round, but be sure to thaw them completely and drain excess liquid before measuring. The deep red color comes naturally from the cherries themselves, so no need for artificial coloring.
Storage and Preservation
This cherry filling keeps beautifully in the refrigerator for up to 5 days when stored in an airtight container. For longer storage, it freezes exceptionally well for up to 3 months. Simply thaw overnight in the refrigerator before using. The filling is also perfect for water bath canning in sterilized jars, making it ideal for preserving summer cherries at their peak. Process filled jars for 15 minutes in a boiling water bath, and you'll have homemade cherry filling ready for winter pies.
Beyond Cherry Pie
While traditional pie might be the obvious choice, this versatile filling shines in countless applications. Try it as a topping for cheesecake, stirred into yogurt, spooned over pancakes, or layered in parfaits. For an elegant dessert, serve warm cherry filling over vanilla ice cream with a sprinkle of toasted almonds. Mix it into buttercream for cherry-filled cupcakes or use as a filling between cake layers. The concentrated cherry flavor also makes wonderful thumbprint cookies or as a sauce for chocolate desserts.
 Pin to Favorites
Master this cherry filling recipe, and you'll never reach for a canned version again.
Frequently Asked Questions
- → Can I use frozen cherries for this filling?
Yes! Frozen cherries work perfectly for this recipe. Just make sure to thaw them beforehand and drain any excess liquid.
- → How do I thicken the cherry filling?
Cornstarch is used to thicken the filling. Ensure you stir well while it simmers to activate the cornstarch. If it becomes too thick, you can add a bit of water to adjust the consistency.
- → Can I customize the flavor of the filling?
Absolutely! You can add a pinch of cinnamon or even a splash of vanilla extract for extra flavor. Adjust the sugar or lemon juice to balance sweetness and tanginess to your liking.
- → What's the best way to use this cherry filling?
Use it as a filling for pies, tarts, or turnovers. You can also spoon it over ice cream, pancakes, or cheesecake for a delicious topping.
- → How do I prevent the filling from sticking to the pan?
If the mixture starts to stick as it cooks, simply lower the heat and add a small splash of water. Stir regularly to prevent it from burning.