
 Pin to Favorites
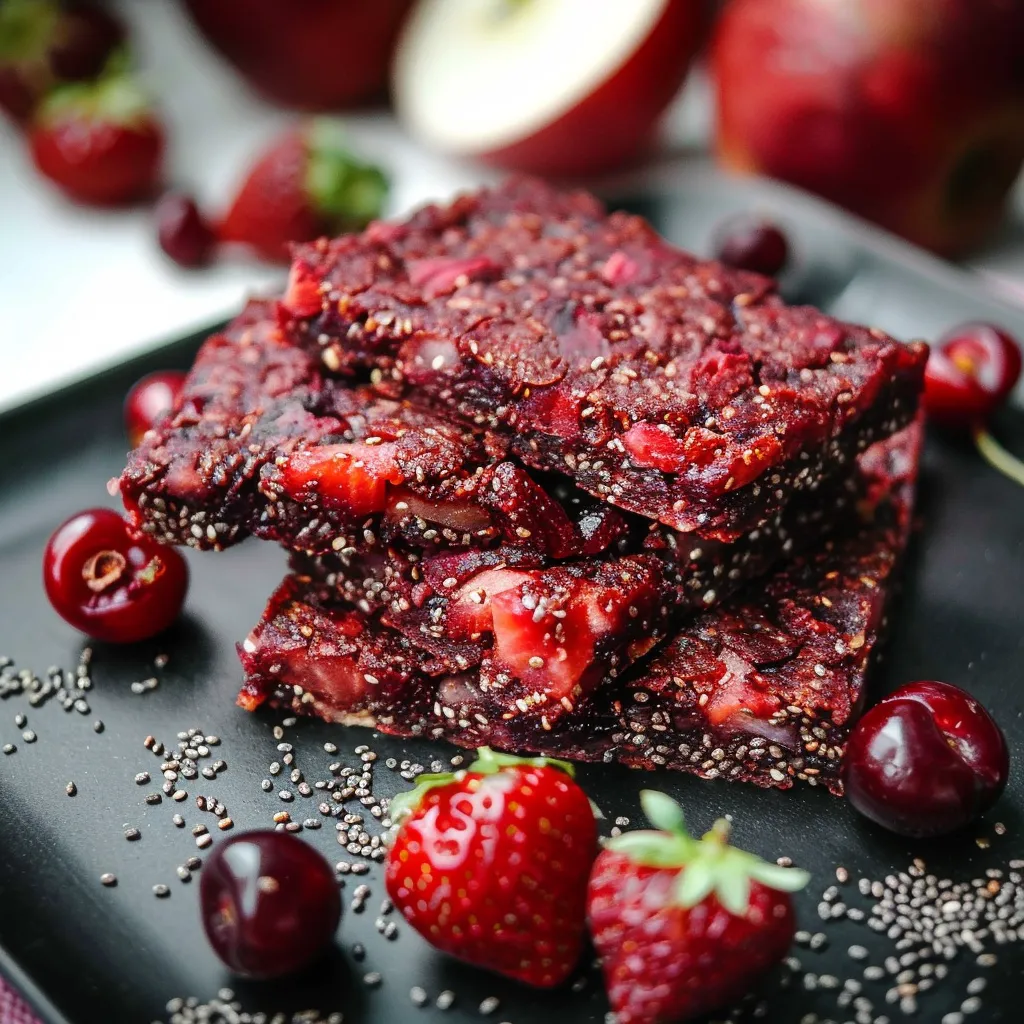
This homemade strawberry cherry apple chia bar recipe transforms simple fruits into delicious, nutrient-packed snacks perfect for on-the-go energy. Using just four ingredients and a dehydrator, you can create these naturally sweet treats without any added sugars or preservatives.
I started making these bars when my farmers market haul left me with too many berries about to turn. Now my family reaches for these instead of store-bought fruit snacks, and they've become our hiking trip essential.
Ingredients
- Fresh or frozen strawberries: Add natural sweetness and vibrant color while providing vitamin C and antioxidants
- Cherries: Provide deep flavor and additional antioxidants; look for firm fruits with bright stems when buying fresh
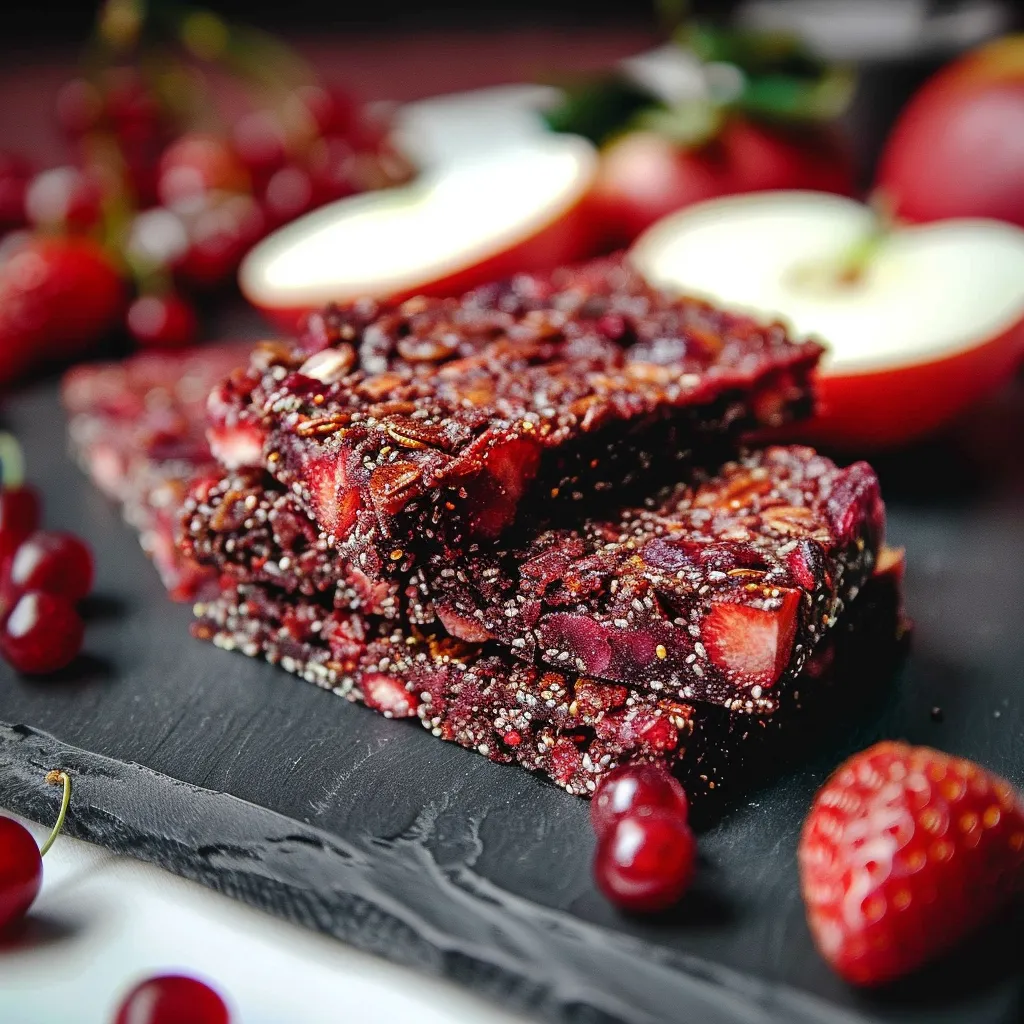
- Apples: Add natural pectin which helps bind the bars together; choose crisp varieties like Fuji or Gala for best results
- Chia seeds: Create a binding effect when they absorb moisture and add protein, fiber and omega 3 fatty acids
Step-by-Step Instructions
- Prepare the fruit:
- If using frozen fruit, allow it to thaw completely before processing. For fresh fruit, wash thoroughly and remove all stems and pits from cherries and cores from apples.
- Create the fruit mixture:
- Add the strawberries, cherries, and apples to your food processor. Pulse until combined but still slightly chunky. This texture provides a nice bite in the finished bars while allowing enough moisture release for proper dehydration.
- Add chia seeds:
- Transfer the fruit mixture to a bowl and stir in the chia seeds until evenly distributed. Let the mixture sit for about 5 minutes to allow the chia seeds to begin absorbing moisture.
- Pour and shape:
- Pour the fruit mixture onto a dehydrator tray lined with a teflex sheet or similar nonstick surface. Use a spatula to spread the mixture evenly into your desired shape and thickness. If using a mold, fill it carefully.
- Initial dehydration:
- Set your dehydrator to 125°F and dehydrate for 4 hours. The mixture will begin to set but will still be quite moist at this stage.
- Remove mold:
- After the initial 4 hours, carefully remove any mold you might be using as the fruit mixture should now hold its shape independently.
- Continue first phase:
- Dehydrate for an additional 2.5 hours at the same temperature until the top surface is dry enough to handle.
- Flip the bars:
- Carefully flip the partially dehydrated fruit sheet onto a clean dehydrator tray without the teflex. Gently peel away the teflex sheet from what is now the top surface of your bars.
- Complete dehydration:
- Continue dehydrating for approximately 11.5 more hours, or until the bars reach your desired consistency. They should be pliable but not sticky to the touch.
 Pin to Favorites
The chia seeds in this recipe never cease to amaze me. What starts as tiny seeds transform into powerful binding agents that hold everything together while adding nutritional benefits. My daughter once declared these bars "magical fruit leather" after watching the transformation happen in our dehydrator.
Storage Solutions
These homemade fruit bars will keep for up to two weeks when stored in an airtight container at room temperature. For longer storage, place parchment paper between layers to prevent sticking and store in the refrigerator for up to one month. You can also freeze them for up to three months by wrapping individually in parchment paper and storing in freezer bags. Always allow frozen bars to thaw at room temperature before enjoying.
Flavor Variations
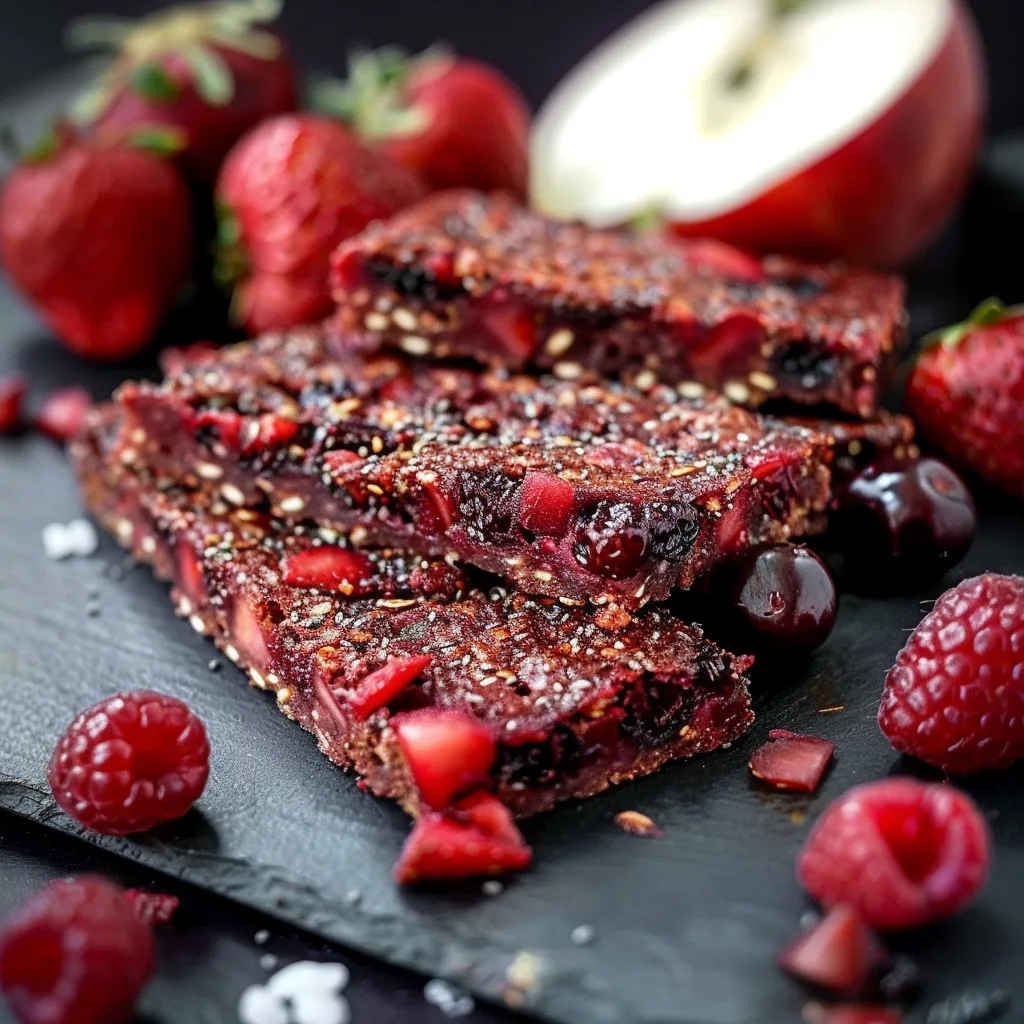
While this strawberry cherry apple combination creates a perfect balance of sweet and tart flavors, you can customize these bars based on seasonal availability or personal preference. Try substituting blueberries for cherries for a more mellow flavor, or replace strawberries with raspberries for extra tanginess. Adding a teaspoon of cinnamon or vanilla extract can introduce warm notes perfect for fall. For tropical versions, substitute mango and pineapple for some of the berries. Just maintain similar overall fruit quantities to ensure proper consistency.
No Dehydrator Options
If you don't own a dehydrator, you can still make these delicious fruit bars using your oven. Line a baking sheet with a silicone mat or parchment paper and spread the fruit mixture about 1/4 inch thick. Set your oven to its lowest temperature setting (ideally 170°F or lower) and prop the door open slightly with a wooden spoon to allow moisture to escape. Bake for 3-4 hours, then flip the partially dried fruit leather and continue baking for 2-3 more hours until the desired consistency is reached. The process takes less time than a dehydrator but requires more monitoring.
 Pin to Favorites
These bars are the perfect way to enjoy seasonal fruits with a nutritious twist—making them a staple in our home.
Frequently Asked Questions
- → Can I use frozen fruit for these bars?
Yes, you can use frozen fruit. Ensure you thaw it completely before processing to achieve the ideal texture.
- → What type of apples work best?
Sweet varieties like Fuji or Gala are perfect, but you can adjust based on your flavor preference.
- → Do I need a dehydrator to make these bars?
While a dehydrator is recommended for the best texture, you can use an oven set at a low temperature as an alternative.
- → How long do the bars need to dehydrate?
The bars require approximately 18 hours of dehydration at 125°F, with flipping midway through.
- → Can chia seeds be replaced with another ingredient?
Chia seeds add both texture and nutrition, but you may substitute ground flaxseeds if preferred.
- → How should these bars be stored?
Store the bars in an airtight container at room temperature for up to one week, or refrigerate for longer shelf life.