 Pin to Favorites
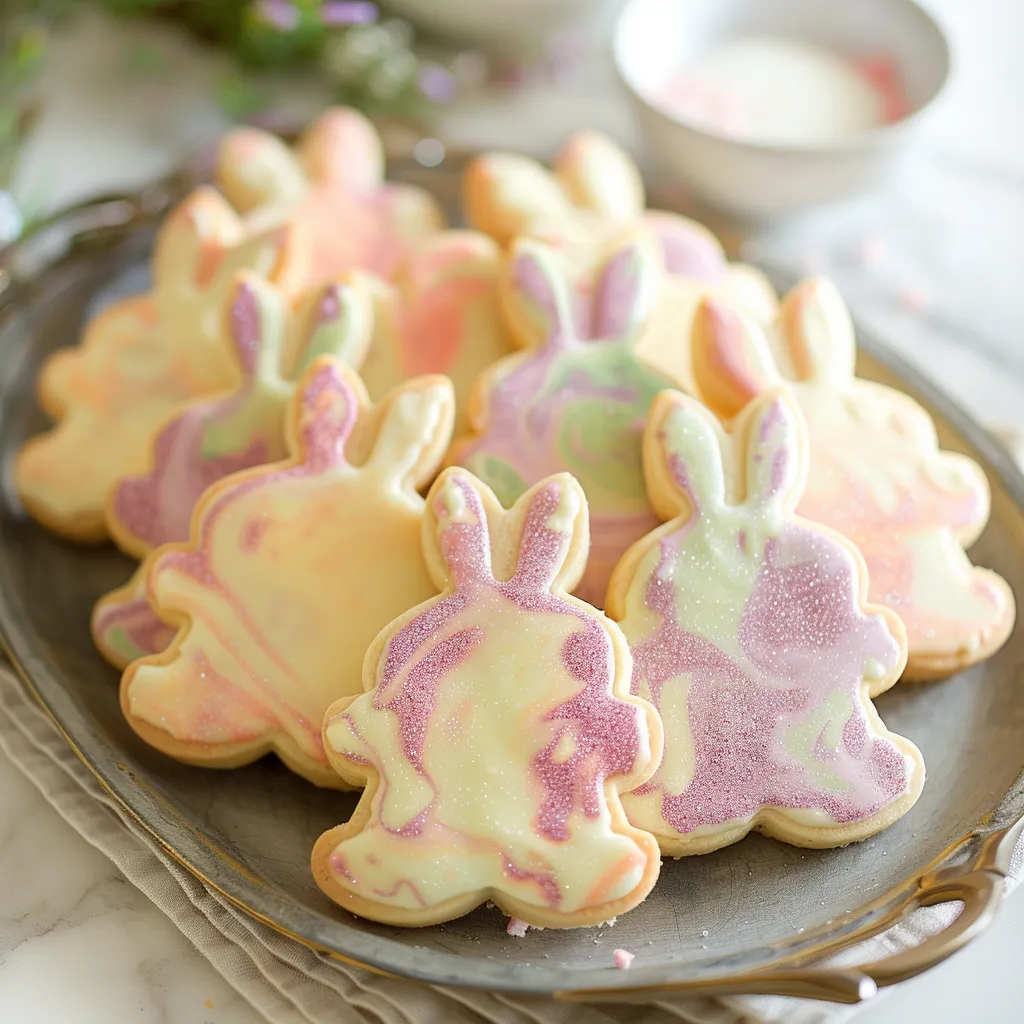
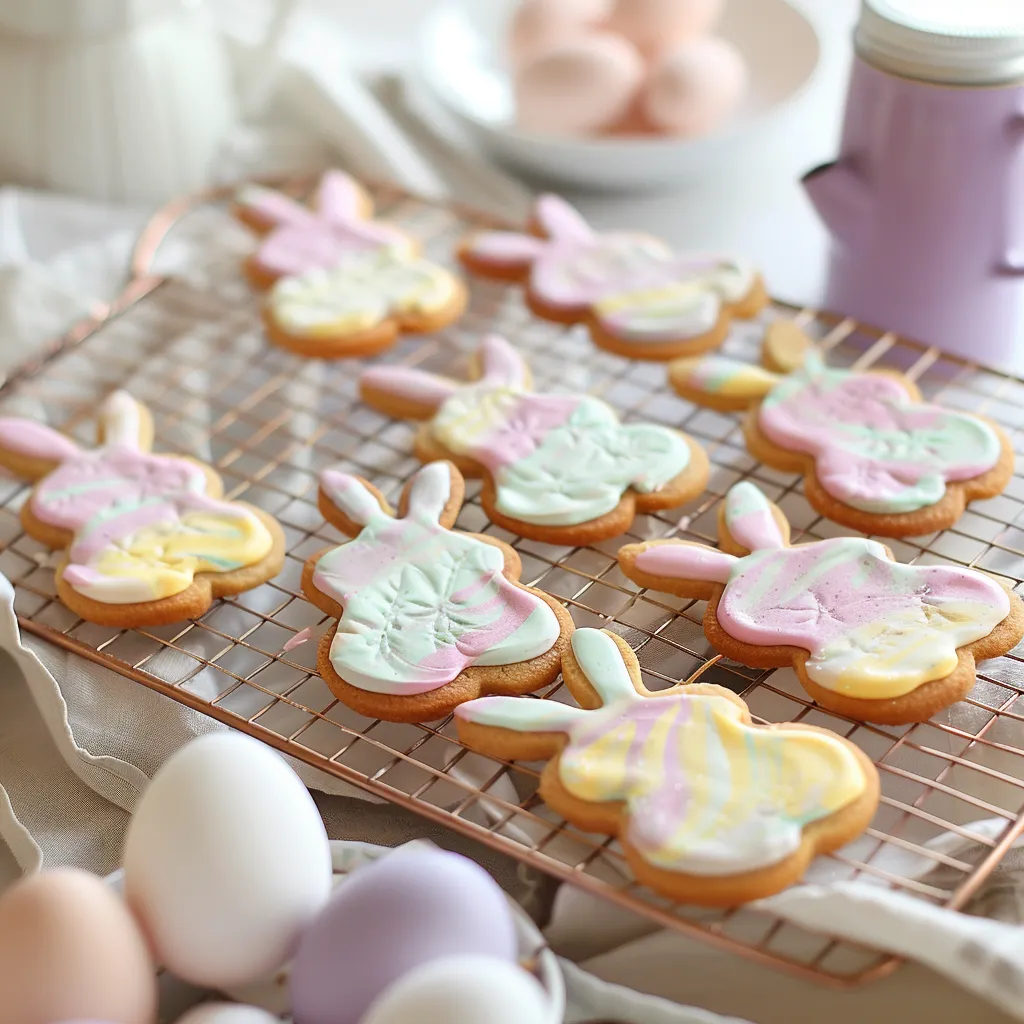
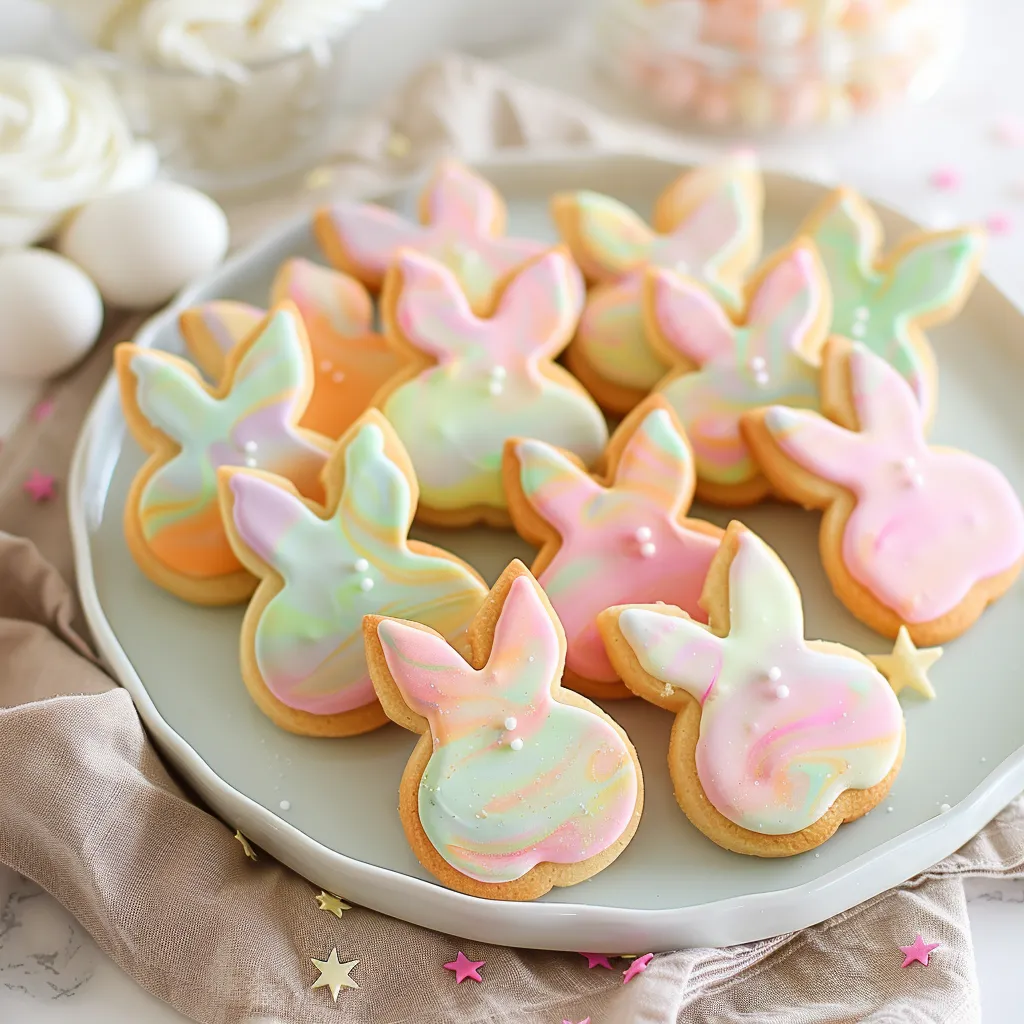
These marbled Easter bunny cookies transform ordinary sugar cookies into magical works of art. Through experimenting with different marbling techniques, I've discovered that the key to perfect swirls lies in how gently you handle the dough. Each cookie becomes a unique masterpiece with swirls of springtime colors, making them as delightful to look at as they are to eat.
Last Easter, I made these with my niece, and watching her eyes light up as she swirled the colors together made the whole kitchen experience magical. The secret? Letting go of perfectionism and embracing the creative process.
Essential Ingredients
- Butter: Use unsalted, room temperature for best control over flavor.
- Granulated Sugar: Regular white sugar creates the best texture.
- Eggs: Room temperature for better incorporation.
- Vanilla Extract: Pure extract provides the best flavor.
- All-Purpose Flour: Measured correctly for perfect texture.
- Gel Food Coloring: Creates vibrant colors without affecting dough texture.
- Baking Powder: Fresh for proper rise.
- Salt: Fine sea salt balances the sweetness perfectly.
 Pin to Favorites
Detailed Cooking Instructions
- Dough Preparation
- Cream butter and sugar until light and fluffy (3-4 minutes). Add eggs one at a time, beating well after each. Mix in vanilla extract until just combined. Whisk dry ingredients separately. Add flour mixture gradually. Mix until just combined, don't overwork. Chill dough for 30 minutes.
- Color Creation
- Divide chilled dough into portions. Add different gel colors to each portion. Work color in gently with hands. Keep colors separate until marbling. Return to fridge if dough gets too soft.
- Marbling Process
- Place different colored dough chunks side by side. Press gently together. Roll very gently with pin. Stop before colors blend completely. Keep surface lightly floured.
- Cutting and Baking
- Use bunny cutter to cut shapes. Transfer carefully to lined baking sheets. Chill cut cookies for 10 minutes. Bake at 350°F for 10-12 minutes. Look for slightly golden edges.
- Decorating Options
- Let cookies cool completely. Add white sprinkle "tails" if desired. Pipe simple details with royal icing. Add edible glitter for sparkle. Let decorations set completely.
My grandmother always said that cookie baking is as much about patience as it is about ingredients. These marbled bunnies prove her right - rushing any step can muddy the beautiful swirled patterns.
Temperature Management
Keep dough cool throughout the process. If it becomes too soft at any point, return it to the refrigerator for a quick chill. This helps maintain distinct marbling patterns.
Make-Ahead Options
The dough can be made and colored up to 3 days ahead. Wrapped well, baked cookies freeze beautifully for up to 3 months.
Troubleshooting Tips
If colors start to blend too much, chill the dough immediately. If edges spread during baking, your dough was likely too warm.
These marbled Easter bunnies have become a cherished holiday tradition in my kitchen. They prove that sometimes the simplest techniques can create the most magical results. The combination of playful colors and classic cookie flavor makes these treats perfect for sharing spring joy.
 Pin to Favorites
Frequently Asked Questions
- → Why add cornstarch to sugar cookies?
- Cornstarch helps the cookies hold their shape while baking and creates a tender texture.
- → Do I need to chill the dough?
- Chilling for 30 minutes is optional but can make the dough easier to handle if it's too soft.
- → How long do these cookies keep?
- They last up to 2 weeks in an airtight container or several months in the freezer.
- → Can I skip the nutmeg?
- Yes, the nutmeg is optional and can be omitted without affecting the cookie texture.
- → How thick should I roll the dough?
- Roll the dough between 1/4 to 1/2 inch thick for the best results.
