
 Pin to Favorites
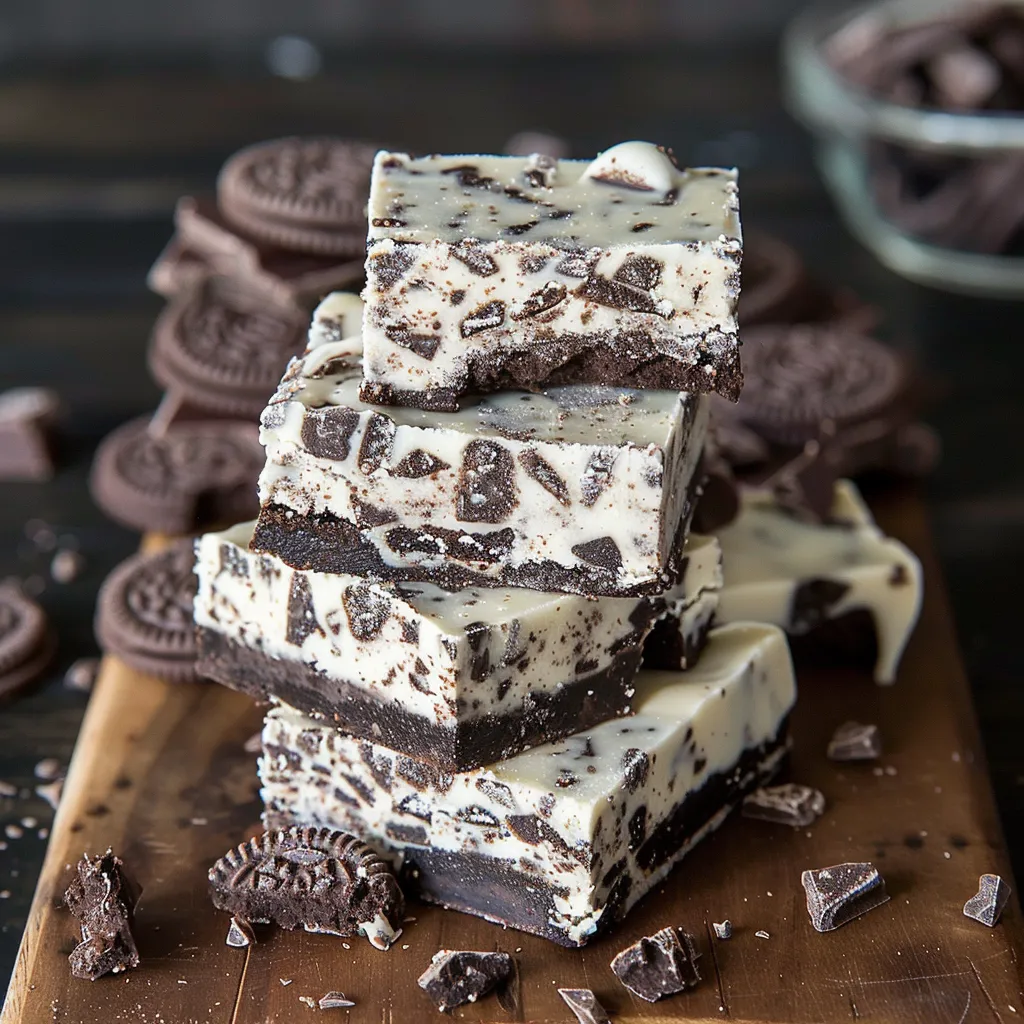
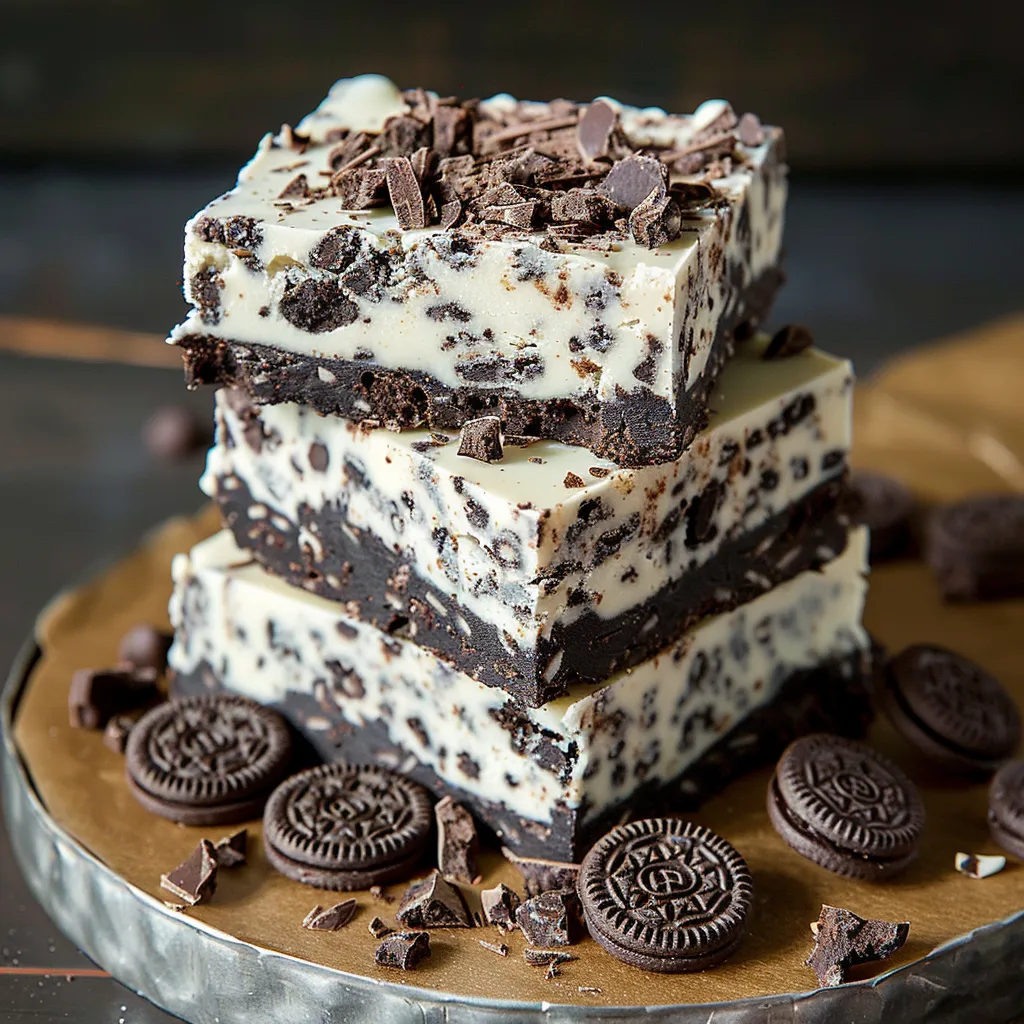
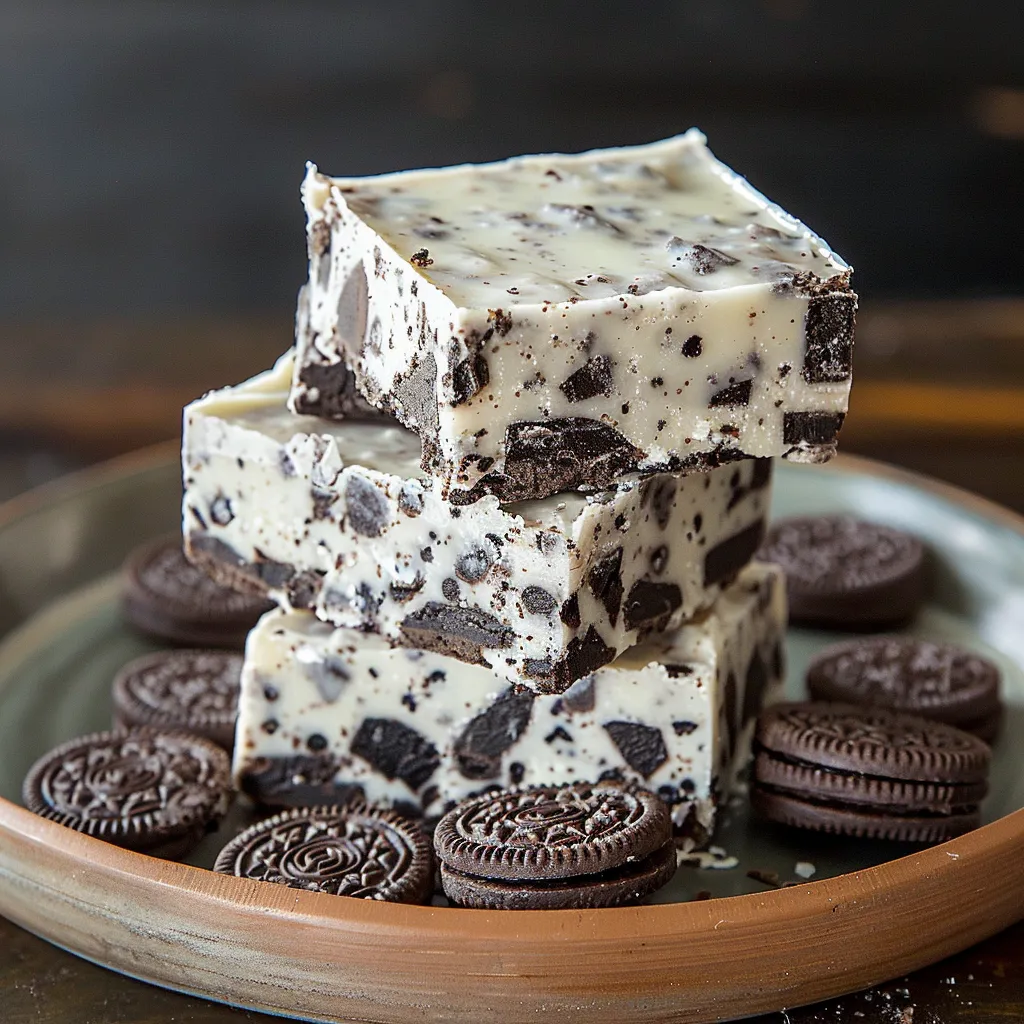
This creamy Oreo fudge recipe transforms just three simple ingredients into a decadent treat that will satisfy chocolate lovers of all ages. The contrast of rich white chocolate with crunchy Oreo pieces creates an irresistible texture that disappears quickly whenever I serve it at gatherings.
I first made this recipe when my daughter needed a quick dessert for her school bake sale. The entire batch sold out within minutes, and I've been getting requests for it at every family function since then.
Ingredients
- White chocolate: 14 ounces use high quality chips or baking bars for the smoothest melt
- Sweetened condensed milk: 14 ounces provides the perfect creamy sweetness and helps achieve fudge consistency without complicated cooking methods
- Oreo cookies: 28 pieces the classic chocolate sandwich cookies give both flavor contrast and delightful texture throughout the fudge
Step-by-Step Instructions
- Prepare the Base:
- Combine white chocolate and sweetened condensed milk in a microwave safe bowl. Heat for 1 minute initially, then stir well even though it will only be partially melted. Continue heating in 15 second intervals, stirring between each, until completely smooth and fully melted. Be careful not to overheat or the chocolate can seize and become grainy.
- Crush the Cookies:
- Place Oreo cookies in a sturdy ziplock bag and crush them using a rolling pin or heavy kitchen tool. You want a mixture of small pieces and crumbs for the best texture variation throughout your fudge. I prefer to leave some larger chunks for extra cookie surprise in each bite.
- Combine Everything:
- Add the crushed Oreo pieces to your melted white chocolate mixture. Gently fold them in using a spatula until evenly distributed throughout. The warm mixture will slightly soften some of the cookie pieces which creates that perfect fudge texture once set.
- Set the Fudge:
- Line an 8 inch square baking dish with parchment paper, leaving some overhang for easy removal later. Pour the Oreo mixture into the prepared dish and spread evenly to fill the corners. Give the pan a few gentle taps on the counter to release any air bubbles.
- Chill and Serve:
- Refrigerate the fudge for at least 8 hours, preferably overnight, to fully set. Once firm, use the parchment paper overhang to lift the entire slab out of the pan. Cut into small squares using a sharp knife that's been run under hot water and wiped clean between cuts for the neatest result.
 Pin to Favorites
The first time I made this fudge, I accidentally used double stuff Oreos instead of regular ones. That happy accident turned out to be my family's preferred version now, as the extra cream filling creates beautiful swirls through the white chocolate base. Sometimes the best cooking discoveries happen by chance!
Storage and Shelf Life
This Oreo fudge keeps beautifully in the refrigerator for up to two weeks when stored in an airtight container with parchment paper between layers to prevent sticking. You can also freeze portions for up to three months. I recommend cutting the fudge into squares before freezing, then wrapping individual pieces in plastic wrap before placing in a freezer bag. This makes it easy to thaw just what you need for unexpected sweet cravings.
Tasty Variations
While the classic recipe is perfect on its own, you can create exciting variations by switching up the cookies or adding complementary flavors. Try mint Oreos for a cool refreshing twist, or use golden Oreos with white chocolate for a vanilla-on-vanilla treat. During holidays, I love mixing in some seasonal sprinkles or a drop of food coloring to theme the fudge appropriately. For coffee lovers, adding a teaspoon of espresso powder to the melted chocolate mixture creates a delightful mocha flavor that pairs beautifully with the Oreos.
Gift Giving Ideas
This fudge makes a wonderful homemade gift that looks much more complicated than it actually is. For holiday giving, I cut the fudge into neat squares and place them in decorative mini cupcake liners before arranging in a pretty tin or gift box. Tie with a ribbon and attach a small card with storage instructions. Teachers, neighbors, and coworkers are always thrilled to receive these homemade treats, especially when presented in a thoughtful way.
 Pin to Favorites
This simple recipe proves that sometimes less is more when it comes to creating dessert perfection.
Frequently Asked Questions
- → Can I use dark or milk chocolate instead of white chocolate?
Yes, you can substitute white chocolate with dark or milk chocolate, but it will alter the flavor and appearance of the fudge.
- → Do I have to refrigerate the fudge for 8 hours?
Yes, refrigerating for at least 8 hours allows the fudge to set properly and achieve the desired texture.
- → Can I add extra toppings or mix-ins?
Absolutely. You can add sprinkles, nuts, or drizzle melted chocolate on top for more flavor and texture.
- → How should I store the fudge?
Store the fudge in an airtight container in the refrigerator for up to one week. Keep it chilled to maintain its texture and prevent melting.
- → Can this fudge be made dairy-free?
Yes, you can use a dairy-free condensed milk and dairy-free chocolate to make a vegan version of the fudge.