
 Pin to Favorites
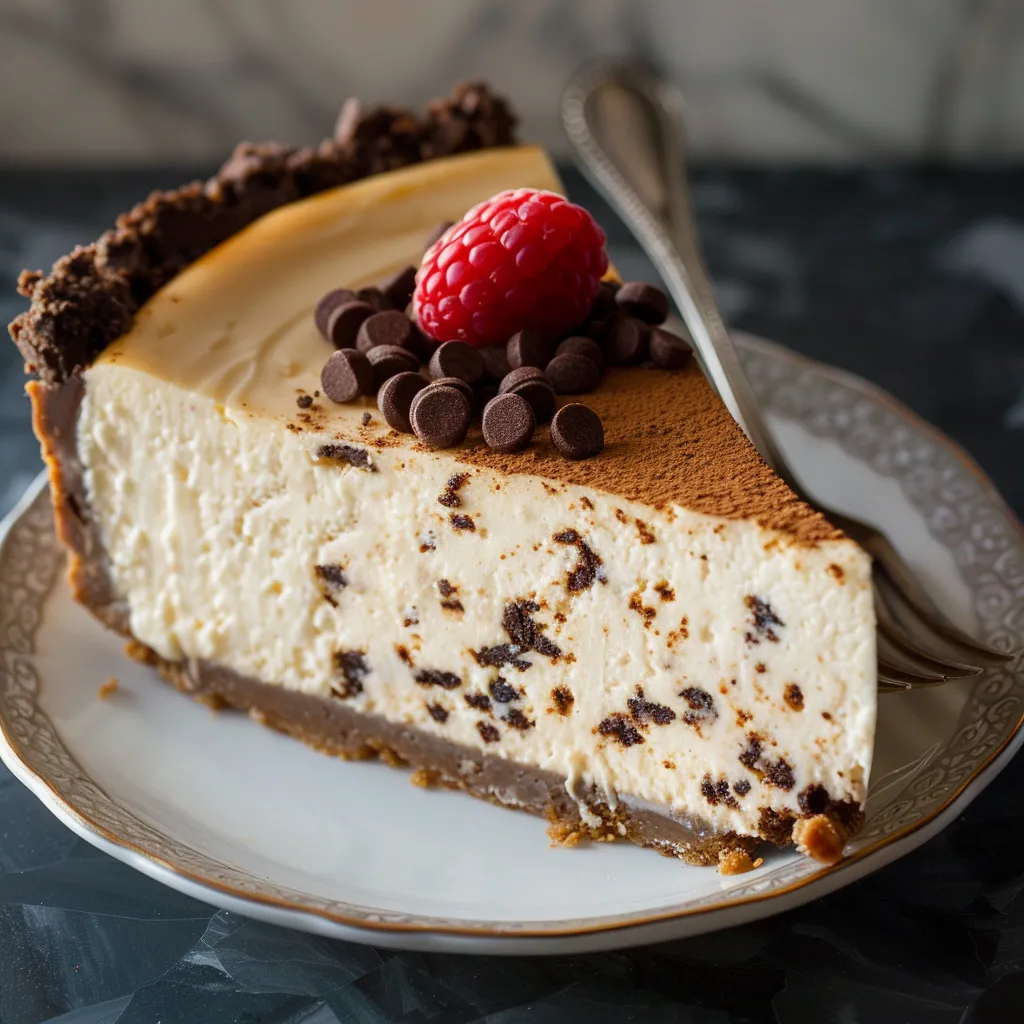
This protein cheesecake transforms the traditional indulgent dessert into a healthier, protein-packed treat that still maintains that rich, creamy texture we all crave. Perfect for fitness enthusiasts or anyone looking to enjoy dessert with nutritional benefits.
I created this recipe during my fitness journey when I was tired of choosing between desserts and my protein goals. Now it's my go-to when hosting friends who are equally conscious about their nutrition without sacrificing taste.
Ingredients
- Cream cheese: 24 oz provides the classic cheesecake base and can be traditional or vegan depending on your preference
- Greek yogurt: 2 cups adds extra protein and creates a lighter texture than traditional cheesecake
- Protein powder: 1/2 cup choose unflavored or vanilla for best results, avoid strongly flavored options that might clash
- Sweetener: 2/3 cup honey, maple syrup, or monk fruit work perfectly here
- Pure vanilla extract: 2 1/2 tsp always use pure extract rather than imitation for the best flavor profile
- Optional crust: many options work well including graham cracker, crushed cookies, or a nut-based crust for low carb versions
Step-by-Step Instructions
- Prepare Your Oven:
- Preheat your oven to 350°F and create a water bath by filling a baking pan about two thirds full with water. Place this on the lower rack of your oven. This creates humidity that prevents the cheesecake from cracking during baking.
- Prepare Your Ingredients:
- Allow cream cheese to come to room temperature completely. This is crucial for achieving a smooth consistency without lumps. Meanwhile, prepare your chosen crust in a 9 inch springform pan, pressing it firmly against the bottom and sides.
- Mix The Filling:
- Combine room temperature cream cheese, Greek yogurt, protein powder, sweetener, and vanilla extract in a food processor or blender. Blend just until smooth, about 30 seconds to 1 minute. Overmixing will incorporate too much air and cause the cheesecake to crack.
- Bake With Care:
- Pour the filling into your prepared springform pan and smooth the top with a spatula. Place the cheesecake on the center rack of your oven, positioning it above the water bath. Bake for exactly 30 minutes, the center will still look slightly underdone.
- Cool Gradually:
- Without opening the oven door, turn off the heat and let the cheesecake remain inside for 5 additional minutes. This gradual cooling is essential for preventing cracks and maintaining a creamy texture.
- Refrigerate To Set:
- Remove the cheesecake from the oven and cool completely on your counter before transferring to the refrigerator. Refrigerate for at least 6 hours or preferably overnight. During this time, the cheesecake will firm up to the perfect consistency.
 Pin to Favorites
The protein powder is truly the magic ingredient here. I've experimented with numerous brands and found that whey isolate creates the smoothest texture, but plant-based proteins work remarkably well too. My grandmother actually preferred this version to my traditional cheesecake at our last family gathering, which I consider the ultimate compliment.
Storage And Make-Ahead Tips
This protein cheesecake actually improves with time in the refrigerator, making it perfect for preparing 1-2 days before serving. Store covered in the refrigerator for up to 5 days, though the texture is best within the first 3 days. For longer storage, you can freeze individual slices wrapped tightly in plastic wrap and placed in freezer bags for up to 3 months. Thaw overnight in the refrigerator before enjoying.
Flavor Variations
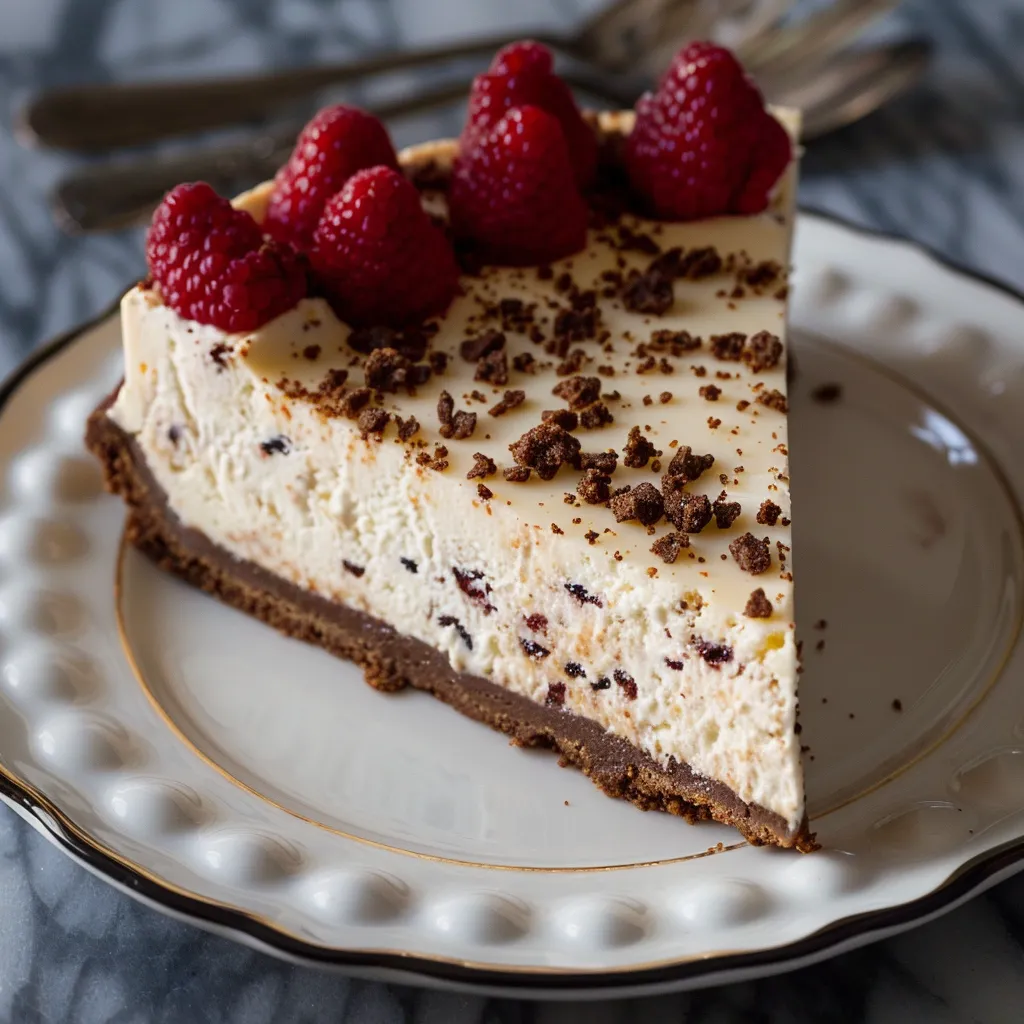
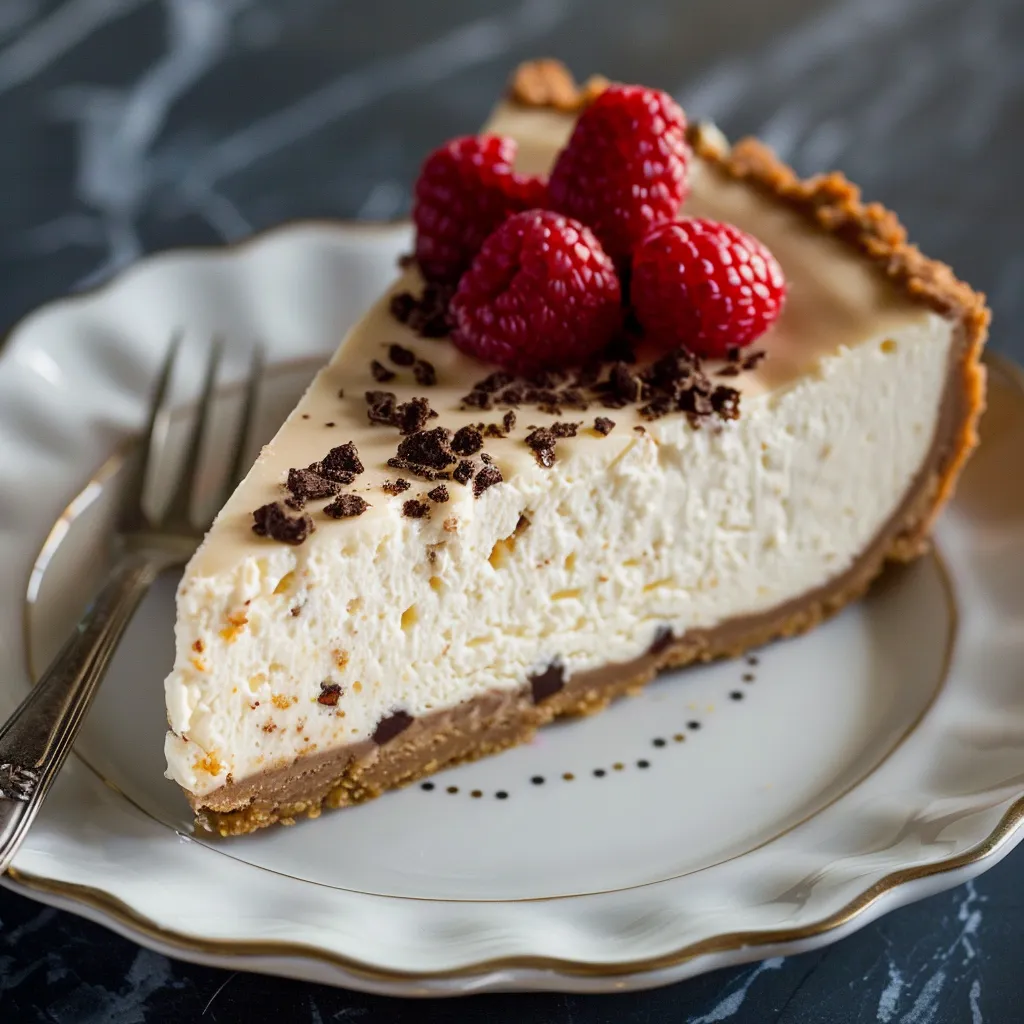
The basic recipe provides an excellent canvas for countless variations. Add 2 tablespoons of cocoa powder for a chocolate version, fold in 1 cup of fresh berries for a fruity twist, or incorporate 2 tablespoons of lemon zest and 3 tablespoons of lemon juice for a refreshing citrus version. For a seasonal approach, try adding 1 tablespoon of pumpkin spice and 1/2 cup of pumpkin puree in fall, adjusting the Greek yogurt accordingly to maintain the correct consistency.
Serving Suggestions
While delicious on its own, this protein cheesecake pairs beautifully with fresh berries, a light drizzle of honey, or a sprinkle of crushed nuts for added texture. For a special occasion, create a quick berry compote by simmering 2 cups of mixed berries with 2 tablespoons of sweetener until slightly thickened. Cool completely before spooning over chilled cheesecake slices. This makes an impressive yet health-conscious dessert for gatherings.
 Pin to Favorites
Try this delicious protein cheesecake for a dessert that's as nourishing as it is indulgent!
Frequently Asked Questions
- → How can I prevent the cheesecake from cracking?
To prevent cracking, use a water bath in the oven and let the cheesecake cool gradually. Avoid sudden temperature changes by leaving it in the oven with the heat off for five minutes after baking.
- → Can I use a dairy-free alternative?
Yes, substitute the cream cheese and Greek yogurt with vegan cream cheese and a dairy-free yogurt alternative for a lactose-free option.
- → What kind of sweetener works best?
Any granulated sweetener such as sugar, coconut sugar, or a sugar substitute like erythritol works well. Choose one based on your taste preferences and dietary needs.
- → Do I need a specific crust for this cheesecake?
No, you can use any crust you prefer, such as graham cracker, nut-based, or even go crustless for fewer calories.
- → How long does the cheesecake need to chill?
The cheesecake should chill in the refrigerator for at least six hours to allow it to fully set and firm up.
- → Can I make this cheesecake ahead of time?
Yes, this cheesecake is perfect for making ahead. Prepare it a day in advance, and store it in the refrigerator until you're ready to serve.