
 Pin to Favorites
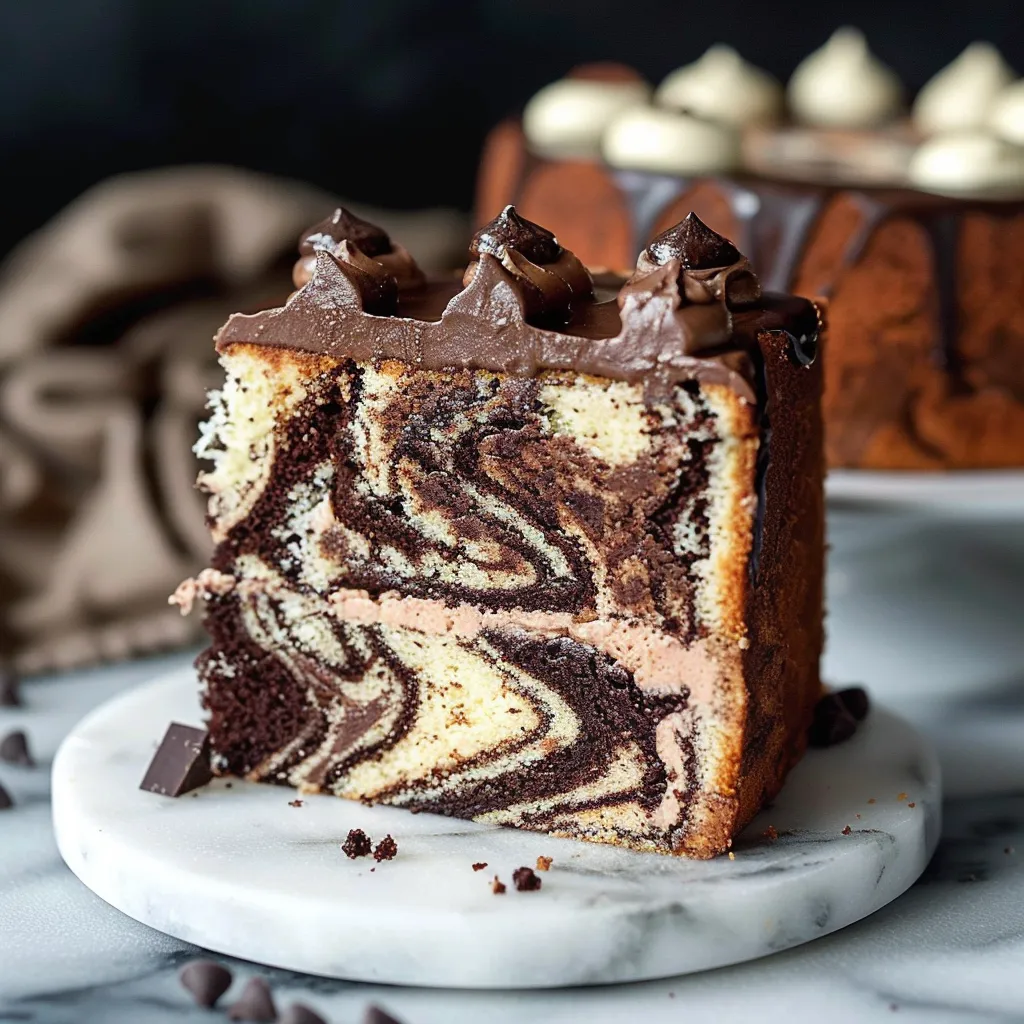
An exquisite bite of Moist and Fluffy Marble Cake delivers the perfect harmony of vanilla and chocolate in each mouthful. The delicate crumb yields gently as your fork glides through alternating swirls of golden vanilla and rich chocolate, creating a mesmerizing pattern that's as beautiful to look at as it is delicious to eat. What makes this recipe truly special is how the two flavors complement rather than compete with each other—the subtle sweetness of vanilla enhancing the depth of chocolate, all wrapped in a supremely tender texture that practically melts on your tongue.
Last month, I made this for my sister's birthday gathering, and her chocolate-obsessed husband and vanilla-loving daughter both went back for seconds. There's something magical about watching people's faces light up when they see those beautiful swirls revealed with the first slice.
Essential Ingredients and Selection Tips
- Buttermilk: True buttermilk provides the perfect tender crumb through its acidity and proteins. Store brands work fine, but full-fat versions offer the richest flavor and texture.
- Cake Flour: Lower protein content creates a more delicate texture. Substituting all-purpose flour without adjustments will alter the cake's tenderness.
- Cocoa Powder: Natural, unsweetened cocoa powder works best. Premium brands like Ghirardelli or Valrhona offer deeper chocolate flavor.
- Extract Combination: A hint of almond extract alongside vanilla creates a bakery-style flavor that elevates this cake beyond typical homemade versions.
 Pin to Favorites
Detailed Cooking Instructions
- Prepare Your Environment:
- Preheat oven to 335°F (168°C). Grease and line three 8-inch cake pans with parchment.
- Bloom the Cocoa:
- Mix 1/4 cup cocoa powder with 1/4 cup hot water (190°F) until smooth; set aside.
- Prepare Liquid Mixtures:
- Combine 3/4 cup buttermilk with 1/2 cup vegetable oil in one bowl. In another, whisk 1/4 cup buttermilk, 3 eggs, 2 tsp vanilla, and 1/2 tsp almond extract.
- Reverse Creaming Method:
- Mix 3 cups cake flour, 1 3/4 cups sugar, 1 tbsp baking powder, 1/2 tsp baking soda, and 1/2 tsp salt. Add 1 cup butter in chunks, mixing until the texture resembles damp sand.
- Develop the Batter Structure:
- Slowly mix in buttermilk/oil mixture, then beat on medium speed for exactly 2 minutes to aerate.
- Incorporate Eggs Gradually:
- Add the egg mixture in three additions, mixing for 15 seconds after each to prevent overmixing.
- Create the Marble Effect:
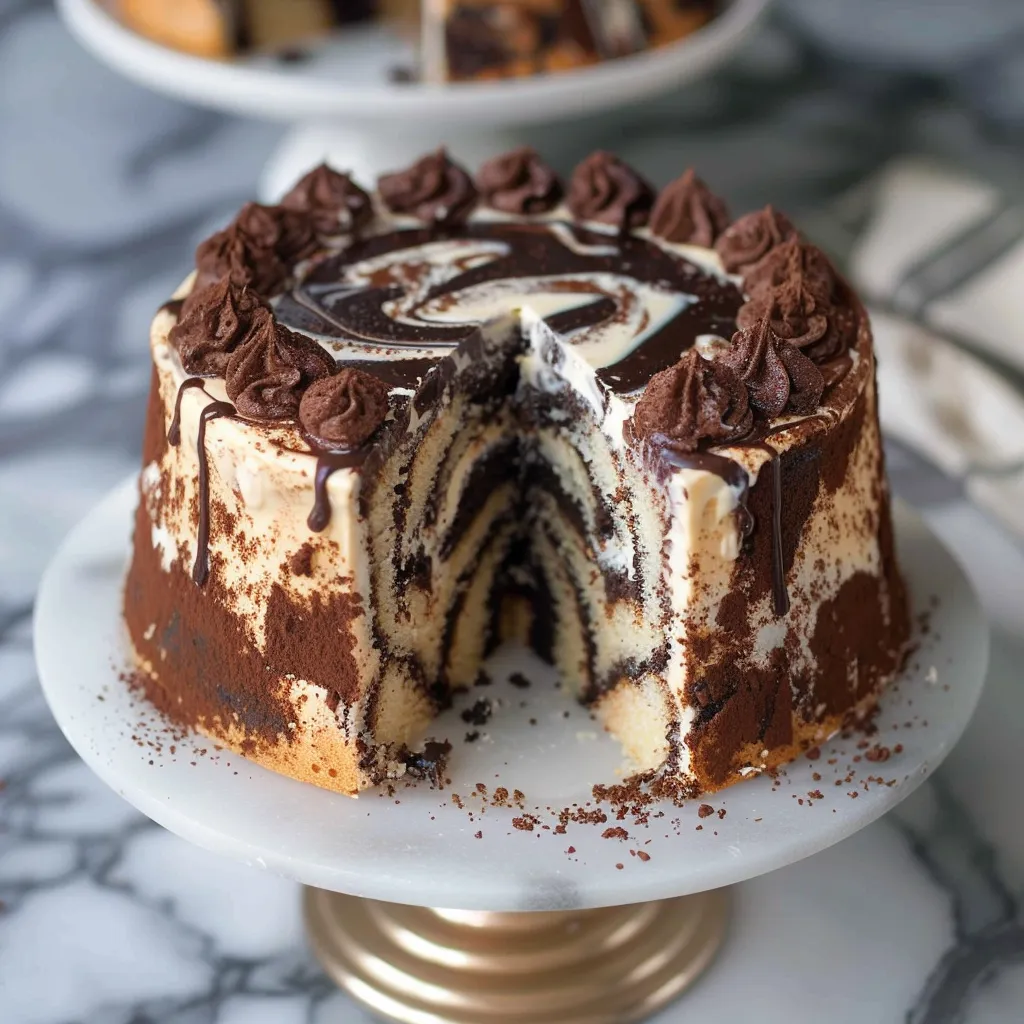
- Set aside 1/3 of batter and fold in the bloomed cocoa mixture. Layer vanilla and chocolate batters into pans and swirl lightly with a knife.
- Bake with Precision:
- Bake for 35-40 minutes until a toothpick comes out clean. Tap each pan on the counter once to release steam.
- Cool Strategically:
- Let cakes cool in pans for 10 minutes, then transfer to a wire rack.
- Prepare Ganache Frosting:
- Heat 16 oz heavy cream to a simmer and pour over 16 oz chopped chocolate. Let sit, then whisk until smooth.
My first attempt at this cake taught me that patience with the blooming process makes all the difference. I rushed it once and ended up with dry patches of chocolate in the finished cake. Now I ensure the cocoa mixture has fully cooled before adding it to the batter.
The immediate pan-tapping after baking releases trapped steam, preventing excessive shrinking. This small trick results in layers that stack more evenly for a professional look.
Marble cake has a fascinating history dating back to nineteenth-century Germany, where bakers first created the effect by swirling molasses into light batter. When German immigrants brought these techniques to America, chocolate replaced molasses, and the addition of almond extract in mid-century New York bakeries gave rise to the "German marble cake." This recipe pays homage to those traditions while refining the technique for modern baking.
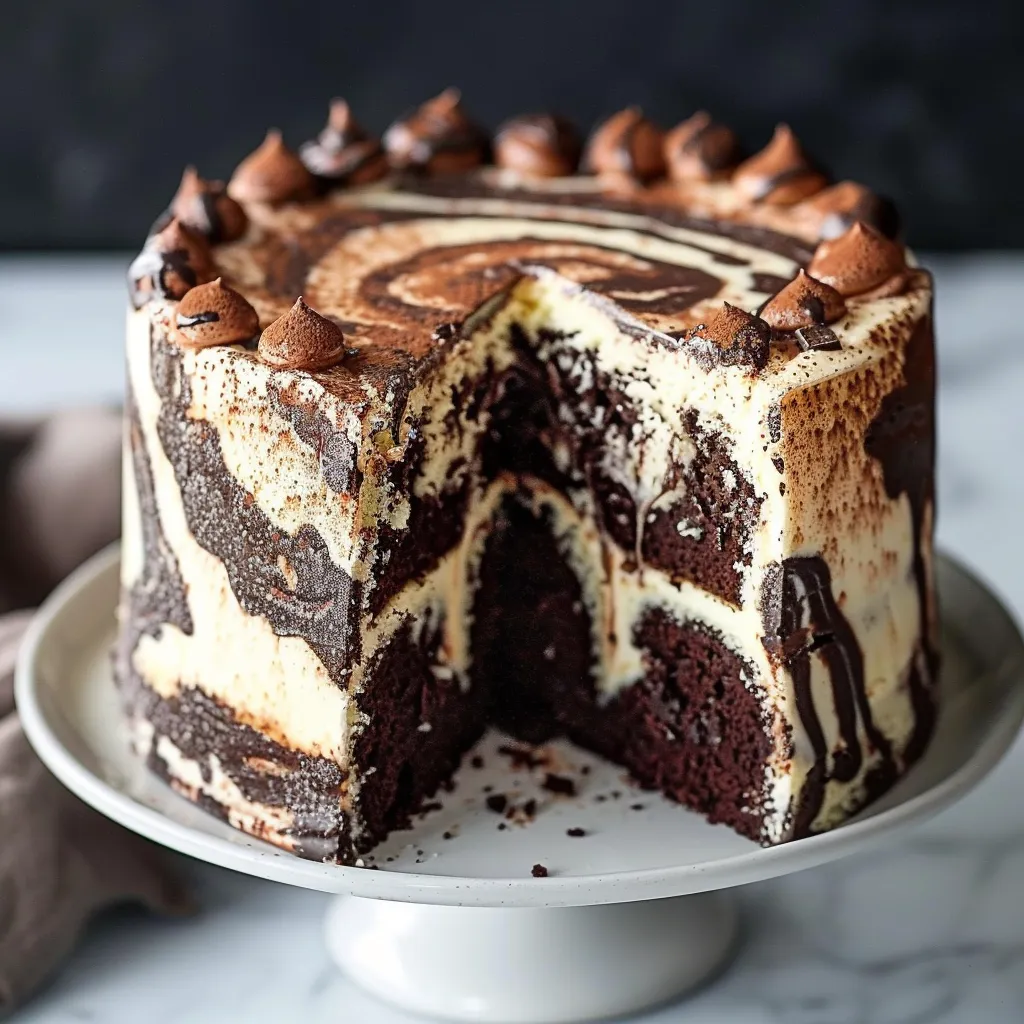
What makes this cake truly special is how it satisfies both chocolate and vanilla lovers in one bite. The stunning swirls create anticipation when slicing, and the combination of a velvety cake with rich ganache frosting makes it feel both nostalgic and elegant.
I serve this cake for celebrations when I want something universally appealing yet more sophisticated than a basic chocolate or vanilla cake. The visual impact of the marbled interior transforms a simple dessert into a showpiece, making it ideal for birthdays, family gatherings, or any occasion where you want a cake that looks as stunning as it tastes.
 Pin to Favorites
Frequently Asked Questions
- → What is the reverse creaming method used in this marble cake recipe?
- The reverse creaming method involves mixing the butter directly into the dry ingredients until the mixture resembles coarse sand, before adding wet ingredients. This technique creates a very fine, velvety crumb and a cake that stays moist longer than traditional creaming methods.
- → Can I substitute buttermilk in this marble cake recipe?
- Yes, you can make a buttermilk substitute by adding 2 tablespoons of vinegar or lemon juice to regular milk. You can also use powdered buttermilk following the package instructions.
- → Why do you tap the cake pans after baking?
- Tapping the pans immediately after removing them from the oven releases steam from the cake, which helps prevent excessive shrinking as the cake cools.
- → Can I use all-purpose flour instead of cake flour?
- The recipe specifically recommends against substituting all-purpose flour for cake flour, as it may cause the recipe to fail. Cake flour has lower protein content (9% or less) which contributes to the cake's tender texture.
- → How do I achieve the perfect marble effect in this cake?
- For perfect marbling, layer the vanilla and chocolate batters in your pans (vanilla, chocolate, vanilla), then use a butter knife to gently swirl them together. Be careful not to overmix, or you'll lose the distinct swirled pattern inside the cake.