
 Pin to Favorites
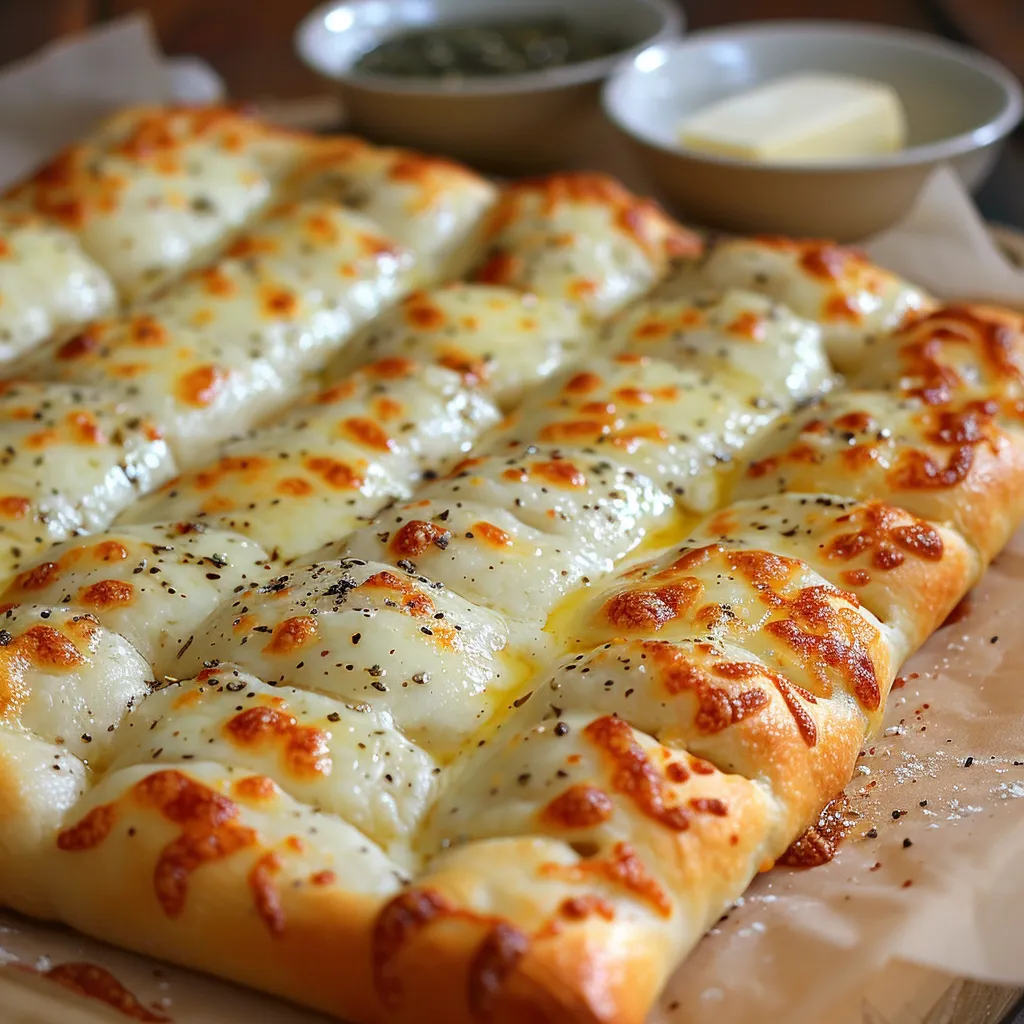
These cheesy breadsticks have become my go-to recipe whenever we have pasta night at home or when I need a crowd-pleasing appetizer in a pinch. The combination of stretchy mozzarella and sharp parmesan creates that irresistible cheese pull that everyone loves.
I first made these breadsticks when I was craving restaurant-style appetizers but didn’t want to leave the house. Now my family requests them weekly, and they disappear faster than I can make them.
Ingredients
- All-purpose flour: Forms the base of our dough providing the perfect texture and structure
- Active dry yeast: Gives the breadsticks their soft risen texture, make sure it bubbles when activated
- Salt: Enhances all the flavors and strengthens the dough
- Sugar: Feeds the yeast ensuring proper rising
- Olive oil: Adds richness and helps create a tender interior with crispy exterior
- Warm water: Activates the yeast, use water that feels like warm bath water
- Garlic powder: Infuses the dough with savory flavor
- Mozzarella cheese: Creates that perfect stretchy cheese pull, choose whole milk mozzarella for best melt
- Parmesan cheese: Adds sharp nutty notes that balance the mild mozzarella
- Butter: Helps the breadsticks brown beautifully and adds rich flavor
- Dried oregano or Italian seasoning: Brings aromatic herb notes that complement the cheese
Step-by-Step Instructions
- Activate The Yeast:
- Combine warm water around 110°F with sugar and yeast in a small bowl. Let the mixture sit undisturbed for 5-10 minutes until it becomes foamy and fragrant. This step is crucial as it ensures your yeast is alive and will help your breadsticks rise properly.
- Mix The Dry Ingredients:
- In a large mixing bowl, whisk together the flour and salt until evenly distributed. This prevents salt from directly contacting the yeast which could kill it and ensures even flavor throughout.
- Form The Dough:
- Pour the activated yeast mixture and olive oil into your dry ingredients. Stir everything together with a wooden spoon until a shaggy dough forms. The dough should pull away from the sides of the bowl but still feel slightly tacky.
- Knead To Perfection:
- Turn the dough onto a lightly floured surface and knead for about 6 minutes. Push the dough away with the heel of your hand then fold it back toward you repeating until the dough becomes smooth elastic and springs back when poked. Your arm might get tired but this develops the gluten for perfect texture.
- Rest Period:
- Place the dough in an oiled bowl and cover with a damp kitchen towel. Let it rest for 15 minutes. This short rest allows the gluten to relax making the dough easier to shape and helping develop flavor.
- Shape And Cut:
- Preheat your oven to 375°F then roll the dough into a rectangle approximately 9×13 inches on a floured surface. Aim for even thickness throughout about ¼ inch thick. Use a pizza cutter to slice the dough into 12 equal strips working with confident straight cuts.
- Add Flavor Base:
- Transfer the strips to a greased baking sheet arranging them with a small space between each. Brush each strip generously with melted butter making sure to cover the entire surface. Sprinkle with garlic powder if using pressing it gently into the dough.
- Cheese Application:
- Distribute the mozzarella and parmesan cheeses evenly over each breadstick ensuring complete coverage. The cheese will melt down the sides creating crispy cheese edges that are incredibly delicious. Add a light dusting of dried herbs over the cheese.
- Baking Process:
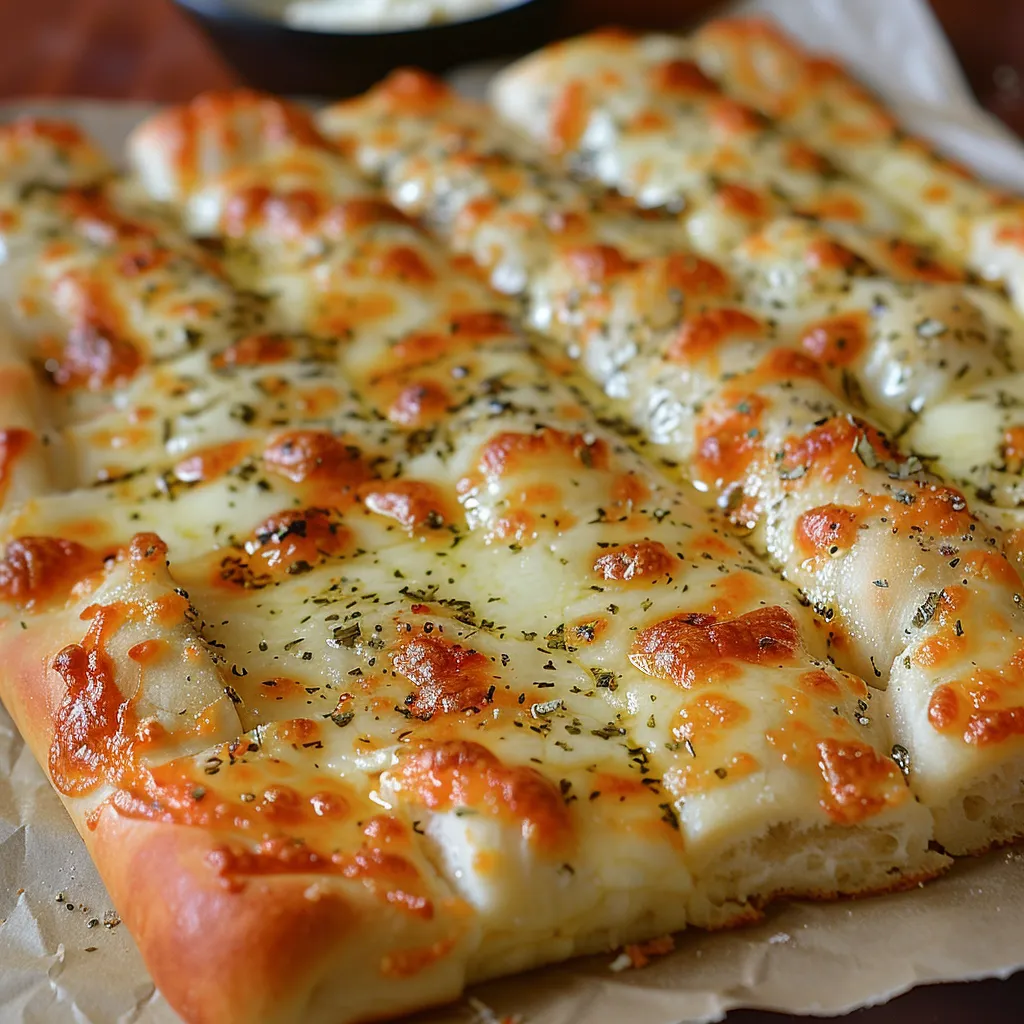
- Bake in the preheated oven for 20-25 minutes until the breadsticks turn golden brown around the edges and the cheese becomes bubbly and lightly browned in spots. Rotate the pan halfway through for even browning.
- Cooling And Serving:
- Allow the breadsticks to cool on the baking sheet for 3-5 minutes. This brief cooling period allows the cheese to set slightly making them easier to handle. Serve warm with marinara sauce or your favorite dipping option.
The real secret to these breadsticks is in the quality of cheese you use. I discovered that freshly grated cheese melts much better than pre-shredded varieties which often contain anti-caking agents. One winter evening when we were snowed in, I made these with a specialty aged parmesan I had been saving, and my husband declared them better than any restaurant version he’d ever had.
Make-Ahead Options
These cheesy breadsticks can be partially prepared ahead of time to make meal prep easier. You can make the dough up to 24 hours in advance and store it in the refrigerator. Just bring it to room temperature for about 30 minutes before rolling and shaping. You can also freeze the shaped unbaked breadsticks on a baking sheet, then transfer them to a freezer bag once solid. When ready to bake, place them on a baking sheet, let thaw for 30 minutes, then top with butter and cheese before baking.
Perfect Pairings
These breadsticks are incredibly versatile and pair well with numerous dishes. They’re the perfect companion to tomato-based pasta dishes like spaghetti and meatballs or lasagna. They also work wonderfully alongside a fresh salad for a lighter meal. For entertaining, I serve them as an appetizer with a variety of dipping sauces including marinara, garlic butter, ranch dressing, or even a spicy arrabbiata sauce. The breadsticks are substantial enough to be dipped multiple times without falling apart.
Troubleshooting Tips
If your dough isn’t rising properly, your yeast might be old or the water might be too hot or too cold. Water should be warm about 110°F but not hot enough to kill the yeast. If your breadsticks are browning too quickly but aren’t cooked through, tent them with aluminum foil to prevent further browning while allowing the inside to finish cooking. For even chewier breadsticks, try substituting bread flour for all-purpose flour, which has a higher protein content resulting in more developed gluten.
 Pin to Favorites
These cheesy breadsticks are the ultimate snack or meal companion. Shaped with love and packed with flavor, they’re sure to delight your family and friends!
Frequently Asked Questions
- → How do I get the dough to rise perfectly?
Ensure the yeast is active by proofing it in warm water (not too hot). Let the dough rest in a warm place covered with a damp towel to promote an even rise.
- → Can I use pre-shredded cheese?
Yes, but freshly shredded cheese melts better and offers a creamier texture compared to pre-shredded cheese, which may contain anti-caking agents.
- → How do I make the breadsticks extra crispy?
Brush the dough strips with olive oil or melted butter before baking. For added crispiness, you can bake them on a pizza stone if available.
- → Can I make the dough ahead of time?
Absolutely! After kneading, you can refrigerate the dough overnight. Bring it to room temperature before shaping and baking.
- → What dipping sauces pair well with these breadsticks?
Marinara sauce is a classic choice, but you can also try ranch, garlic butter, or even a creamy cheese dip for variety.