 Pin to Favorites
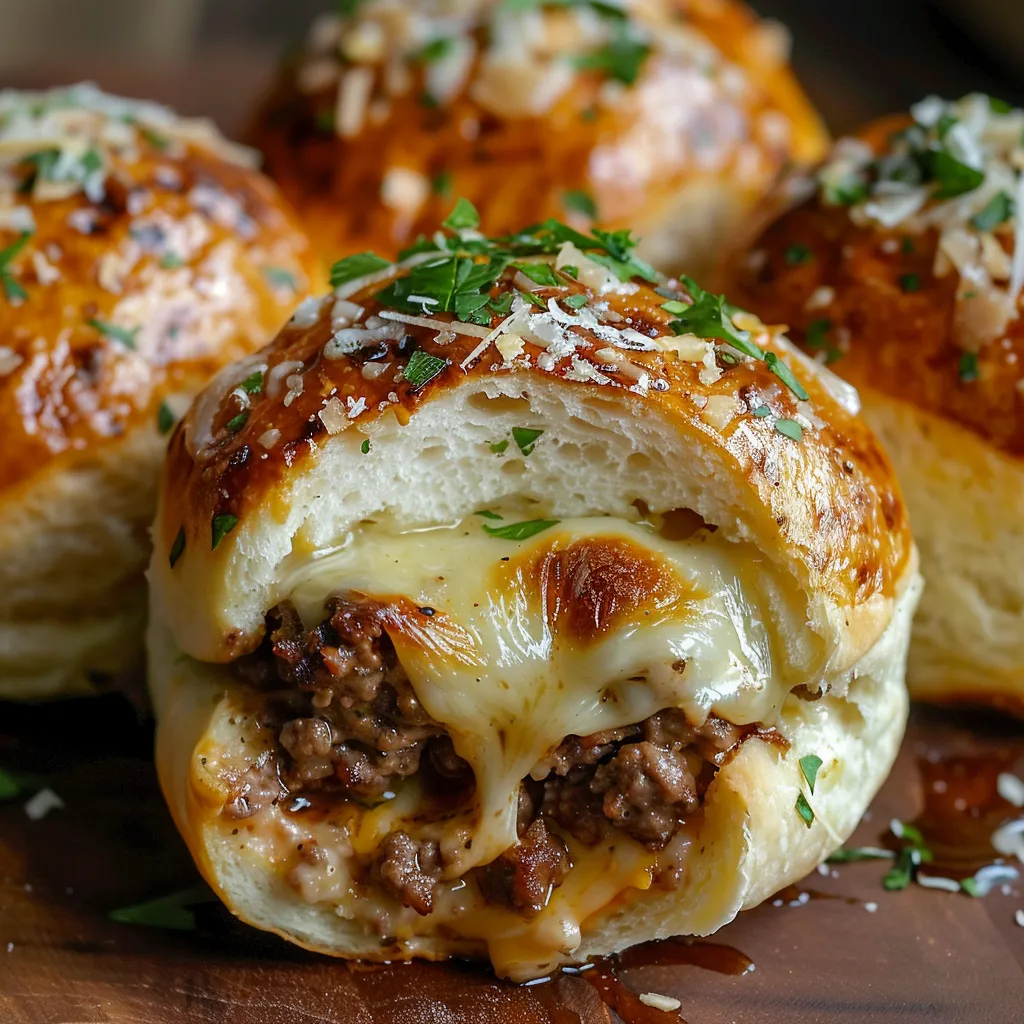
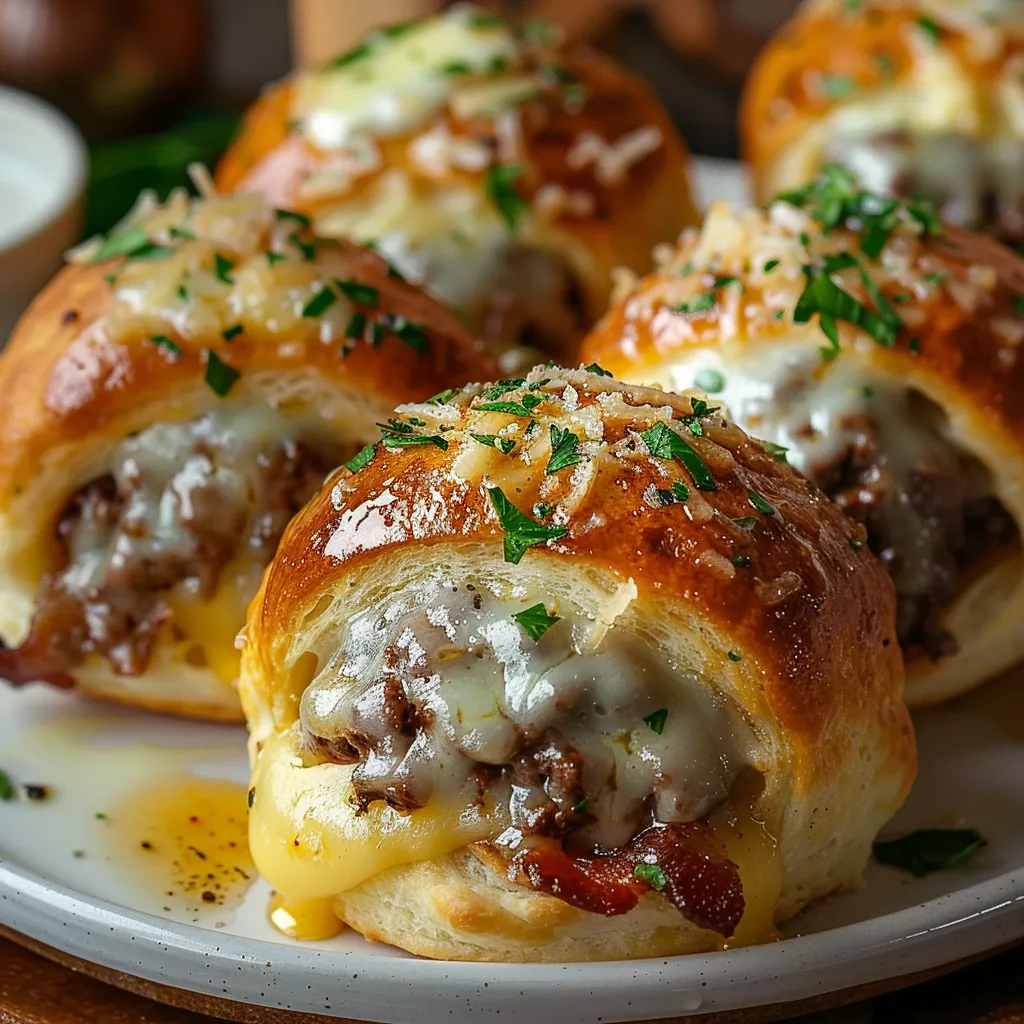
This garlic parmesan cheeseburger bombs recipe transforms classic burger flavors into fun, bite-sized packages that disappear quickly at any gathering. The combination of seasoned beef, gooey cheese, and buttery garlic parmesan topping creates an irresistible appetizer that works equally well as a main dish when paired with a side salad.
I created these cheeseburger bombs when hosting my son's football team dinner and needed something that would please hungry teenagers. They devoured them so quickly I had to make a second batch, and now they're requested at every gathering we host.
Ingredients
- Ground beef: 80/20 preferred for optimal flavor and juiciness
- Worcestershire sauce: Adds umami depth and classic burger flavor
- Garlic powder and onion powder: Provide aromatic flavor without chunks
- Salt and pepper: Essential for bringing out the beef flavor
- Refrigerated biscuit dough: Creates a perfect pillowy vessel with minimal effort
- Cheddar cheese cubes: I recommend sharp cheddar for the most pronounced cheese flavor
- Butter: Forms the base for the addictive garlic topping
- Fresh garlic cloves: Much more flavorful than jarred for the topping
- Parmesan cheese: Use freshly grated for best melting and flavor
- Fresh parsley: Adds color and freshness to balance the richness
- Bacon (optional): Adds incredible smoky flavor and texture
Step-by-Step Instructions
- Prepare the Filling:
- Cook ground beef in a skillet over medium heat for 5 to 7 minutes, breaking it into small crumbles with a wooden spoon. Add Worcestershire sauce, garlic powder, onion powder, salt, and pepper while cooking. Continue until beef is fully browned with no pink remaining. Drain excess fat and set aside to cool slightly while preparing dough.
- Prepare the Dough:
- Open the can of refrigerated biscuit dough and separate into 8 individual biscuits. Place each biscuit on a lightly floured surface and use your fingers or a rolling pin to flatten into a circle about 4 inches in diameter. The dough should be thin but without holes. Work carefully as the dough can tear easily.
- Assemble the Bombs:
- Place about 1 tablespoon of the cooled beef mixture in the center of each flattened biscuit. Add 2 small cubes of cheddar cheese on top of the beef. If using bacon, sprinkle some crumbles over the cheese. Carefully bring the edges of the dough up and over the filling, pinching firmly to seal completely. Roll gently between your palms to form a ball shape, ensuring there are no openings where cheese could leak.
- Prepare the Topping:
- In a small bowl, combine melted butter and minced garlic. Stir well and let sit for 1 minute to infuse the butter with garlic flavor. In a separate small bowl, mix grated Parmesan cheese with chopped parsley.
- Bake to Perfection:
- Preheat oven to 375°F and line a baking sheet with parchment paper. Arrange the sealed bombs on the baking sheet, spacing them about 2 inches apart. Brush each bomb generously with the garlic butter mixture, then sprinkle with the Parmesan cheese mixture. Bake for 15 to 18 minutes, until the bombs are golden brown and the dough is cooked through.
 Pin to Favorites
The secret to these cheeseburger bombs is definitely in the garlic butter topping. I discovered this accidentally when I had leftover garlic bread butter and decided to use it on top of an early version of this recipe. The difference was night and day, and now my family says they taste like a combination of a cheeseburger and the best garlic knot you've ever had.
Make Ahead Options
These cheeseburger bombs work wonderfully as a make-ahead option for busy days. You can prepare the beef mixture up to two days in advance and store it in the refrigerator. You can also assemble the entire bombs through the sealing step, then refrigerate them for up to 24 hours before baking. Just be sure to bring them close to room temperature before brushing with the garlic butter and baking. This makes them perfect for planning party appetizers or quick weeknight dinners.
Troubleshooting Tips
If you find your cheese leaking out during baking, you likely have a small hole in your dough. Make sure to really pinch and seal the edges completely. Another trick is to freeze the cheese cubes for about 15 minutes before assembly which gives you more time before they melt. If your bombs are browning too quickly but not cooking through, cover them loosely with foil halfway through baking time to prevent over-browning while allowing them to finish cooking.
Serving Suggestions
These cheeseburger bombs pair wonderfully with traditional burger condiments served on the side. Try setting up a dipping station with ketchup, mustard, and special sauce. For a complete meal, serve alongside a crisp green salad, sweet potato fries, or a light coleslaw. They also make excellent game day fare alongside other finger foods like wings and veggie platters. I particularly love serving them with a pickle spear on the side to cut through the richness.
 Pin to Favorites
These cheesy, garlic-infused bites are guaranteed to be a crowd-pleaser no matter the occasion.
Frequently Asked Questions
- → Can I prepare these bombs in advance?
Yes, you can assemble the bombs ahead of time and store them in the refrigerator for up to 24 hours before baking. Brush with garlic butter just before baking for best results.
- → What cheese works best for filling?
Cheddar cheese is ideal for its sharp taste and melty texture, but mozzarella or pepper jack can also be used for variations in flavor.
- → Can I use homemade biscuit dough instead of canned?
Absolutely! Homemade biscuit dough works great. Just ensure it's rolled out evenly for consistent results during baking.
- → What are some sauce pairings for serving?
These bombs pair well with marinara, ranch dressing, garlic aioli, barbecue sauce, or even sriracha for a spicy kick.
- → Can these be made without bacon?
Yes, bacon is optional. Leaving it out won't compromise the flavor, but if you skip it, consider adding a pinch of smoked paprika for a hint of smokiness.
- → Can I air fry instead of baking?
Yes, these bombs can be air-fried. Preheat your air fryer to 375°F and cook for 10–12 minutes, or until golden brown and fully cooked.
