
 Pin to Favorites
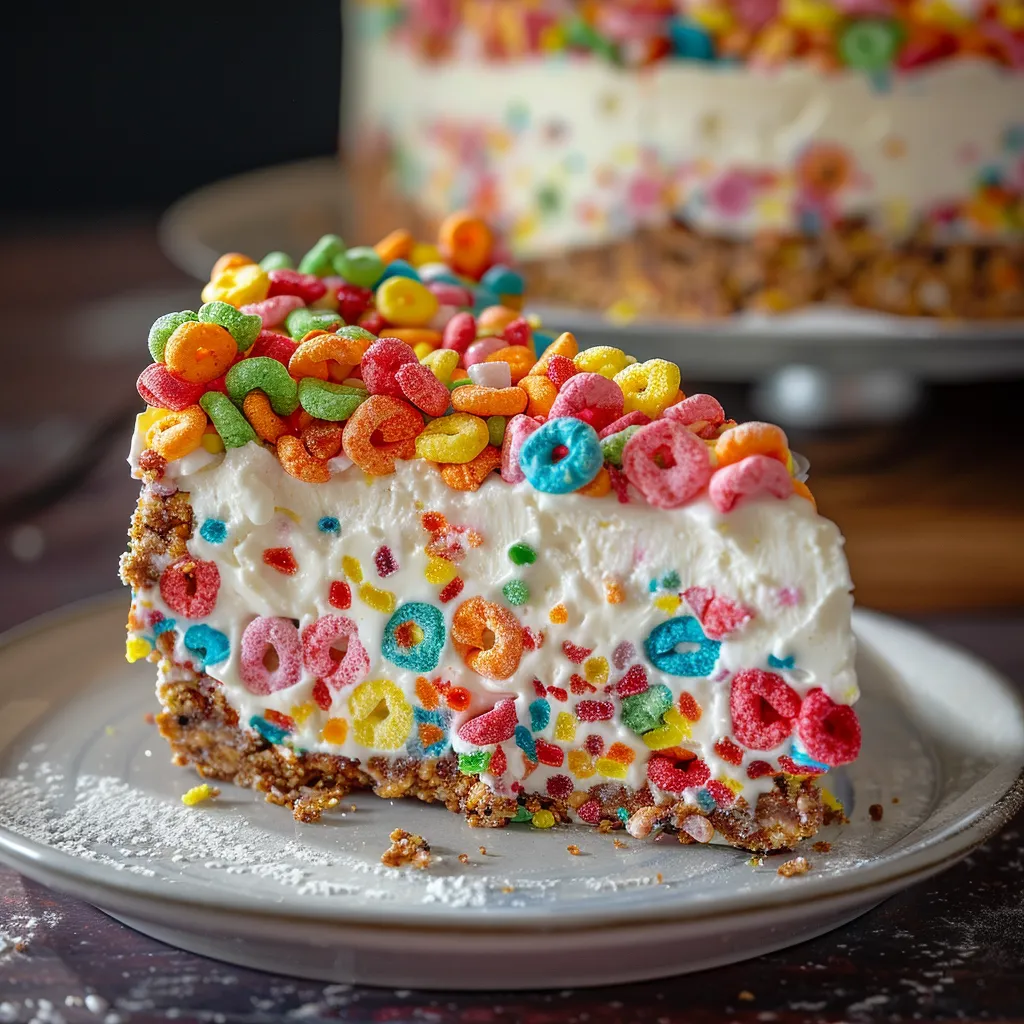
This no-bake Fruity Pebbles Cheesecake transforms your favorite childhood cereal into a showstopping dessert that balances creamy cheesecake with the playful crunch and colors of Fruity Pebbles. Perfect for birthdays or whenever you need a nostalgic sweet treat that will impress guests of all ages.
I created this recipe for my daughter's birthday party last year when she requested something "colorful and fun." The moment we brought it to the table, everyone's eyes lit up before they even took their first bite.
Ingredients
- Mini marshmallows: Form the binding base for our crust giving it that perfect cereal treat texture
- Salted butter: Balances the sweetness and helps the marshmallows melt smoothly
- Fruity Pebbles: Provide the signature rainbow color and fruity flavor throughout both crust and filling
- Cream cheese: Should be full fat and completely room temperature for the smoothest texture
- Sugar: Sweetens just enough without overpowering the fruity cereal flavor
- Heavy cream: Adds richness and helps the cheesecake set properly
- Lemon juice: Balances the sweetness with a hint of acidity
- Vanilla extract: Provides depth of flavor to complement the fruity notes
- Raspberry extract: Enhances the berry notes already present in the cereal
- Cornstarch: Helps stabilize the no bake filling so it slices perfectly
- Salt: Enhances all flavors and balances the sweetness
 Pin to Favorites
Step-by-Step Instructions
- Prepare Your Pan:
- Line a 9inch springform pan with parchment on both bottom and sides. This crucial step ensures your cheesecake releases cleanly after chilling. Make sure the parchment extends slightly above the pan rim for easy removal.
- Create The Marshmallow Base:
- Combine mini marshmallows and butter in a large microwave safe bowl. Heat in 30second intervals stirring between each until completely melted and smooth. This usually takes 12 minutes total. Be careful not to overheat or the marshmallows can become tough.
- Form The Colorful Crust:
- Add Fruity Pebbles to the melted marshmallow mixture and stir quickly but thoroughly until every piece is coated. While still warm press the mixture firmly into your prepared pan creating an even layer on the bottom and pushing about 1½ inches up the sides. Use the bottom of a measuring cup to press firmly which prevents the crust from crumbling later.
- Make The Cheesecake Filling:
- Beat cream cheese and sugar for a full 2 minutes until completely smooth with no lumps. Room temperature cream cheese is absolutely essential here. Cold cream cheese will remain lumpy no matter how long you beat it. Scrape down the sides of the bowl thoroughly before adding remaining ingredients.
- Add The Flavor Components:
- Mix in heavy cream lemon juice vanilla and raspberry extracts until just combined. Then add cornstarch and salt mixing until incorporated. These ingredients create the perfect balance of richness tang and stability without requiring any eggs or baking.
- Complete With Cereal:
- Gently fold Fruity Pebbles into the cream cheese mixture by hand using a rubber spatula. Work quickly but carefully to maintain the integrity of the cereal pieces while ensuring they're distributed evenly throughout the filling.
- Chill To Perfection:
- Pour the filling into your prepared crust smoothing the top with an offset spatula. Cover with plastic wrap without touching the surface and refrigerate for a full 8 hours or overnight. This long chill time is non-negotiable as it allows the cheesecake to set properly for clean slicing.
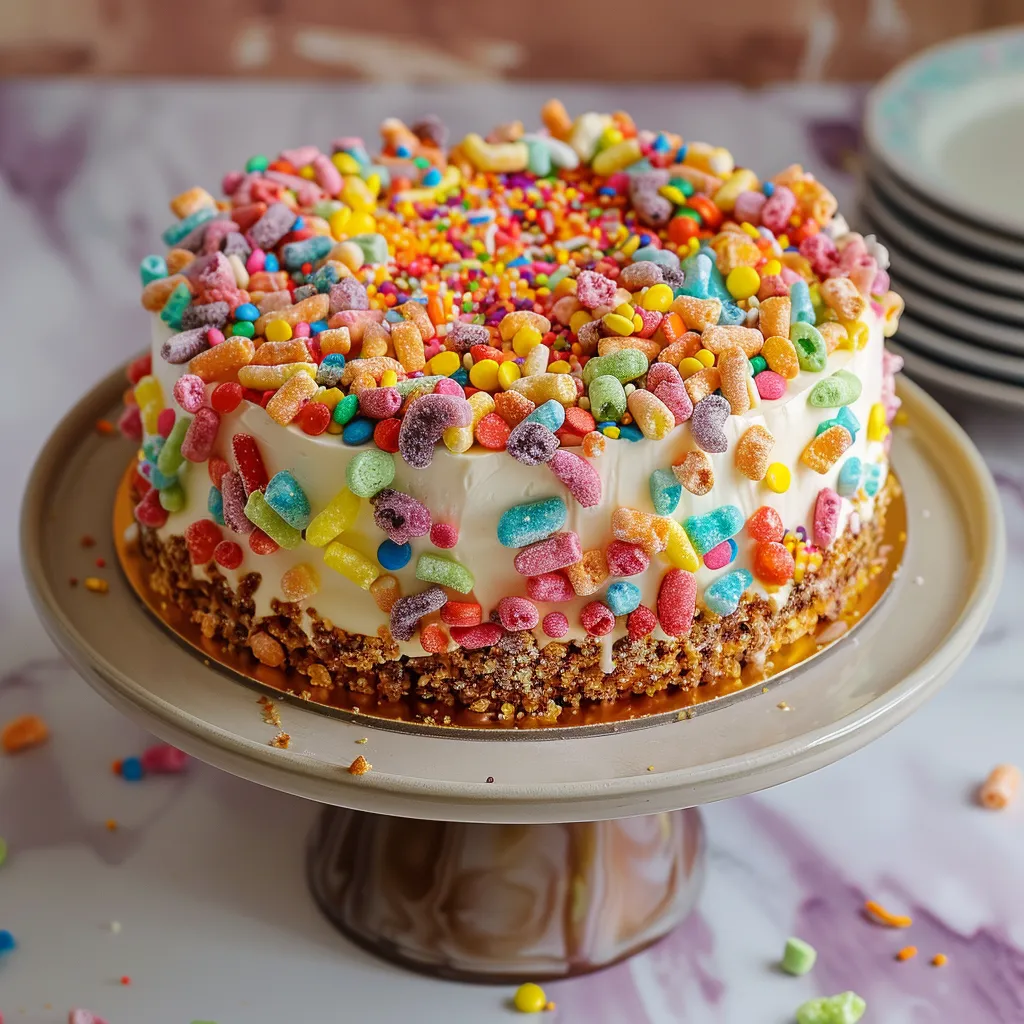
My favorite part of making this cheesecake is watching people's reactions when they see it. There's something about those bright rainbow colors that instantly brings joy to any table. My daughter insisted on adding extra Fruity Pebbles on top "like confetti" which turned out to be the perfect finishing touch.
Make-Ahead Tips
This cheesecake actually improves with time as the flavors meld and the crust softens slightly. You can prepare it up to 48 hours before serving which makes it perfect for entertaining. Keep it covered in the refrigerator until about 15 minutes before serving. For the freshest appearance add the additional cereal topping just before bringing it to the table.
Easy Variations
The beauty of this recipe is how customizable it is. Try using Cocoa Pebbles for a chocolate version or Cinnamon Toast Crunch for a warm spiced flavor profile. You can even substitute the raspberry extract with orange or lemon extract depending on which fruit notes you want to enhance. For special occasions add a layer of white chocolate ganache on top before sprinkling with cereal for extra decadence.
Serving Suggestions
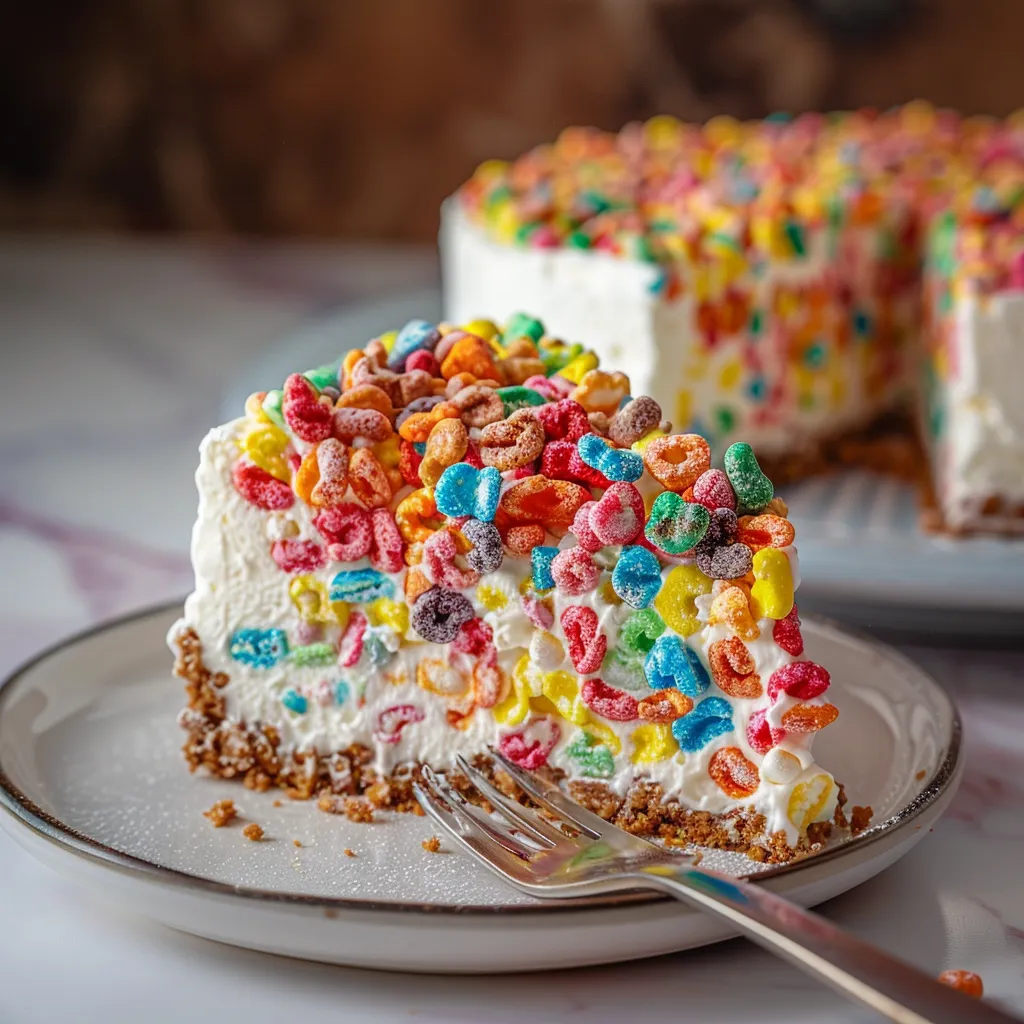
This cheesecake slices best when slightly chilled but flavors shine brightest at just below room temperature. Let it sit out for about 15 minutes before serving. Use a sharp knife dipped in hot water and wiped clean between each cut for the cleanest slices. Serve alongside fresh berries for a beautiful color contrast or with a small scoop of vanilla ice cream for an extra special treat.
 Pin to Favorites
Save some slices to enjoy later—this cheesecake refrigerates well and tastes even better on day two!
Frequently Asked Questions
- → Can I use a different cereal for the crust?
Yes, you can substitute any cereal of your choice, but the flavor profile will change based on the cereal used.
- → How long does the cheesecake need to chill?
The cheesecake should chill in the refrigerator for at least 8 hours, or overnight, for the best results.
- → Do I need a stand mixer for this cheesecake?
A stand mixer is recommended for smoother mixing, but you can also use a hand mixer.
- → How can I make the crust more stable?
Press the cereal mixture firmly into the pan and up the sides to ensure a compact crust that holds together well.
- → Can I make the cheesecake ahead of time?
Yes, you can prepare this cheesecake a day in advance and store it in the refrigerator until ready to serve.