 Pin to Favorites
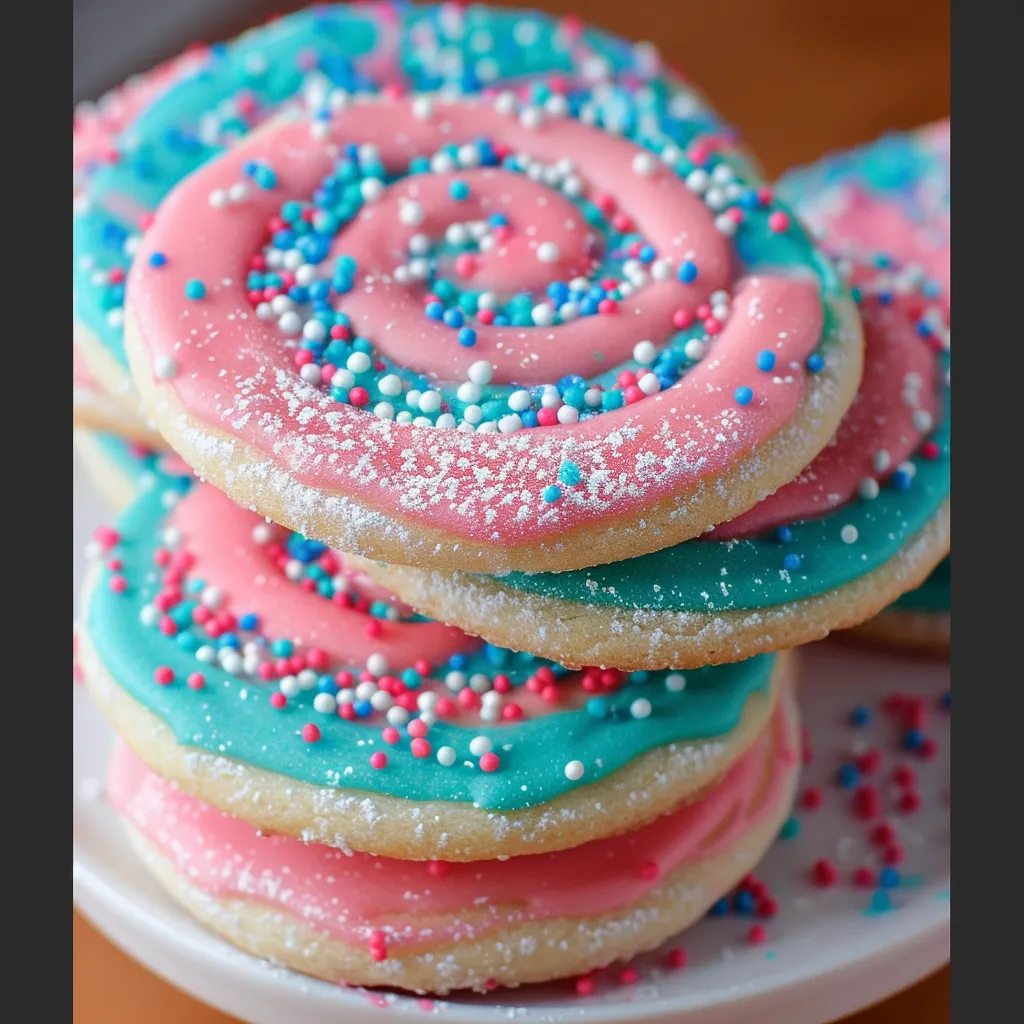
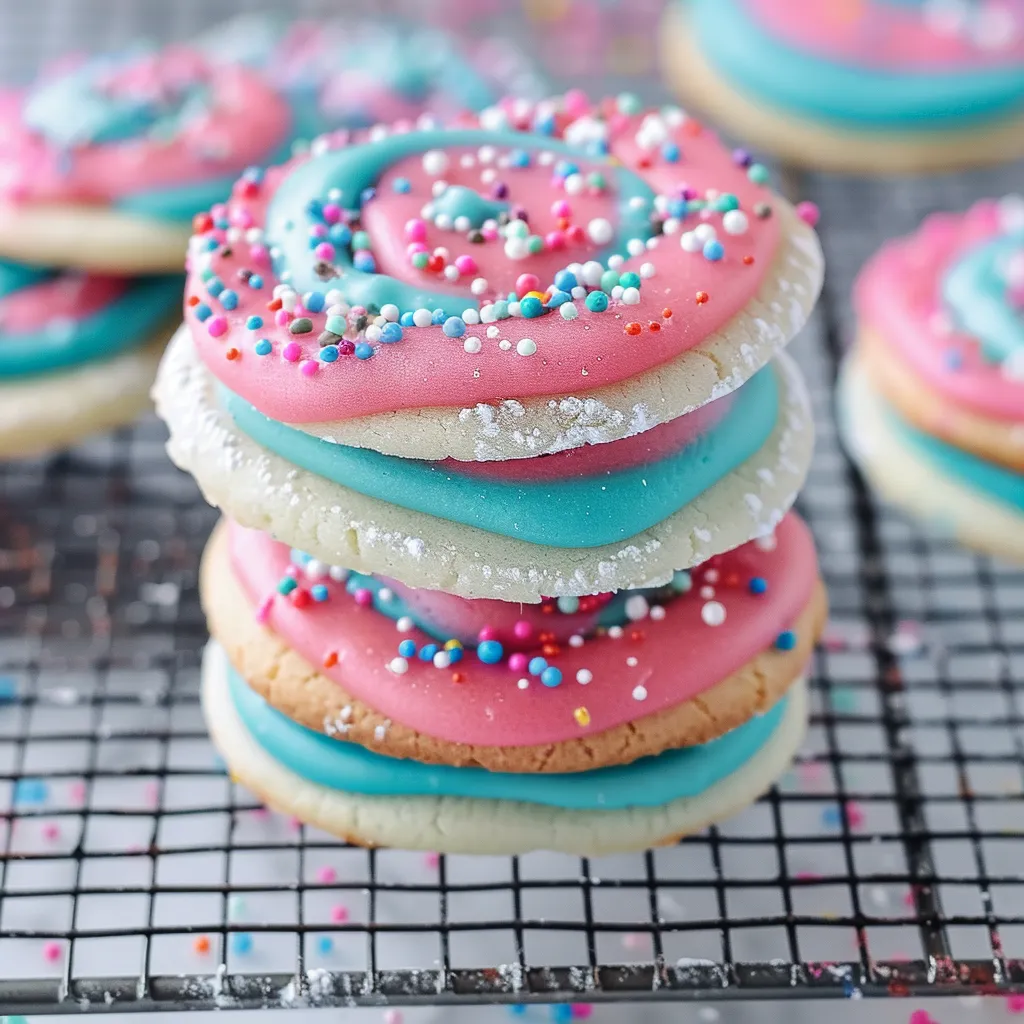
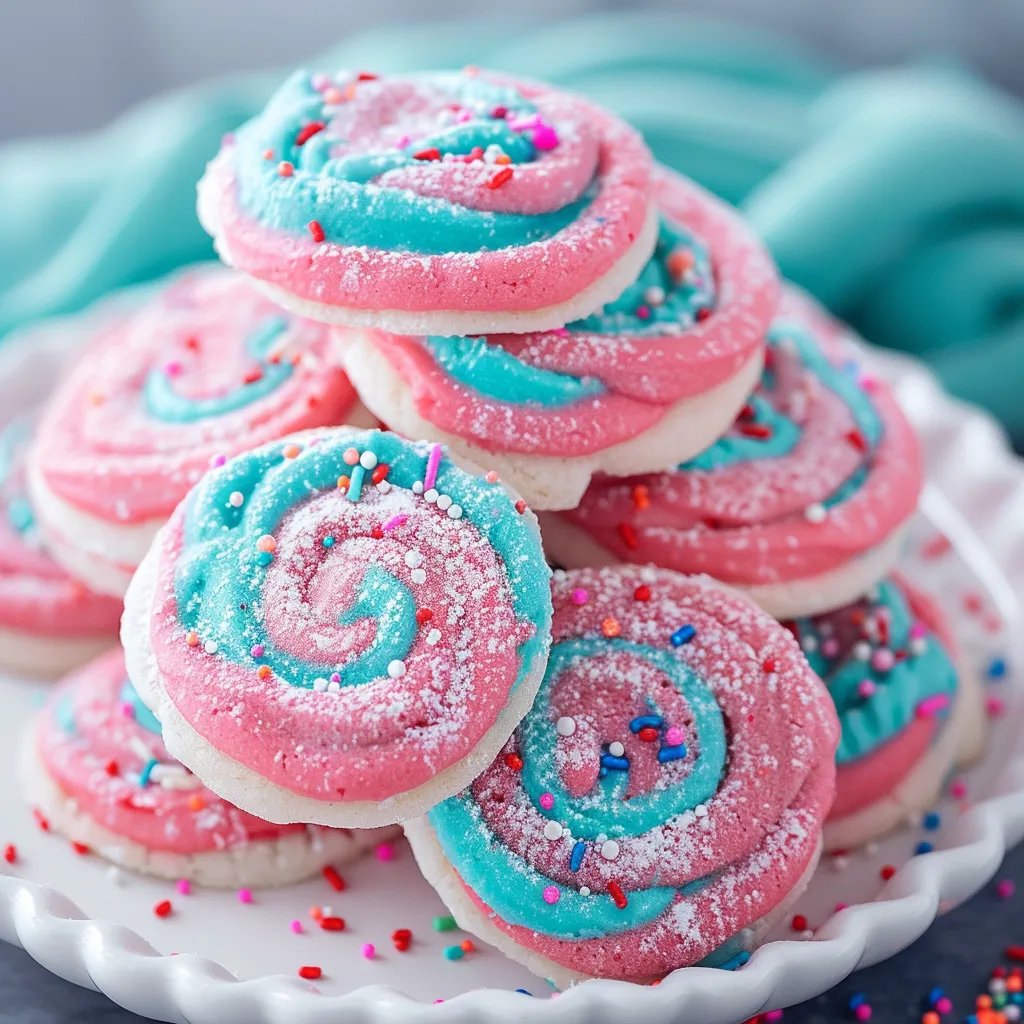
These Cotton Candy Cookies transform the nostalgic flavor of fairground spun sugar into delightful, chewy treats that are as fun to look at as they are to eat. The swirled pink and blue dough creates a beautiful marbled effect that captures the whimsical essence of cotton candy, while the specialized flavoring brings that distinctive sweet aroma that instantly transports you to childhood memories of carnivals and summer festivals. With their perfect balance of soft centers and slightly crisp edges, these cookies deliver a textural experience that complements their playful appearance and unique flavor profile.
Last month, I brought these to my niece's birthday party, and the children were absolutely mesmerized by their swirled appearance. One little girl exclaimed, "They look like they're from a magical bakery!" The secret lies in the proper marbling technique and the specialty cotton candy flavoring that perfectly captures that distinctive carnival treat essence.
Essential Ingredients and Selection Tips
- Cotton Candy Flavoring: This specialized extract is essential for authentic flavor. Look for brands like LorAnn Oils or Amoretti.
- Butter: Use unsalted butter at room temperature for proper creaming. European-style butter with higher fat content creates a richer cookie.
- All-Purpose Flour: Standard all-purpose flour works perfectly. Measure by spooning into measuring cups and leveling.
- Food Coloring: Gel food coloring provides the most vibrant colors without adding excess liquid. AmeriColor and Wilton are excellent options.
- Sugar: Granulated sugar creates the perfect texture. The sugar crystals cut through the butter, incorporating air.
- Egg: A large egg at room temperature binds the dough and contributes to the cookies' chewiness.
 Pin to Favorites
Detailed Cooking Instructions
- Prepare Your Workspace:
- Preheat the oven to 350°F (175°C). Line two baking sheets with parchment paper.
- Combine Dry Ingredients:
- Whisk together 2¼ cups all-purpose flour, 1½ teaspoons baking powder, and ½ teaspoon salt in a medium bowl.
- Cream Butter and Sugar:
- Beat 1 cup unsalted butter and 1½ cups granulated sugar until light and fluffy, about 2-3 minutes.
- Add Egg and Flavoring:
- Mix in 1 large egg and 1 teaspoon cotton candy flavoring until smooth.
- Incorporate Dry Ingredients:
- Gradually add the flour mixture, mixing until just combined.
- Divide and Color the Dough:
- Split the dough in half, coloring one portion pink and the other blue with gel food coloring.
- Chill for Easier Handling:
- Refrigerate dough for 30 minutes before rolling.
- Create the Marbled Effect:
- Roll each color into rectangles, stack them, and roll into a log.
- Slice and Prepare for Baking:
- Cut into ¼-inch slices and place on baking sheets.
- Bake with Precision:
- Bake for 7-9 minutes, until just set but not browned.
- Prepare the Frosting:
- Use canned or homemade buttercream frosting, tinted pink or blue if desired.
- Decorate with Flair:
- Pipe frosting onto cookies and sprinkle with coordinating sprinkles.
The Carnival Memory Connection
My first attempt at these cookies was inspired by a childhood memory of the county fair, where cotton candy was an annual treat I looked forward to. The smell, the way it dissolved on my tongue, and the experience of tearing off wispy pieces—all of that joy is captured in these cookies. What started as a nostalgic baking project has become a connection point between generations.
The Color Experimentation Journey
While pink and blue are classic, experimenting with different color combinations has led to fun customizations for holidays and special events. Halloween versions use purple and orange, Christmas features red and green, and a rainbow swirl was a hit during Pride celebrations. The best technique for vibrant swirls involves rolling the dough slightly thinner to create more intricate layers.
The Child-Friendly Baking Activity Discovery
Baking these cookies with children has proven to be a fantastic interactive experience. Allowing them to mix colors and create their own unique swirls fosters creativity while building baking confidence. Individual mini-logs for each child ensure they have full control over their color designs, making the process even more fun.
The Party Favor Evolution
These cookies make beautiful party favors when individually wrapped in clear bags tied with ribbons. They became my go-to homemade gift for birthdays and baby showers. Placing two cookies in small bakery boxes with personalized stickers added a professional touch that delighted recipients.
The Storage Solution Development
After testing various storage methods, I found that placing a slice of bread in an airtight container with the cookies maintains their chewy texture. Freezing the unfrosted cookies between parchment layers allows for easy make-ahead preparation, ensuring fresh-tasting cookies even weeks later.
Chef’s Essential Tips
Creating these Cotton Candy Cookies connects the joy of carnival treats with the comfort of homemade cookies. When I share these with friends and family, I’m not just offering a sweet treat but a moment of whimsy and nostalgia in cookie form. These colorful little treats prove that sometimes the most memorable baking projects are those that bring a sense of playfulness to the table.
 Pin to Favorites
Frequently Asked Questions
- → Where can I find cotton candy flavoring or extract?
- Cotton candy flavoring can be found in the baking section of craft stores like Michaels or Hobby Lobby, specialty baking shops, or online retailers like Amazon. Popular brands include LorAnn Oils and Amoretti.
- → Can I substitute the cotton candy flavoring with something else?
- If you can't find cotton candy flavoring, you can substitute with vanilla extract plus a small amount of almond extract (about 1 teaspoon vanilla and 1/4 teaspoon almond). The flavor won't be exactly the same, but it will still create a sweet, pleasant taste.
- → How do I prevent the colors from mixing too much when rolling the dough?
- Chill both colored dough portions for about 30 minutes before rolling them out. This firms up the dough, making it easier to handle and less likely to blend together. Also, use gentle pressure when placing one sheet on top of the other and when rolling.
- → Can I make these cookies ahead of time?
- Yes, these cookies can be made 2-3 days ahead and stored in an airtight container. You can also freeze the undecorated cookies for up to 3 months, then thaw and add icing before serving.
- → What type of food coloring works best for these cookies?
- Gel food coloring works best as it provides vibrant colors without adding excess liquid to the dough. If using liquid food coloring, you may need to add a little extra flour if the dough becomes too soft.
