 Pin to Favorites
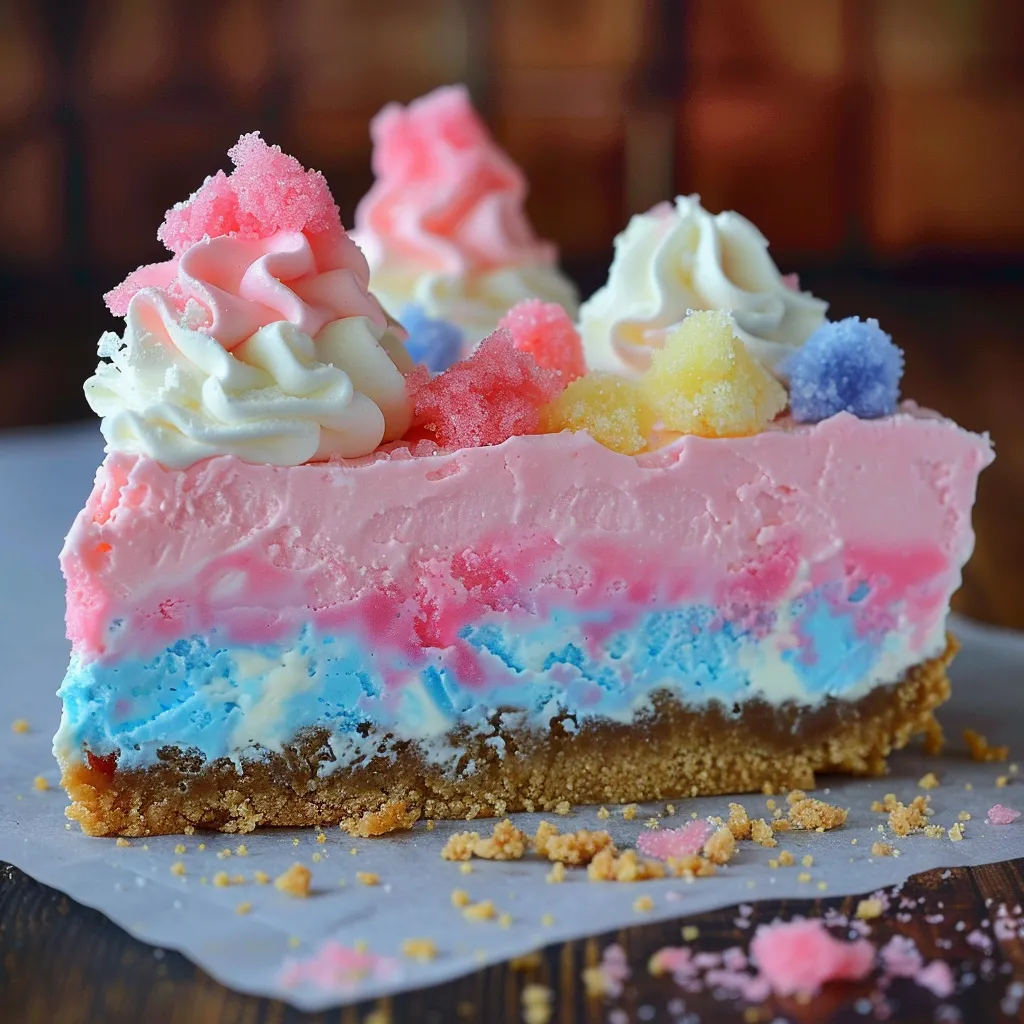
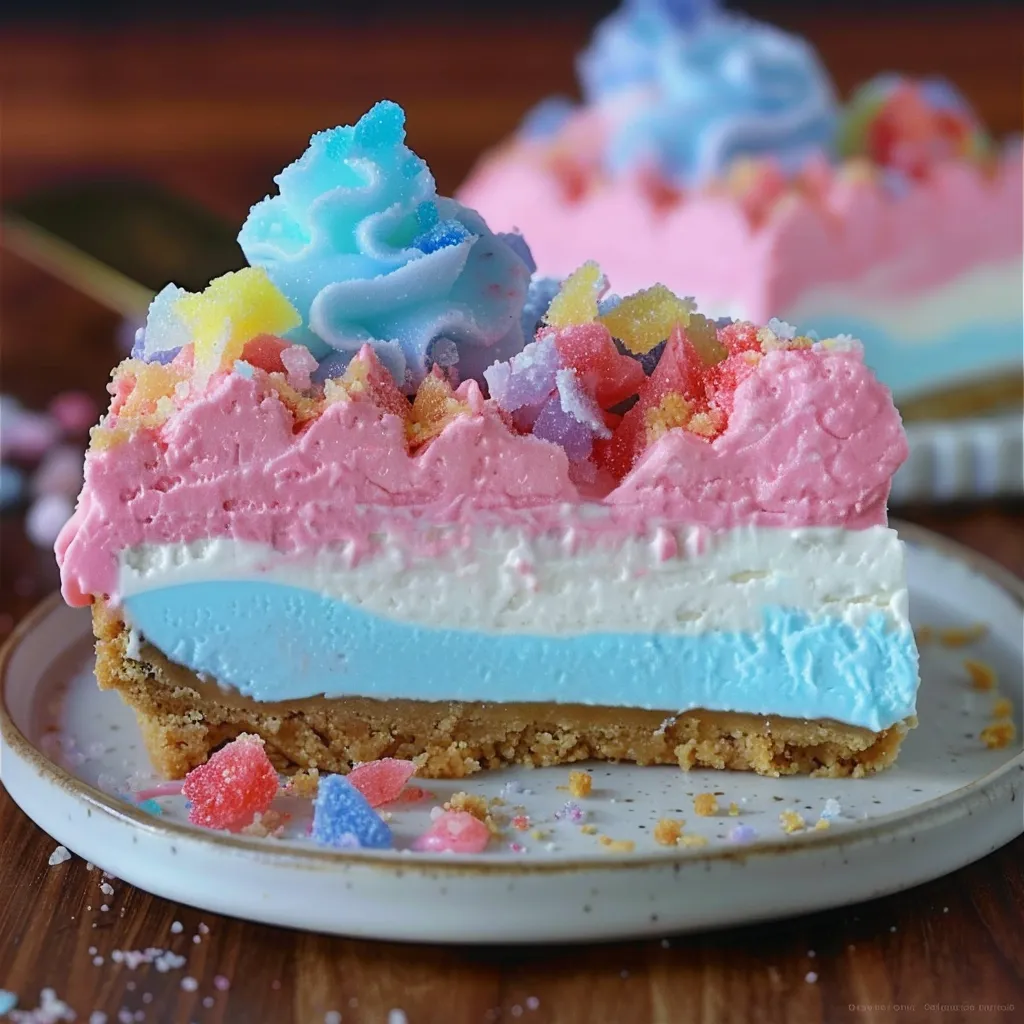
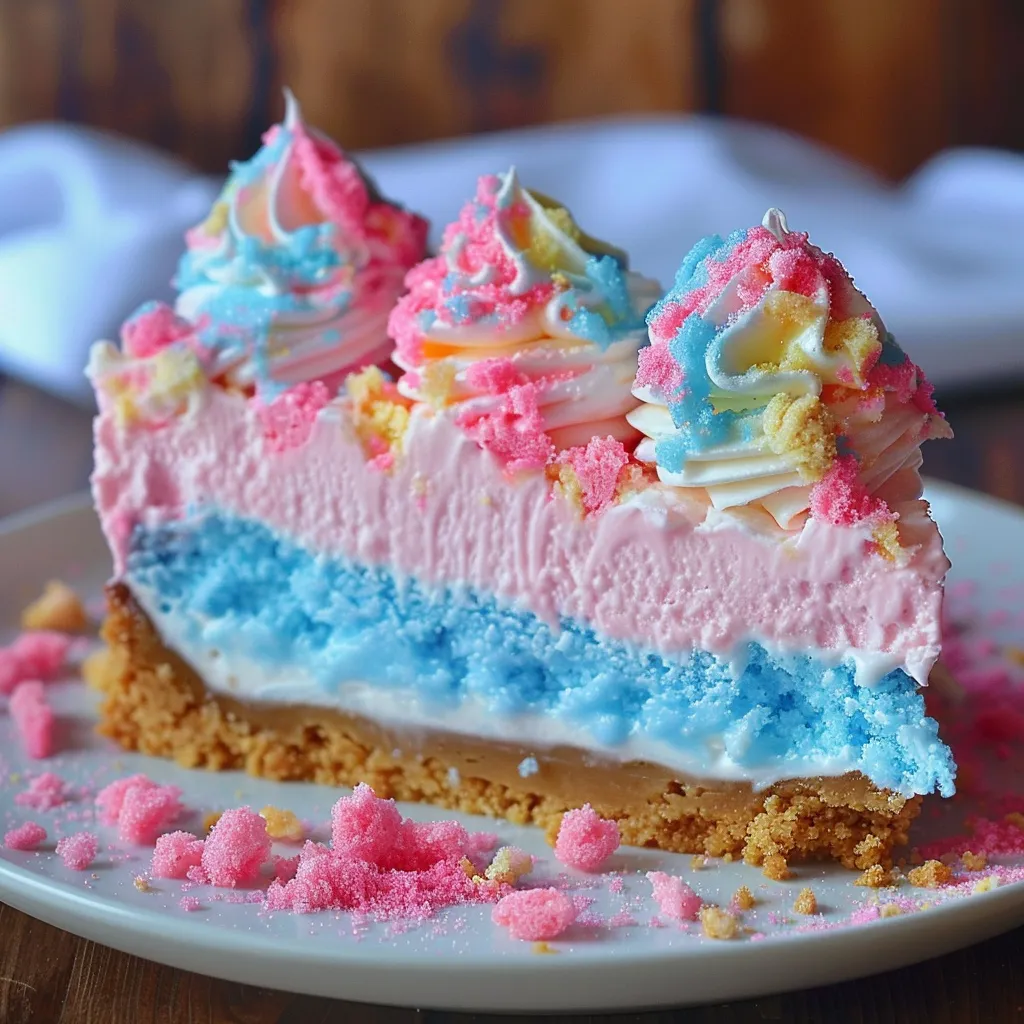
This colorful cotton candy cheesecake transforms your favorite fair treat into a stunning no-bake dessert everyone will love. The layered blue, yellow, and pink cheesecake creates a magical rainbow effect that's as delightful to look at as it is to eat.
The first time I served this at my daughter's birthday party, the kids' eyes went wide with excitement. Now it's our most requested dessert for celebrations, bringing that carnival magic right to our dining table.
Ingredients
- Graham crackers: Provides the perfect crunchy foundation that contrasts beautifully with the creamy filling. Look for honey graham crackers for best flavor.
- Sugar: Adds just enough sweetness to complement the tangy cheesecake. Use granulated for the crust and filling.
- Butter: Creates that classic graham cracker crust texture. Always use unsalted for better control of flavor.
- Cream cheese: The star ingredient for that signature cheesecake flavor. Select full-fat cream cheese for the richest texture and allow it to soften completely.
- Heavy cream: Creates the airy, mousse-like texture. Make sure it's very cold before whipping.
- Flavored gelatin packets: Berry Blue, Cherry, and Lemon JELLOs not only color the layers naturally but add subtle fruity flavors. Purchase extra packets for color adjustments.
- Cotton candy: The crowning touch that ties the theme together. Choose colors that complement your layers.
 Pin to Favorites
Step-by-Step Instructions
- Prepare the Crust:
- Thoroughly crush graham crackers into fine crumbs using a blender or food processor. The finer the crush, the better your crust will hold together. Mix with sugar and melted butter until the mixture resembles wet sand. Press firmly into parchment-lined springform pans, creating an even layer with a flat bottom and slightly raised edges. The freezer step is crucial for setting the base properly.
- Whip the Cream:
- Pour cold heavy cream into a clean, chilled bowl and add a tablespoon of sugar. Begin mixing at medium speed until the cream starts to thicken slightly. Increase to high speed and continue whipping until stiff peaks form when you lift the beater. Be careful not to overwhip into butter. This whipped cream will give your cheesecake its light, airy texture.
- Prepare the Base Filling:
- Beat softened cream cheese until completely smooth with no lumps whatsoever. This step requires patience but ensures a silky final texture. Add sugar gradually while continuing to beat. Fold in the prepared whipped cream with gentle, sweeping motions to maintain as much air as possible in the mixture. The result should be light yet substantial.
- Create Colorful Layers:
- Dissolve each flavor of gelatin in hot water separately, stirring until completely clear with no granules visible. Allow them to cool to room temperature but not set. Divide your cheesecake mixture equally into three bowls. Mix each colored gelatin into its own portion of cheesecake filling, adding additional powder if needed for more vibrant color. Start with the blue layer in your pans, spreading evenly and freezing until firm before adding subsequent layers.
- Assemble and Set:
- Once the blue layer is completely firm, add the cherry layer with a gentle touch to maintain distinct separation between colors. Repeat the freezing process, then add the final lemon layer. The complete cheesecake needs at least four hours to set properly, but overnight yields best results. The patience required here pays off dramatically in the final presentation.
- Garnish and Serve:
- When ready to serve, carefully remove the springform pans and parchment paper. Add fresh cotton candy just before serving, as it will dissolve if left on too long. The dramatic reveal of the rainbow layers never fails to impress guests.
This dessert became an instant favorite when my niece declared it "tastes like happiness" at her sixth birthday party. The combination of fluffy cotton candy with creamy cheesecake creates a magical flavor contrast that brings out everyone's inner child.
Storing Your Cotton Candy Cheesecake
This cheesecake keeps beautifully in the freezer for extended periods, making it perfect for advance preparation. For best results, wrap individual slices in plastic wrap, then foil to prevent freezer burn. When storing in the refrigerator, keep in mind that the texture will be softer than the frozen version. Always add the cotton candy right before serving, as it will dissolve when in contact with the moisture from the cheesecake if added too early.
Creative Variations
The beauty of this recipe lies in its adaptability. Experiment with different JELLO flavors to create your own color combinations. Try grape for purple, lime for green, or orange for a sunset effect. You can also customize the crust using chocolate graham crackers or vanilla wafers for different flavor profiles. For a more sophisticated adult version, consider adding a splash of complementary liqueur to each layer, such as blue curaçao in the blue layer or limoncello in the yellow.
Serving Suggestions
This showstopper dessert deserves special presentation. Serve slices on chilled plates to maintain the firm texture longer. Pair with a small scoop of vanilla ice cream for an extra decadent treat. For birthday celebrations, add sparkler candles alongside the cotton candy for a dazzling effect. The cheesecake also pairs beautifully with a glass of prosecco for adults or a colorful fruit punch for children to continue the carnival theme.
Troubleshooting Tips
Temperature matters tremendously when working with this recipe. If your cream cheese is not fully softened, you will end up with lumps in your final product. Should your JELLO begin to set before mixing with the cheesecake filling, briefly microwave it for 5 seconds to return it to liquid form. For the cleanest slices, dip your knife in hot water and wipe clean between cuts. If your cotton candy dissolves too quickly, try placing it in a separate container and adding it to individual slices right before eating.
 Pin to Favorites
This dessert is as magical in taste as it is in appearance, delighting both kids and adults with every slice.
Frequently Asked Questions
- → How do I make the crust stay firm?
Chill the crust in the freezer before adding the filling. This ensures it sets properly and provides a solid base for the cheesecake.
- → Why separate the JELL-O into ramekins?
This prevents the colors and flavors from mixing, ensuring vibrant and distinct layers in the cheesecake.
- → Can I substitute flavors for the JELL-O?
Yes, you can use other JELL-O flavors to create different color and taste combinations for your cheesecake.
- → What is the best way to serve this cheesecake?
Let the cheesecake sit at room temperature for 10-15 minutes before removing it from the pan. Top with fresh cotton candy just before serving for the best presentation.
- → How long can I store this cheesecake?
You can store the cheesecake in the freezer for up to a week. Make sure to wrap it tightly to avoid freezer burn.
