
 Pin to Favorites
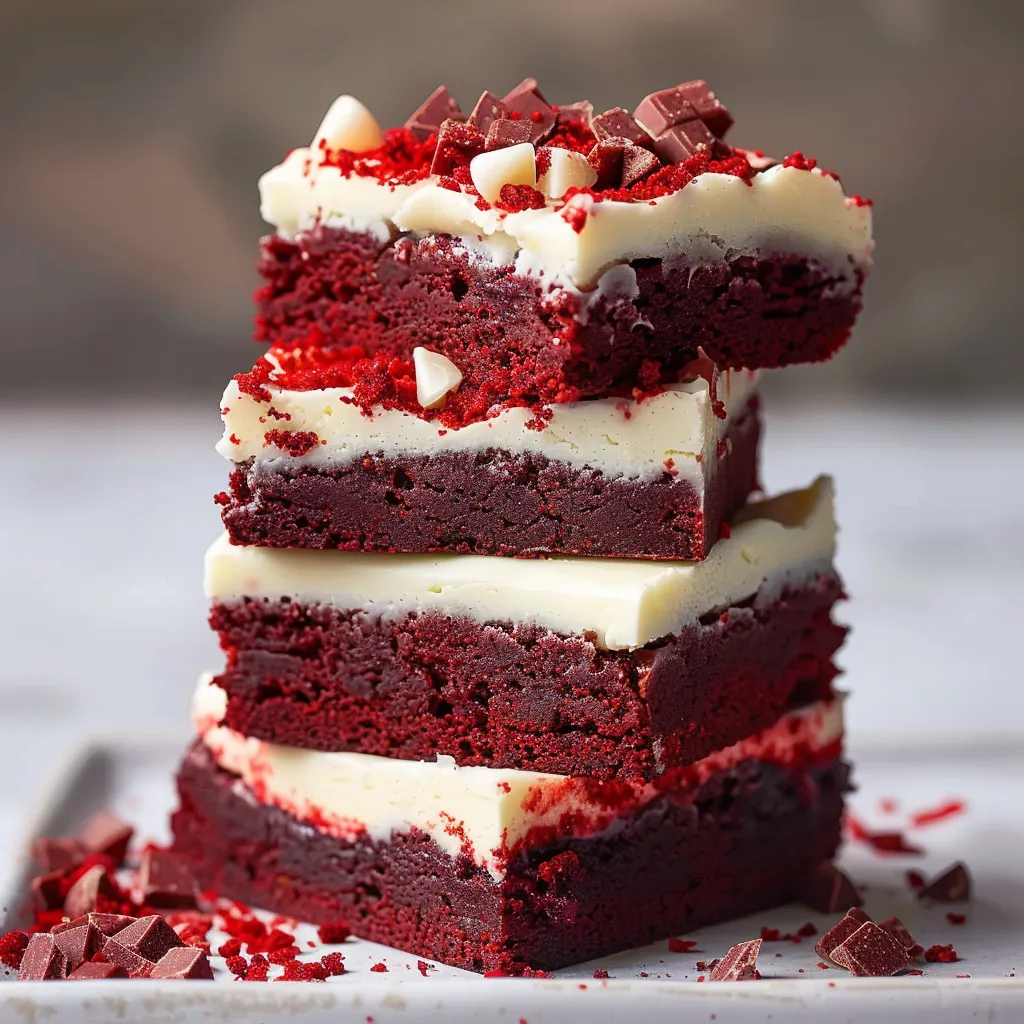
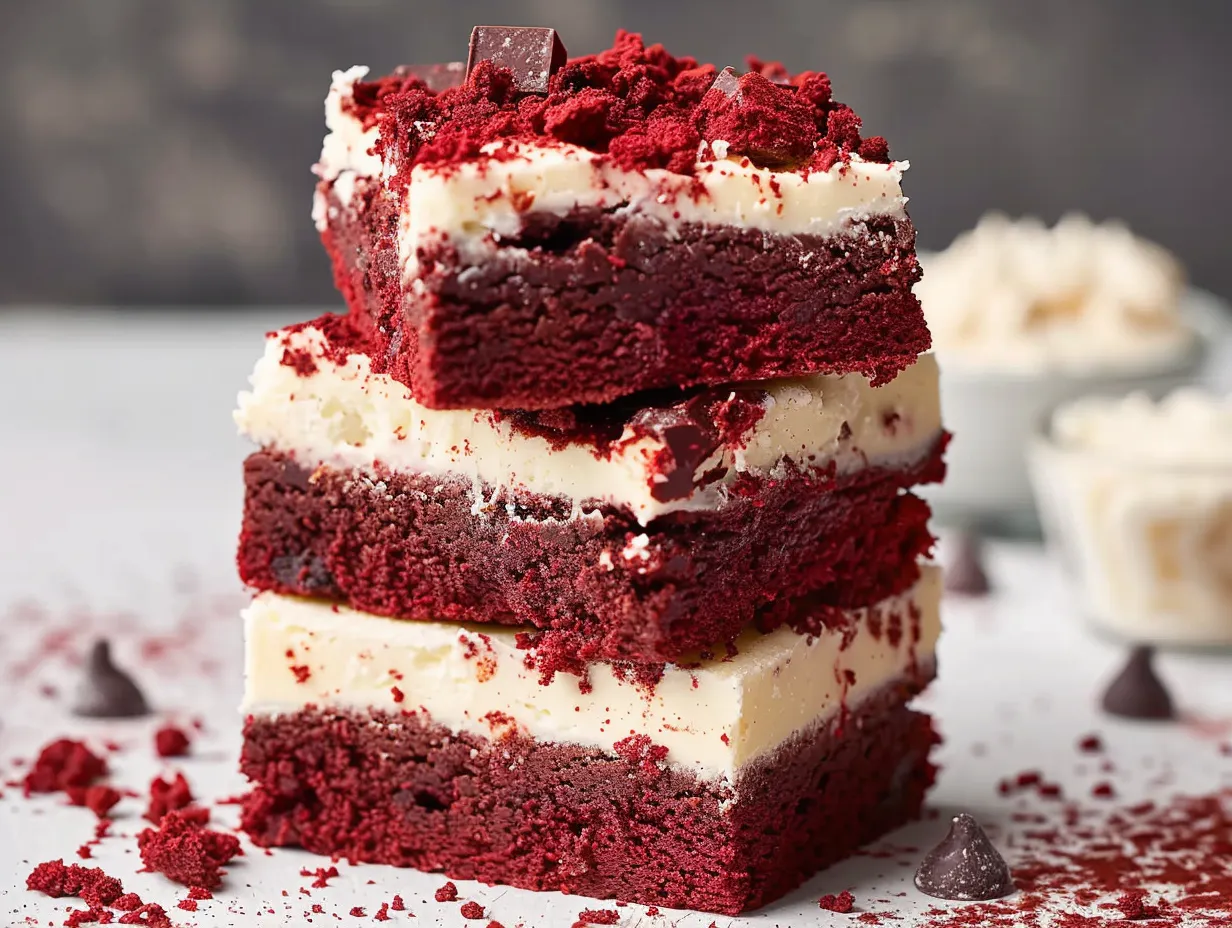
These irresistible Red Velvet Cheesecake Bites combine the classic charm of red velvet cake with creamy cheesecake in perfect bite-sized portions. After discovering this recipe during holiday baking season, it's become my go-to for every special occasion. The contrast between the silky cheesecake center and the tender red velvet coating creates a magical taste experience that keeps everyone coming back for "just one more."
The first time I made these for my daughter's birthday party, they disappeared within minutes. The secret? Taking time to really chill the filling properly before rolling - it makes all the difference in achieving that perfect shape.
Essential Ingredients
- Red velvet cake mix: Creates that signature color and cocoa flavor
- Full-fat cream cheese: Essential for the perfect creamy texture
- Real butter: Adds richness and helps with structure
- Graham crackers: Provides stability to the filling
- Pure vanilla extract: Enhances all the flavors
- Powdered sugar: Dissolves completely for smooth filling
 Pin to Favorites
Detailed Instructions
- Step 1: Prepare the cake base
- Follow cake mix instructions exactly. Cool completely before crumbling. Process into fine, even crumbs. Set aside for coating.
- Step 2: Create the filling
- Beat cream cheese until completely smooth. Add softened butter gradually. Mix in powdered sugar slowly. Fold in crushed graham crackers. Chill mixture for 2 hours.
- Step 3: Shape and coat
- Scoop tablespoon-sized portions. Roll quickly between palms. Freeze balls for 15 minutes. Coat in cake crumbs while cold.
- Step 4: Final touches
- Roll twice in crumbs for full coverage. Chill immediately after coating. Let rest 5 minutes before serving.
My grandmother's trick was adding a tiny pinch of salt to the filling - it makes the flavors pop and balances the sweetness perfectly.
Understanding Red Velvet
The magic lies in the reaction between cocoa powder and acidic ingredients, creating that distinctive color naturally. While modern recipes use food coloring, the original chemical reaction still contributes to the unique taste.
Make-Ahead Magic
I've found these taste even better after 24 hours in the fridge, as the flavors meld together. They're perfect for preparing up to three days before an event.
Creative Variations
Throughout years of making these, I've discovered that adding crushed Oreos to the coating creates an amazing texture contrast. During holidays, I sometimes add peppermint extract to the filling for a festive twist.
After countless batches, I've learned that the real joy of these treats isn't just in eating them - it's in sharing them. There's something special about watching someone's face light up when they take their first bite of these little red velvet treasures.
 Pin to Favorites
Frequently Asked Questions
- → Why do these brownies need vinegar?
- Vinegar reacts with the cocoa powder to enhance the red color and create that classic red velvet flavor.
- → Why should I weigh the ingredients?
- Precise measurements are crucial for achieving the right fudgy texture - even small variations can make brownies too cakey.
- → Can I skip the cream cheese frosting?
- Yes, the brownies are delicious on their own, but the frosting adds that classic red velvet cake touch.
- → Why use both butter and oil?
- Butter provides flavor while oil helps keep the brownies moist and fudgy.
- → How should I store these brownies?
- Store in an airtight container in the fridge for up to 5 days due to the cream cheese frosting.