Cadbury Creme Bites

Featured in Sweet Treats and Baked Goods.

Cadbury Creme Bites transform the beloved seasonal Easter candy into approachable homemade treats that capture all the nostalgic flavor in a convenient bite-sized format. By using mini cupcake liners as molds, this recipe cleverly simplifies what could be a complex candy-making process into manageable steps anyone can follow. The layered approach - starting with a chocolate base, adding a white creme layer with an orange center, and finishing with a chocolate top - perfectly recreates the classic egg appearance while ensuring the ideal ratio of chocolate to filling in every bite. What makes this recipe special is its attention to detail, from the specific piping techniques that create the distinct two-toned filling to the helpful tips for working with chocolate. With a yield of 48 pieces, these treats are perfect for Easter baskets, holiday gatherings, or any time you're craving this seasonal favorite that's usually only available for a limited time each year.
Mina cooking in her kitchen
Updated on Tue, 11 Mar 2025 06:33:49 GMT
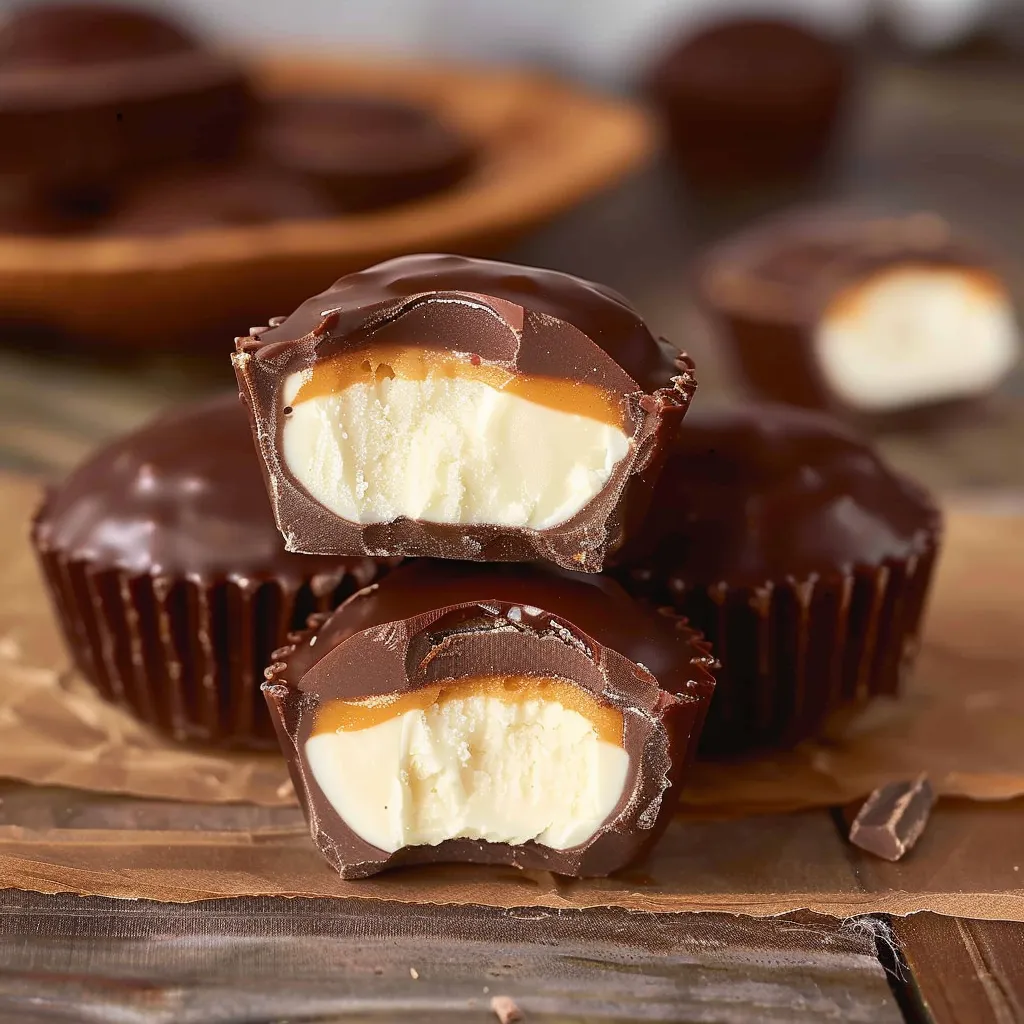
A chocolate cupcake with a white filling and a caramel topping. Pin it
A chocolate cupcake with a white filling and a caramel topping. | lastminrecipes.com

The moment you bite into a homemade Cadbury Creme Bite, you experience pure nostalgic bliss – that perfect crack of quality milk chocolate giving way to reveal the sweet, creamy filling with its surprise "yolk" center that captures the magic of Easter traditions in a single bite.

Why You'll Love This Recipe

Last Easter, I brought these to a family gathering, and my cousin who collects Cadbury eggs every season was amazed at how accurately they captured the flavor and experience of the originals.

Essential Ingredients and Selection Tips

  • Milk Chocolate: Choose a premium milk chocolate from the baking aisle with at least 30-35% cocoa content.
  • Butter: Use unsalted butter at cool room temperature.
  • Corn Syrup: Light corn syrup provides the right consistency and prevents crystallization in the filling.
  • Food Coloring: Gel food colorings deliver vibrant colors without adding excess liquid.
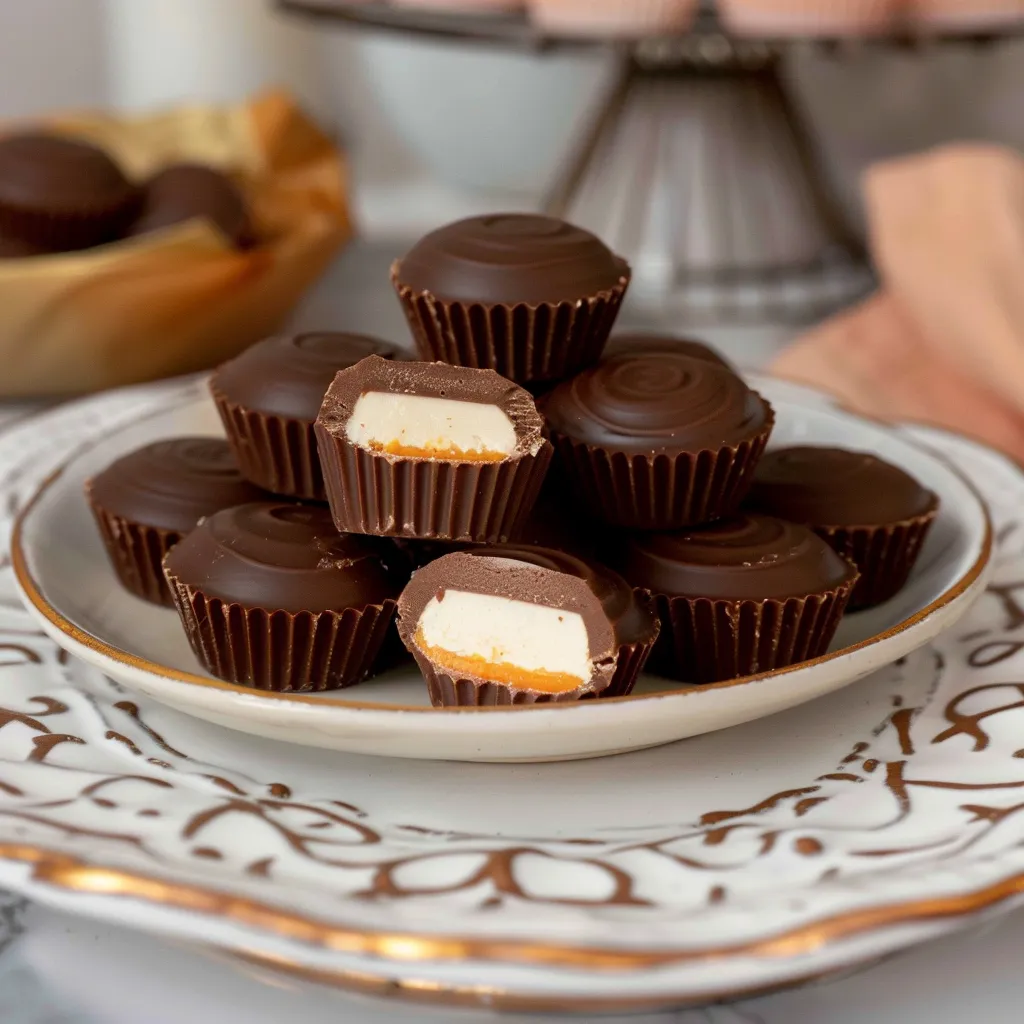
A plate full of chocolate candies with cream filling. Pin it
A plate full of chocolate candies with cream filling. | lastminrecipes.com

Detailed Cooking Instructions

Step 1:
Prepare Your Workspace - Begin by lining a 24-cup mini muffin tin with parchment paper liners.
Step 2:
Create the Perfect Chocolate Base - Melt the milk chocolate using a microwave or double boiler, then distribute evenly into mini muffin liners.
Step 3:
Master the Creme Filling - Beat butter, corn syrup, milk, and vanilla extract until smooth, then mix in powdered sugar.
Step 4:
Create the Two-Toned Filling - Separate the creme filling, coloring one part orange to mimic an egg yolk.
Step 5:
Assemble with Precision - Pipe the white filling first, then add the orange "yolk" to the center.
Step 6:
Complete with the Chocolate Top - Cover the filling with more melted chocolate, ensuring a smooth and sealed surface.

You Must Know

The first time I made these, I was intimidated by creating that iconic orange "yolk" center, but discovered it's actually one of the simplest parts of the process.

Pro Tips or Helpful Tips

These Cadbury Creme Bites represent the perfect marriage of nostalgic flavor and home baker-friendly technique.
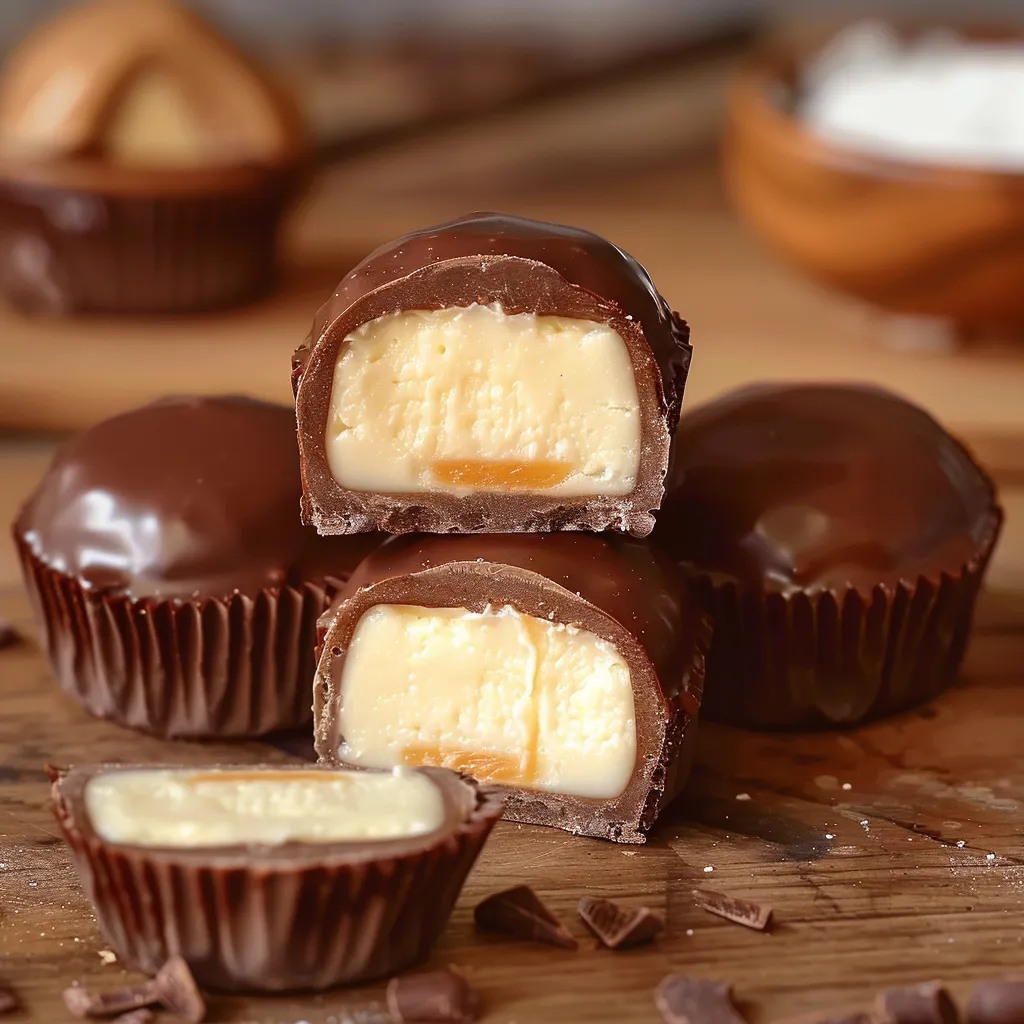
A table with a variety of chocolate desserts, including chocolate cups and chocolate cakes. Pin it
A table with a variety of chocolate desserts, including chocolate cups and chocolate cakes. | lastminrecipes.com

Frequently Asked Questions

→ Why do I need to use piping bags for this recipe?
Piping bags are essential for creating the distinct layers in these treats. They allow you to precisely place the chocolate bottom layer, control the thickness of the white creme layer, and create the characteristic orange 'yolk' center. If you don't have disposable piping bags, you can use resealable plastic bags with a corner snipped off as a substitute.
→ How do I prevent the chocolate from seizing when melting?
To prevent chocolate from seizing, ensure your bowl and utensils are completely dry (even a drop of water can cause chocolate to seize), and melt the chocolate gradually in short intervals as directed. For extra insurance, you can add 1 teaspoon of shortening or coconut oil per 16 ounces of chocolate, which helps create smoother melted chocolate.
→ Can I make these Cadbury Creme Bites smaller or larger?
Yes, you can adjust the size by using different sized liners. For smaller bites, use petit four paper liners; for larger treats, use standard cupcake liners. Just adjust the amount of filling and chocolate accordingly, and note that larger versions may need more time to set in the refrigerator.
→ Why is the nutrition information showing such low fat content for chocolate treats?
The nutrition information provided may be calculating based on a single gram serving size rather than an actual bite. Each completed bite would contain significantly more chocolate and therefore more fat than listed. For accurate nutritional information, consider that each bite would contain approximately 1/48th of all ingredients.
→ Can I store these at room temperature or do they need to be refrigerated?
These bites should be stored in the refrigerator for best results. The creme filling contains butter, which can soften significantly at room temperature. They can be kept at room temperature for serving (up to 2 hours), but should be returned to the refrigerator for storage. They'll keep refrigerated for up to 2 weeks.

Cadbury Creme Bites

Bite-sized homemade versions of Cadbury Creme Eggs made in mini cupcake liners with layers of milk chocolate and a two-toned cream filling that mimics the look of egg whites and yolks.

Prep Time
60 Minutes
Cook Time
2 Minutes
Total Time
62 Minutes
By: Mina

Category: Desserts

Difficulty: Intermediate

Cuisine: American

Yield: 48 Servings (48 bites)

Dietary: Vegetarian, Gluten-Free

Ingredients

→ Chocolate Layers

01 2 packages (16 oz each) milk chocolate, melted

→ Creme Filling

02 1 cup light corn syrup
03 ½ cup butter, softened
04 2 tsp vanilla extract
05 6 cups powdered sugar
06 ½ tsp salt
07 2 Tbsp milk

→ For Coloring

08 2 drops orange gel food coloring
09 1 drop yellow gel food coloring

Instructions

Step 01

Line 48 mini muffin cups with parchment paper liners. These will be the molds for your candy bites.

Step 02

Place 16 ounces of milk chocolate in a microwave-safe bowl. Microwave on HIGH for 30 seconds, then stir well. Continue heating in 20-second increments, stirring after each, until the chocolate is completely melted and smooth.

Step 03

Transfer the melted chocolate to a piping bag and snip off the tip. Pipe a thin layer of chocolate into the bottom of each paper liner. Gently tap the muffin pan on the counter to help the chocolate spread evenly. Save any extra chocolate by squeezing it back into the bowl for later use.

Step 04

In the bowl of a stand mixer, beat the butter and corn syrup together until combined. Add milk, vanilla extract, and salt. Gradually add the powdered sugar, mixing well after each addition until you have a stiff, creamy mixture.

Step 05

Transfer about 2/3 of the white creme mixture to a piping bag. Add 2 drops of orange gel food coloring and 1 drop of yellow gel food coloring to the remaining 1/3 of creme mixture in the bowl. Mix until you achieve a consistent orange color. Transfer this orange creme to a separate piping bag.

Step 06

Cut the tip off the bag of white creme to create an opening about 1/2-inch in diameter. Pipe a thick layer of white creme on top of the chocolate base in each liner.

Step 07

Cut the tip off the bag of orange creme to create a smaller opening about 1/4-inch in diameter. Pipe a small amount of orange creme in the center of each white creme layer to resemble an egg yolk. Tap the muffin pan on the counter to help smooth out the layers.

Step 08

Add the remaining 16 ounces of milk chocolate to the bowl with any leftover chocolate from earlier. Remelt in the microwave using the same incremental heating method until smooth. Transfer to a clean piping bag and cut off the tip.

Step 09

Pipe the melted chocolate on top of each creme-filled cup, ensuring the chocolate completely covers the filling all the way to the edges. Tap the pan on the counter to help the chocolate settle and create a smooth top.

Step 10

Refrigerate the filled muffin tins for at least 30 minutes until the chocolate is completely set. Once set, they're ready to serve or store.

Notes

  1. These homemade Cadbury Creme Bites capture the classic flavor of Cadbury Creme Eggs in an easy-to-make, bite-sized format perfect for Easter celebrations.
  2. The creme mixture will smooth out as it sits, so don't worry if it looks a bit uneven after piping. The longer it sits before adding the top chocolate layer, the smoother it will become.

Tools You'll Need

  • Mini muffin tins
  • Mini paper cupcake liners
  • Stand mixer
  • Piping bags
  • Microwave-safe bowl

Allergy Information

Please check ingredients for potential allergens and consult a health professional if in doubt.
  • Contains dairy (butter, milk, chocolate)

Nutrition Facts (Per Serving)

It is important to consider this information as approximate and not to use it as definitive health advice.
  • Calories: 96
  • Total Fat: 2 g
  • Total Carbohydrate: 20 g
  • Protein: ~